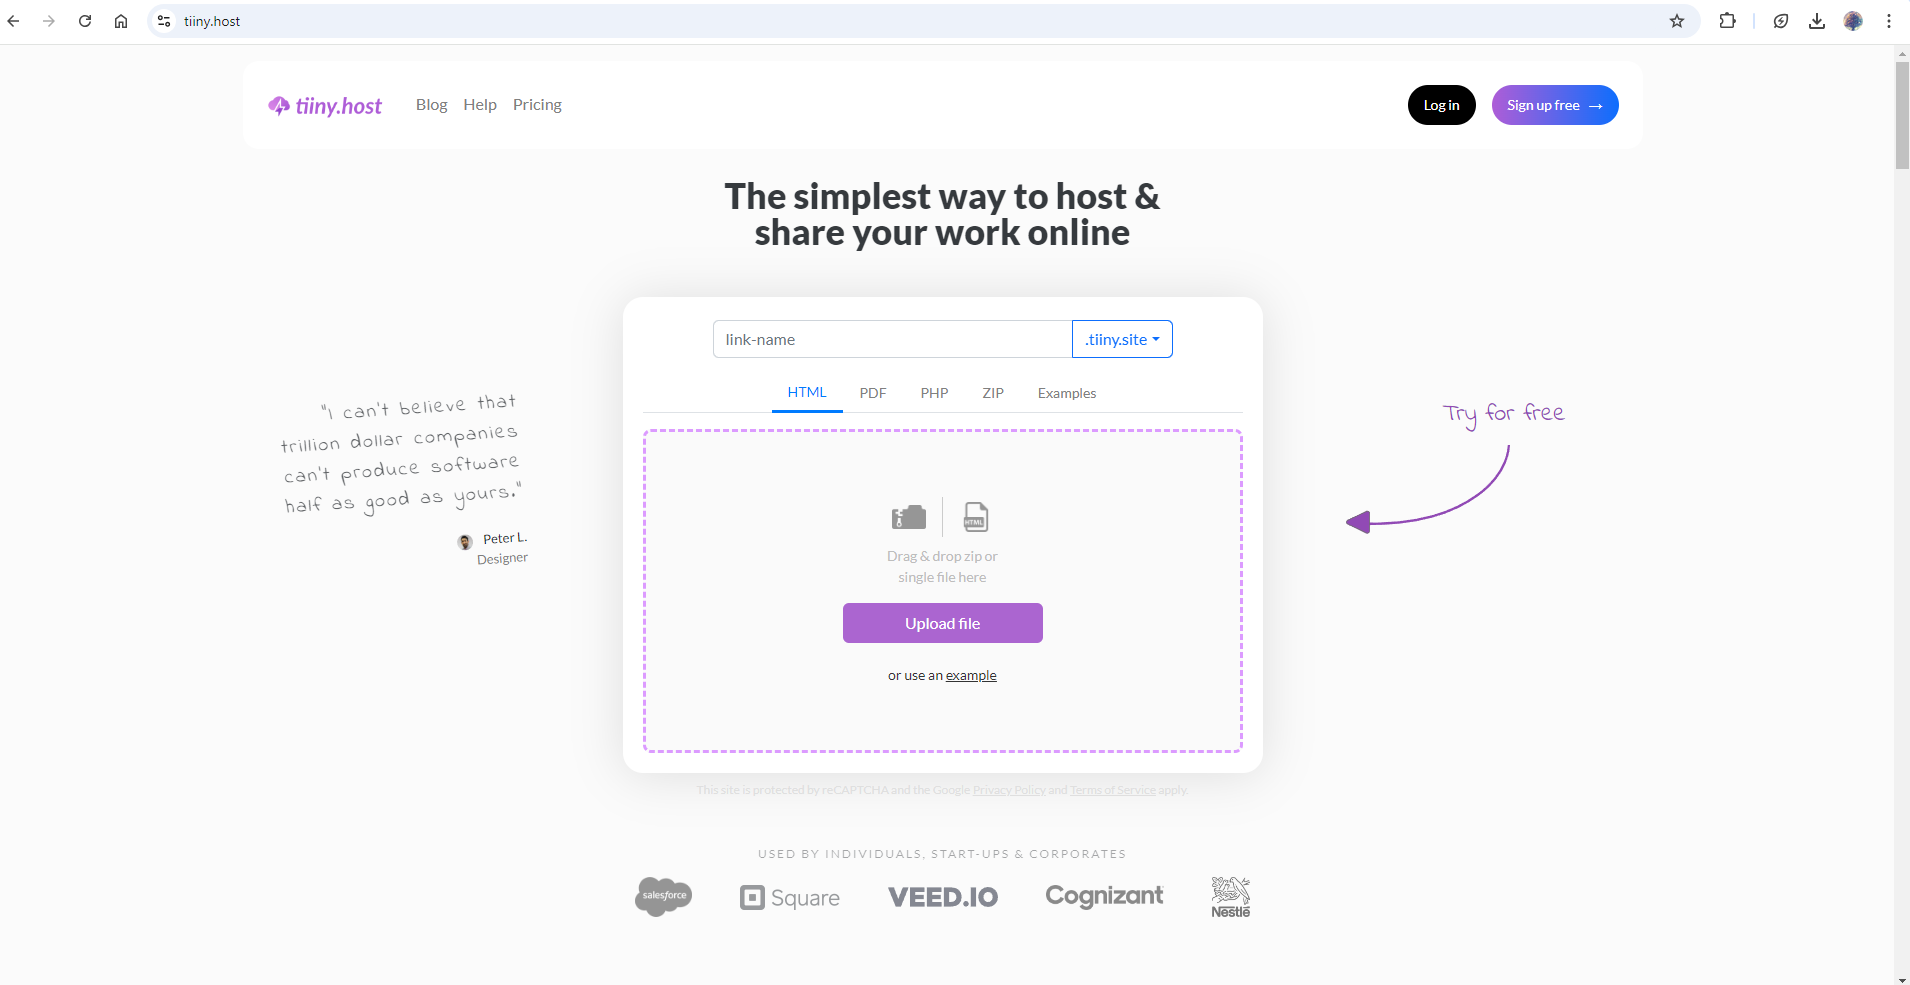
With Eleventy, converting content into static HTML is simple, ensuring faster load times and enhanced security. But what comes next after building your site? That’s where Tiiny Host steps in—the platform that lets you deploy your Eleventy site in just a few clicks.
In this guide, I’ll walk you through the steps to set up Eleventy and quickly deploy your site using Tiiny Host. Let’s dive in!
What types of websites can I build with Eleventy?
Eleventy supports multiple templating languages, offering flexibility for developers. These include Markdown (.md) for content like blogs, raw HTML (.html) for full control, and templating engines like Nunjucks (.njk), Liquid (.liquid), and JavaScript (.11ty.js) for dynamic content.
It also supports EJS (.ejs), Handlebars (.hbs), and Pug (.pug) for streamlined templating. While Eleventy usually generates static HTML files, it can also output formats like JSON, XML, or text files, depending on your configuration.
Since Eleventy is a static site generator and doesn’t require dynamic server-side processing, it is perfect for any content-driven websites like:
- Personal blogs
- Portfolios
- Documentation sites
- Landing pages
-
Creating Your First Eleventy Site
Step 1: Setting Up Eleventy (11ty)
Install Node.js
Before starting, ensure you have Node.js installed. Eleventy runs on Node.js, so it’s essential for development.
- Check if Node.js is installed by typing this in the terminal:
node -v
- If Node.js is not installed, download and install it from nodejs.org.
Install Eleventy Globally
Now, install Eleventy using npm (Node package manager). Open your terminal and run:
npm install -g @11ty/eleventy
This installs Eleventy globally on your system so that you can use it in any project.
Step 2: Create Your First Eleventy Website
Create a Project Directory
Create a new directory for your Eleventy website, and move into it. Open this project directory on your terminal.
Run the following command to create a package.json file, which will help manage your project’s dependencies:
npm init -y
Add Eleventy to Your Project
Install Eleventy as a development dependency:
npm install @11ty/eleventy --save-dev
Create a Basic Eleventy Website
Now, create a folder called src/ where you will store your content. Add an index.md file inside the src/ folder. Move to the src folder now and create the file index.md Here I’d be writing a simple line:
# Hello from Eleventy!
Add Eleventy Config File:
Next, you’ll need to create a configuration file to customize Eleventy’s behavior. In the root of your project, create a new file called .eleventy.js.
This file allows you to customize Eleventy’s behavior by defining specific settings and options for your project. Add the following code:
module.exports = function(eleventyConfig) {
  return {
    dir: {
      input: "src",   // Input directory (where your content is stored)
      output: "_site" // Output directory (where Eleventy builds the site)
    }
  };
};
Run Eleventy
To build your website, run:
npx eleventy
This will create a _site/ folder that contains your static HTML files. You can preview the website by running:
npx eleventy --serve
This command will start a local server, and you can view your site at http://localhost:8080.
This is what the output will look like when hosted on local host:

Hosting Your Eleventy Website
When your site is ready, you need to generate the final static files for deployment. After running the build command, make sure the _site/ folder contains all the files you need for deployment. These will be the static files you upload to Tiiny Host.
Compress the _site Folder
Before uploading to Tiiny Host, compress your _site folder into a .zip file. This is the folder that contains your static website files. This compressed file will be used to host the website through Tiiny Host.
You can host your site in four easy steps:
- Visit Tiiny.host on your browser
- Upload your compressed file
- Give a custom name for your link.
- After uploading and setting your URL, click “Publish.”

It’s that easy! Your file is now ready to be shared with everyone. If you face any problems while uploading your website or simply have a qustion about Tiiny, feel free to reach out to our customer support.
Quick Note: Tiiny also allows you to create a QR code for your hosted websites so you have more ways to share your work.
FAQs: Deploy Your Eleventy Website Within Seconds
Can I make changes to my Eleventy website after deploying it on Tiiny Host?
Yes! If you want to update your Eleventy website after it’s live, you just need to:
- Make changes to your local files.
- Run the
npx eleventycommand to rebuild the site. - Compress the updated
_sitefolder into a.zipfile. - Upload the new
.zipfile to Tiiny Host through your dashboard.
This will update your live website instantly.
Can I host multiple Eleventy websites on Tiiny Host?
Yes, Tiiny Host allows you to host multiple websites depending on your subscription plan. The Free Plan lets you host one website at a time, but with premium plans, you can manage multiple websites simultaneously.
Can I use a custom domain with my Eleventy website on Tiiny Host?
Yes, if you’re on one of Tiiny Host’s premium plans, you can use a custom domain for your Eleventy website. Simply configure the domain in your Tiiny Host dashboard, and update your domain’s DNS settings to point to Tiiny Host.


