

How To Edit a PDF Without Adobe
By Don Hamilton
You may already be a Miro user, but many people are new to the platform. Either way, this tutorial will clarify how to export your Miro board to PDF. A PDF file is a great way to share all or part of your content with those who need access to your information but may not be on your Miro team.
Let’s start with the basics.
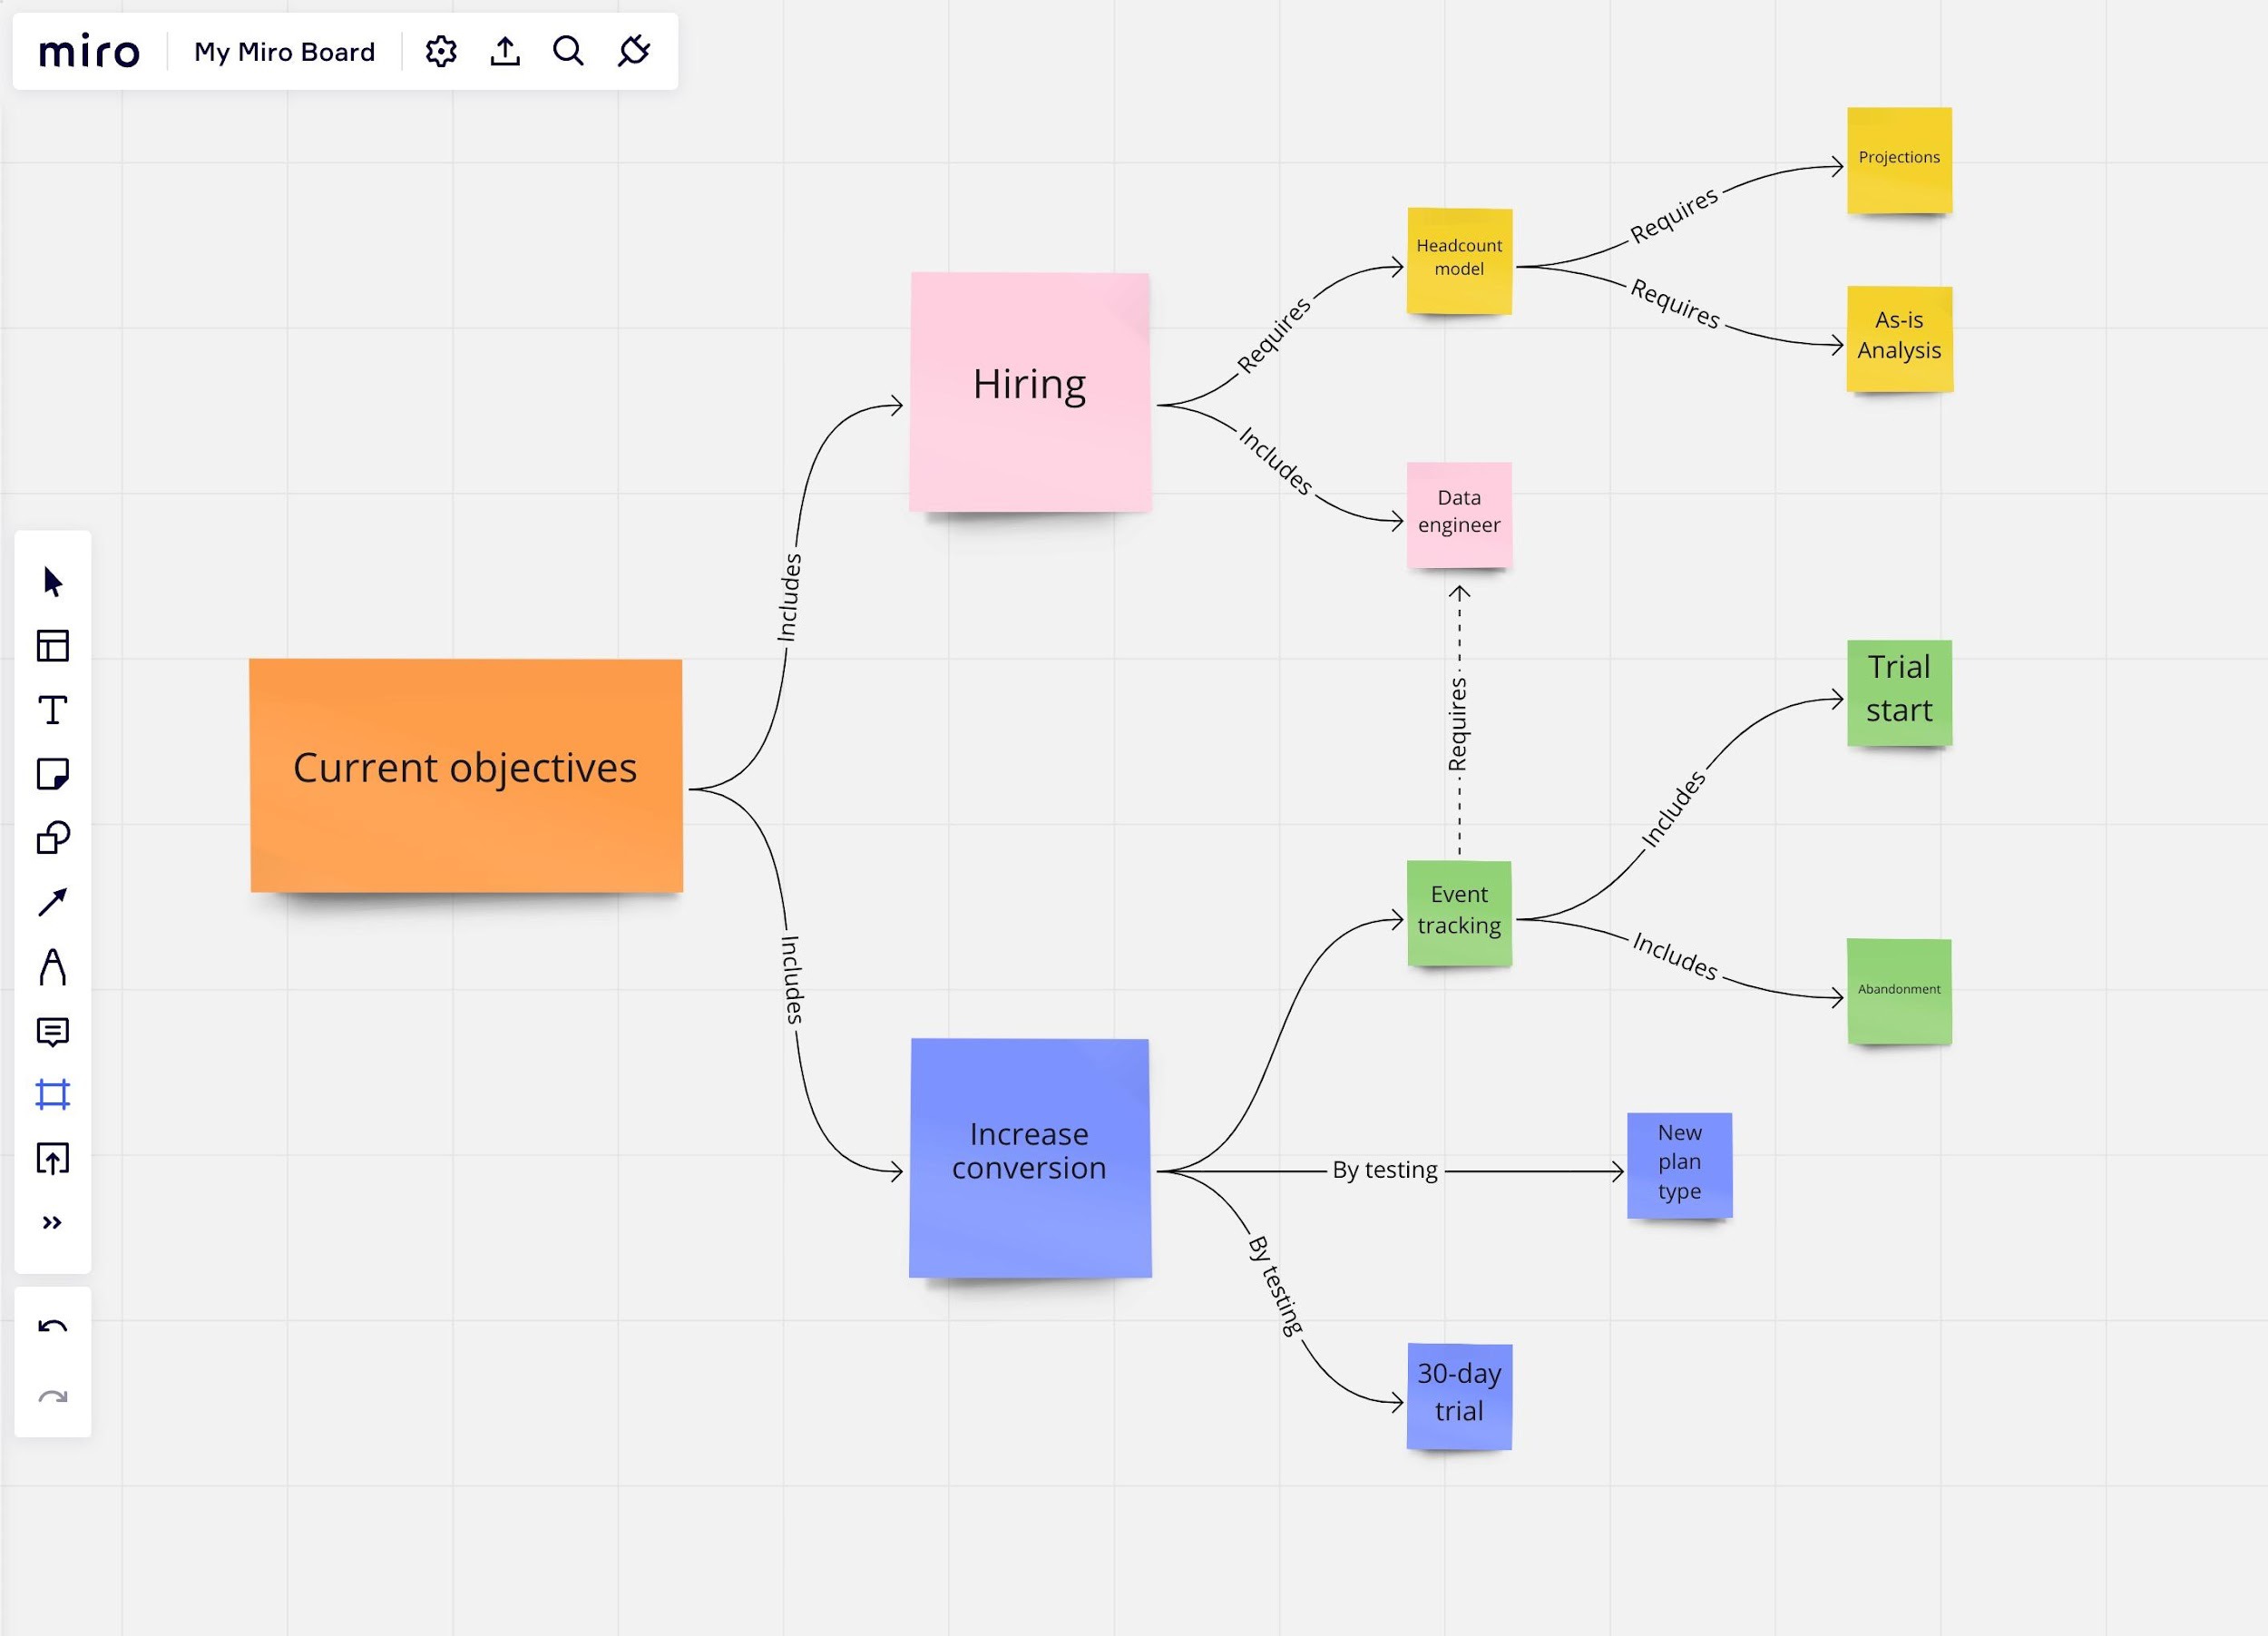
For this tutorial, you may use any Miro board you choose. We have chosen to create from scratch a quick-and-easy example to present this method.
According to the Miro website:
“Miro is the online collaborative whiteboard platform that enables distributed teams to work effectively together, from brainstorming with digital sticky notes to planning and managing agile workflows.
With Miro, you can take advantage of a complete set of collaboration capabilities, make cross-functional teamwork effortless, and organize meetings and workshops: use video chat, presentation, sharing, and many other features.”
Experienced Miro users will tell you that Miro has many features and enables teams to cooperate successfully on document creation and sharing. Check out the Miro Help Center or the Miro Academy to learn more.
You can create a Miro board using the Miro web app or the Miro desktop app. You can also create a Miro board from a file, like an existing image you want to add, but we won’t cover that here.
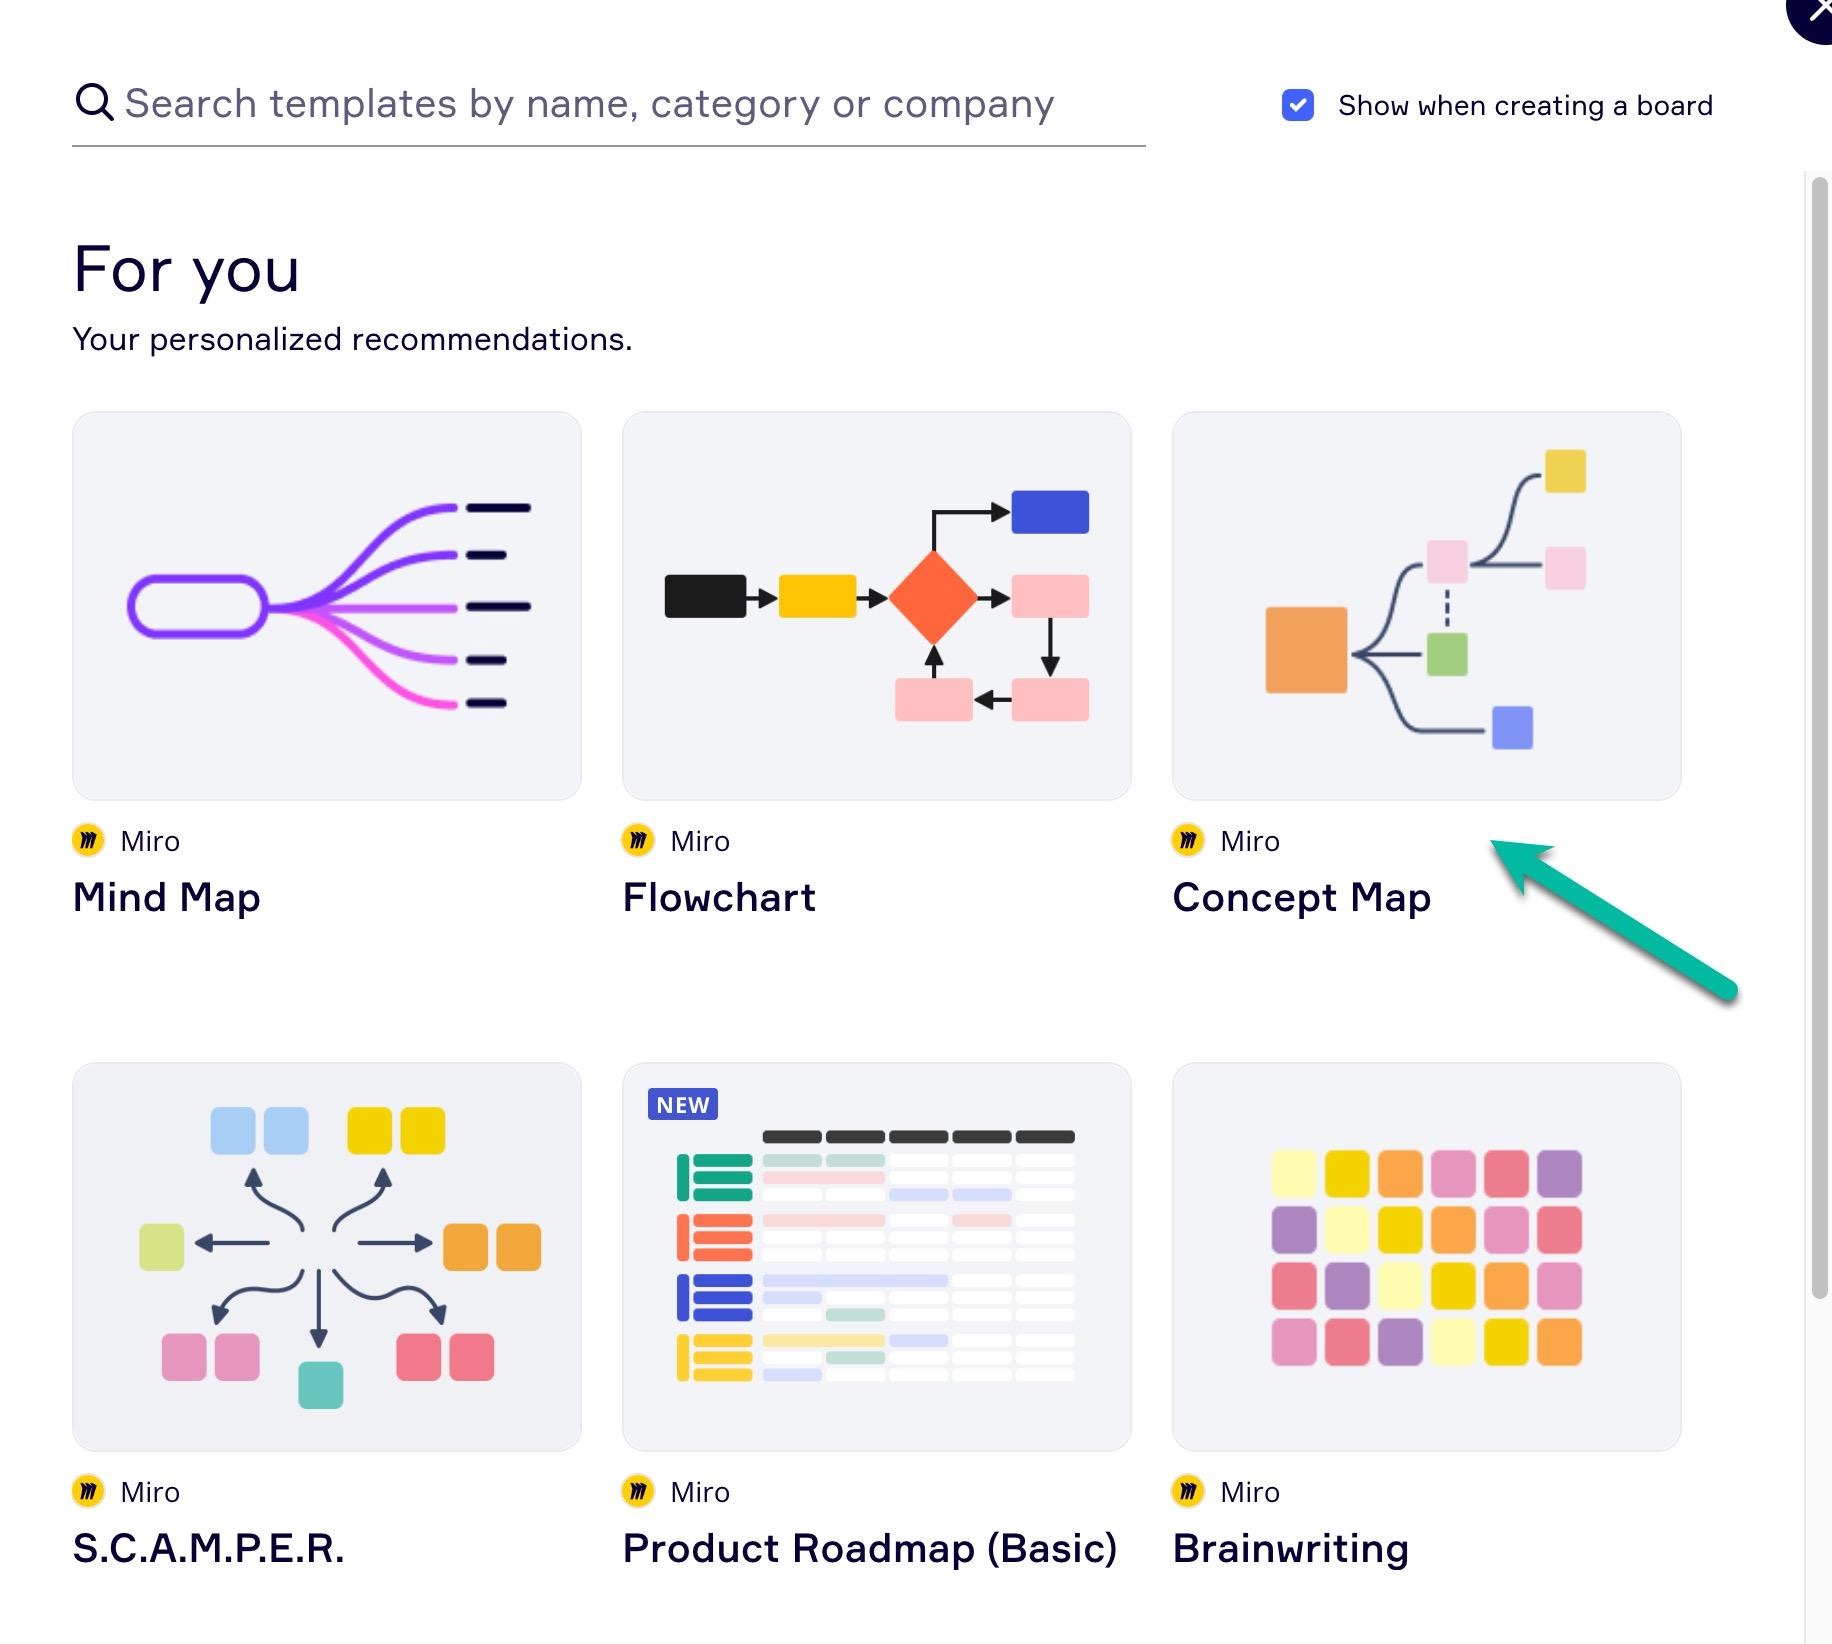
If you don’t already have a Miro board, you can create one for free using the following instructions.
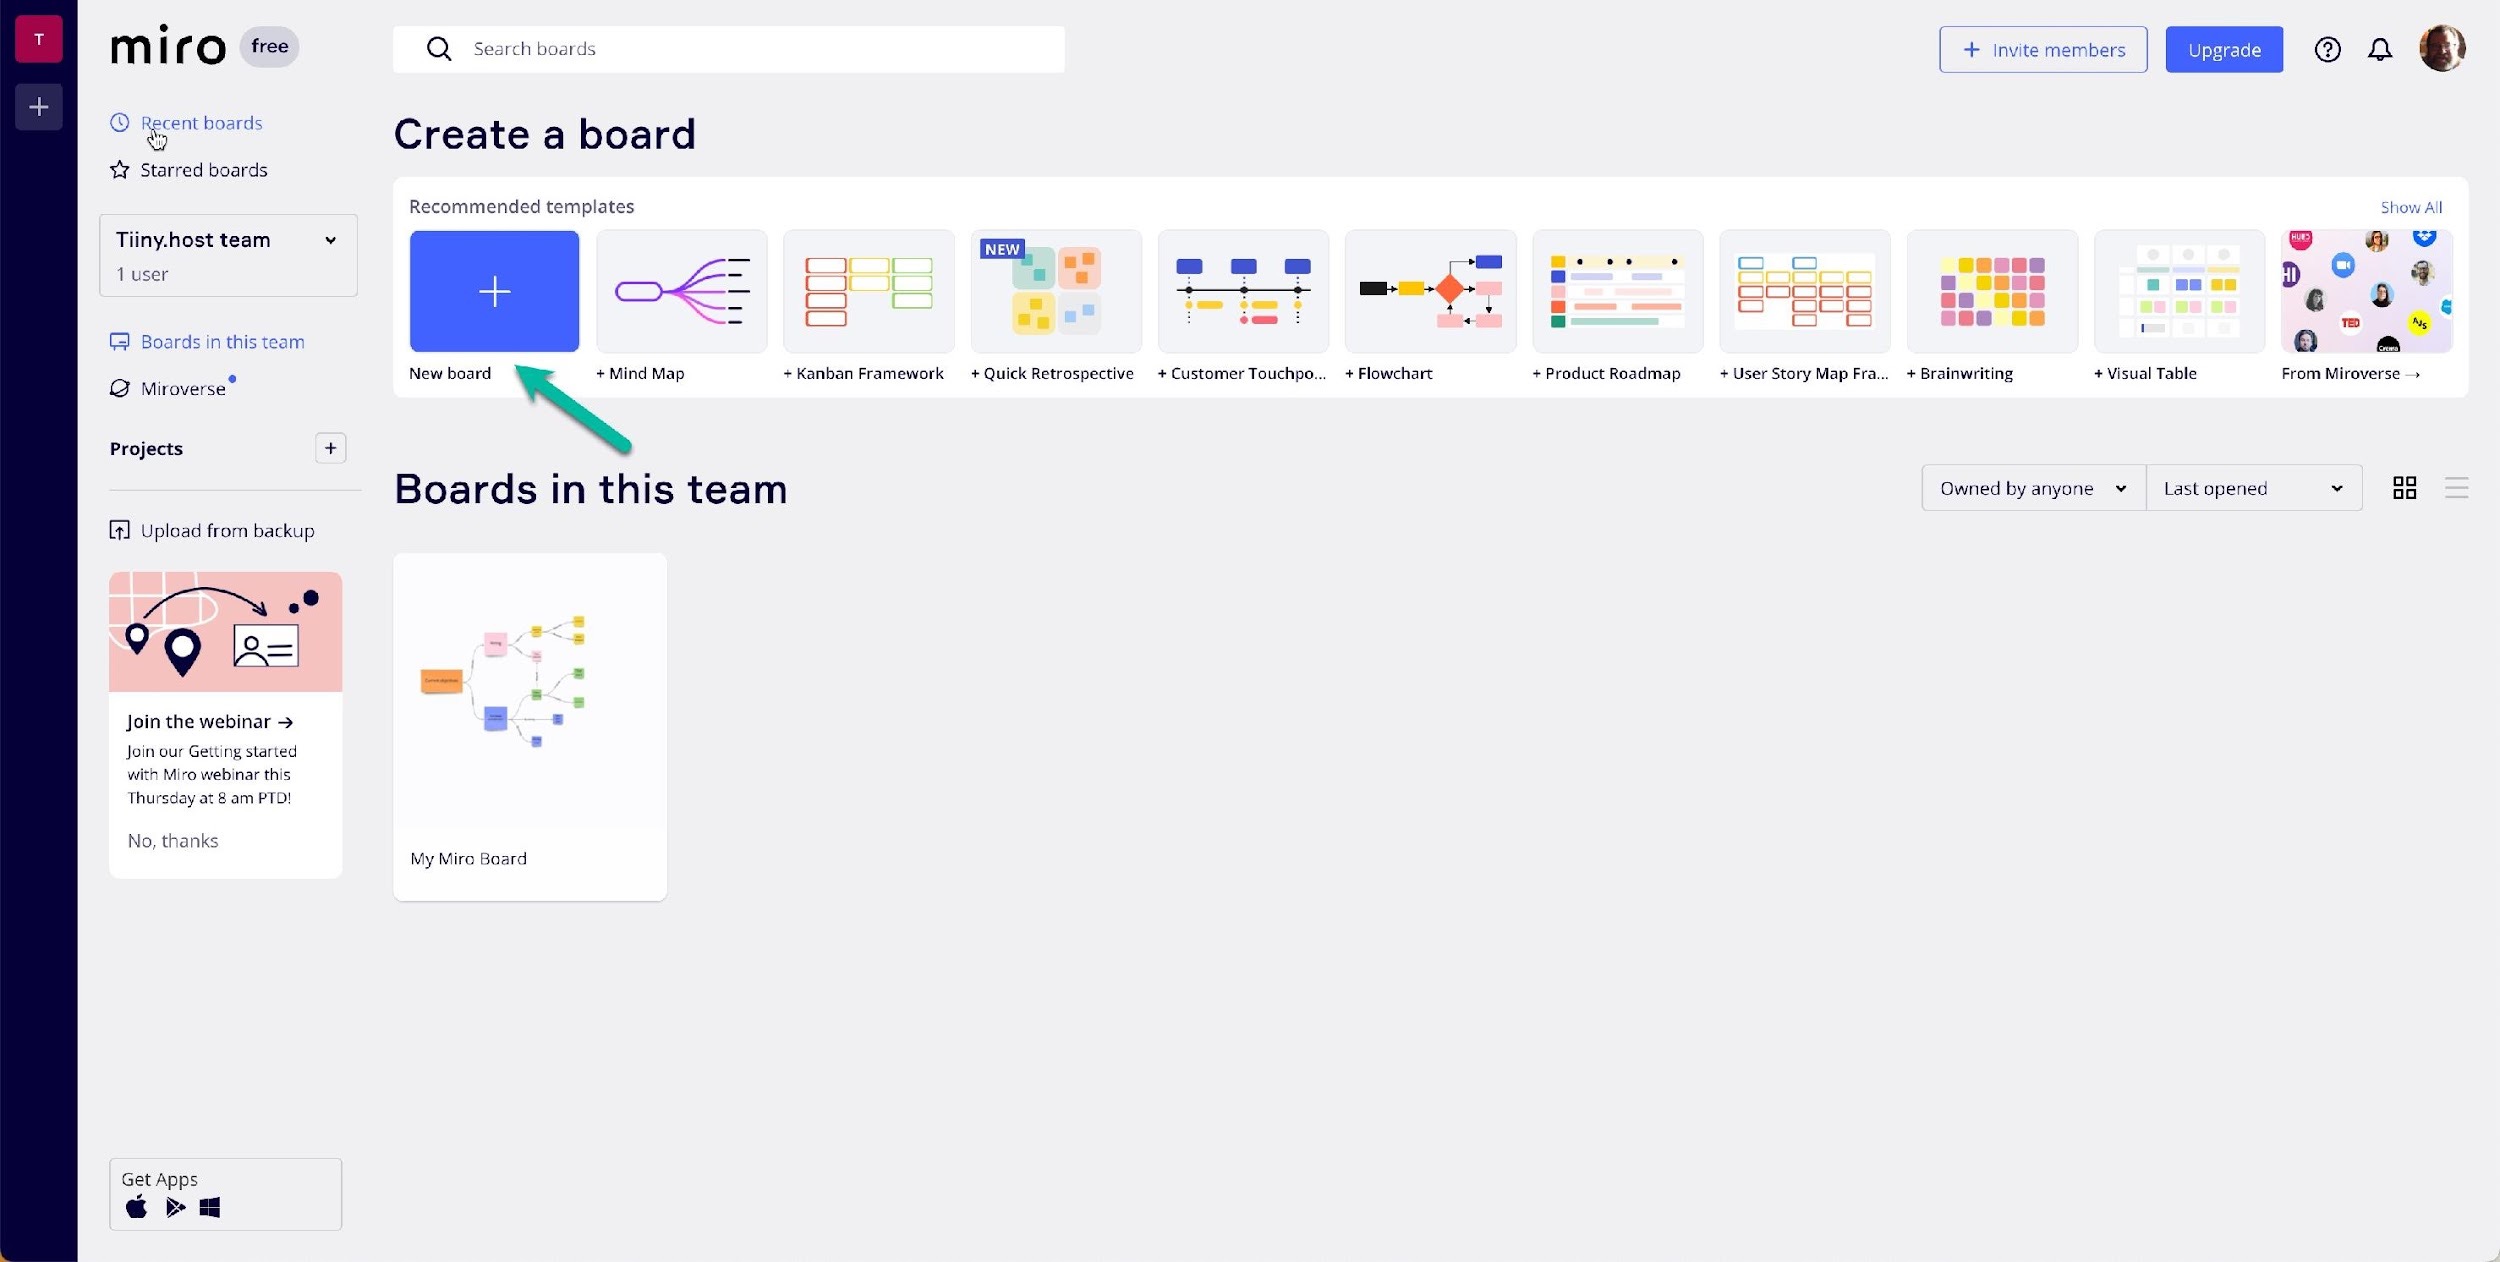
After signing in, you will be taken to the Miro dashboard. This dashboard shows your current options and any Miro boards you have already made.
The most uncomplicated course of action now is to create a new board. Here are the steps:
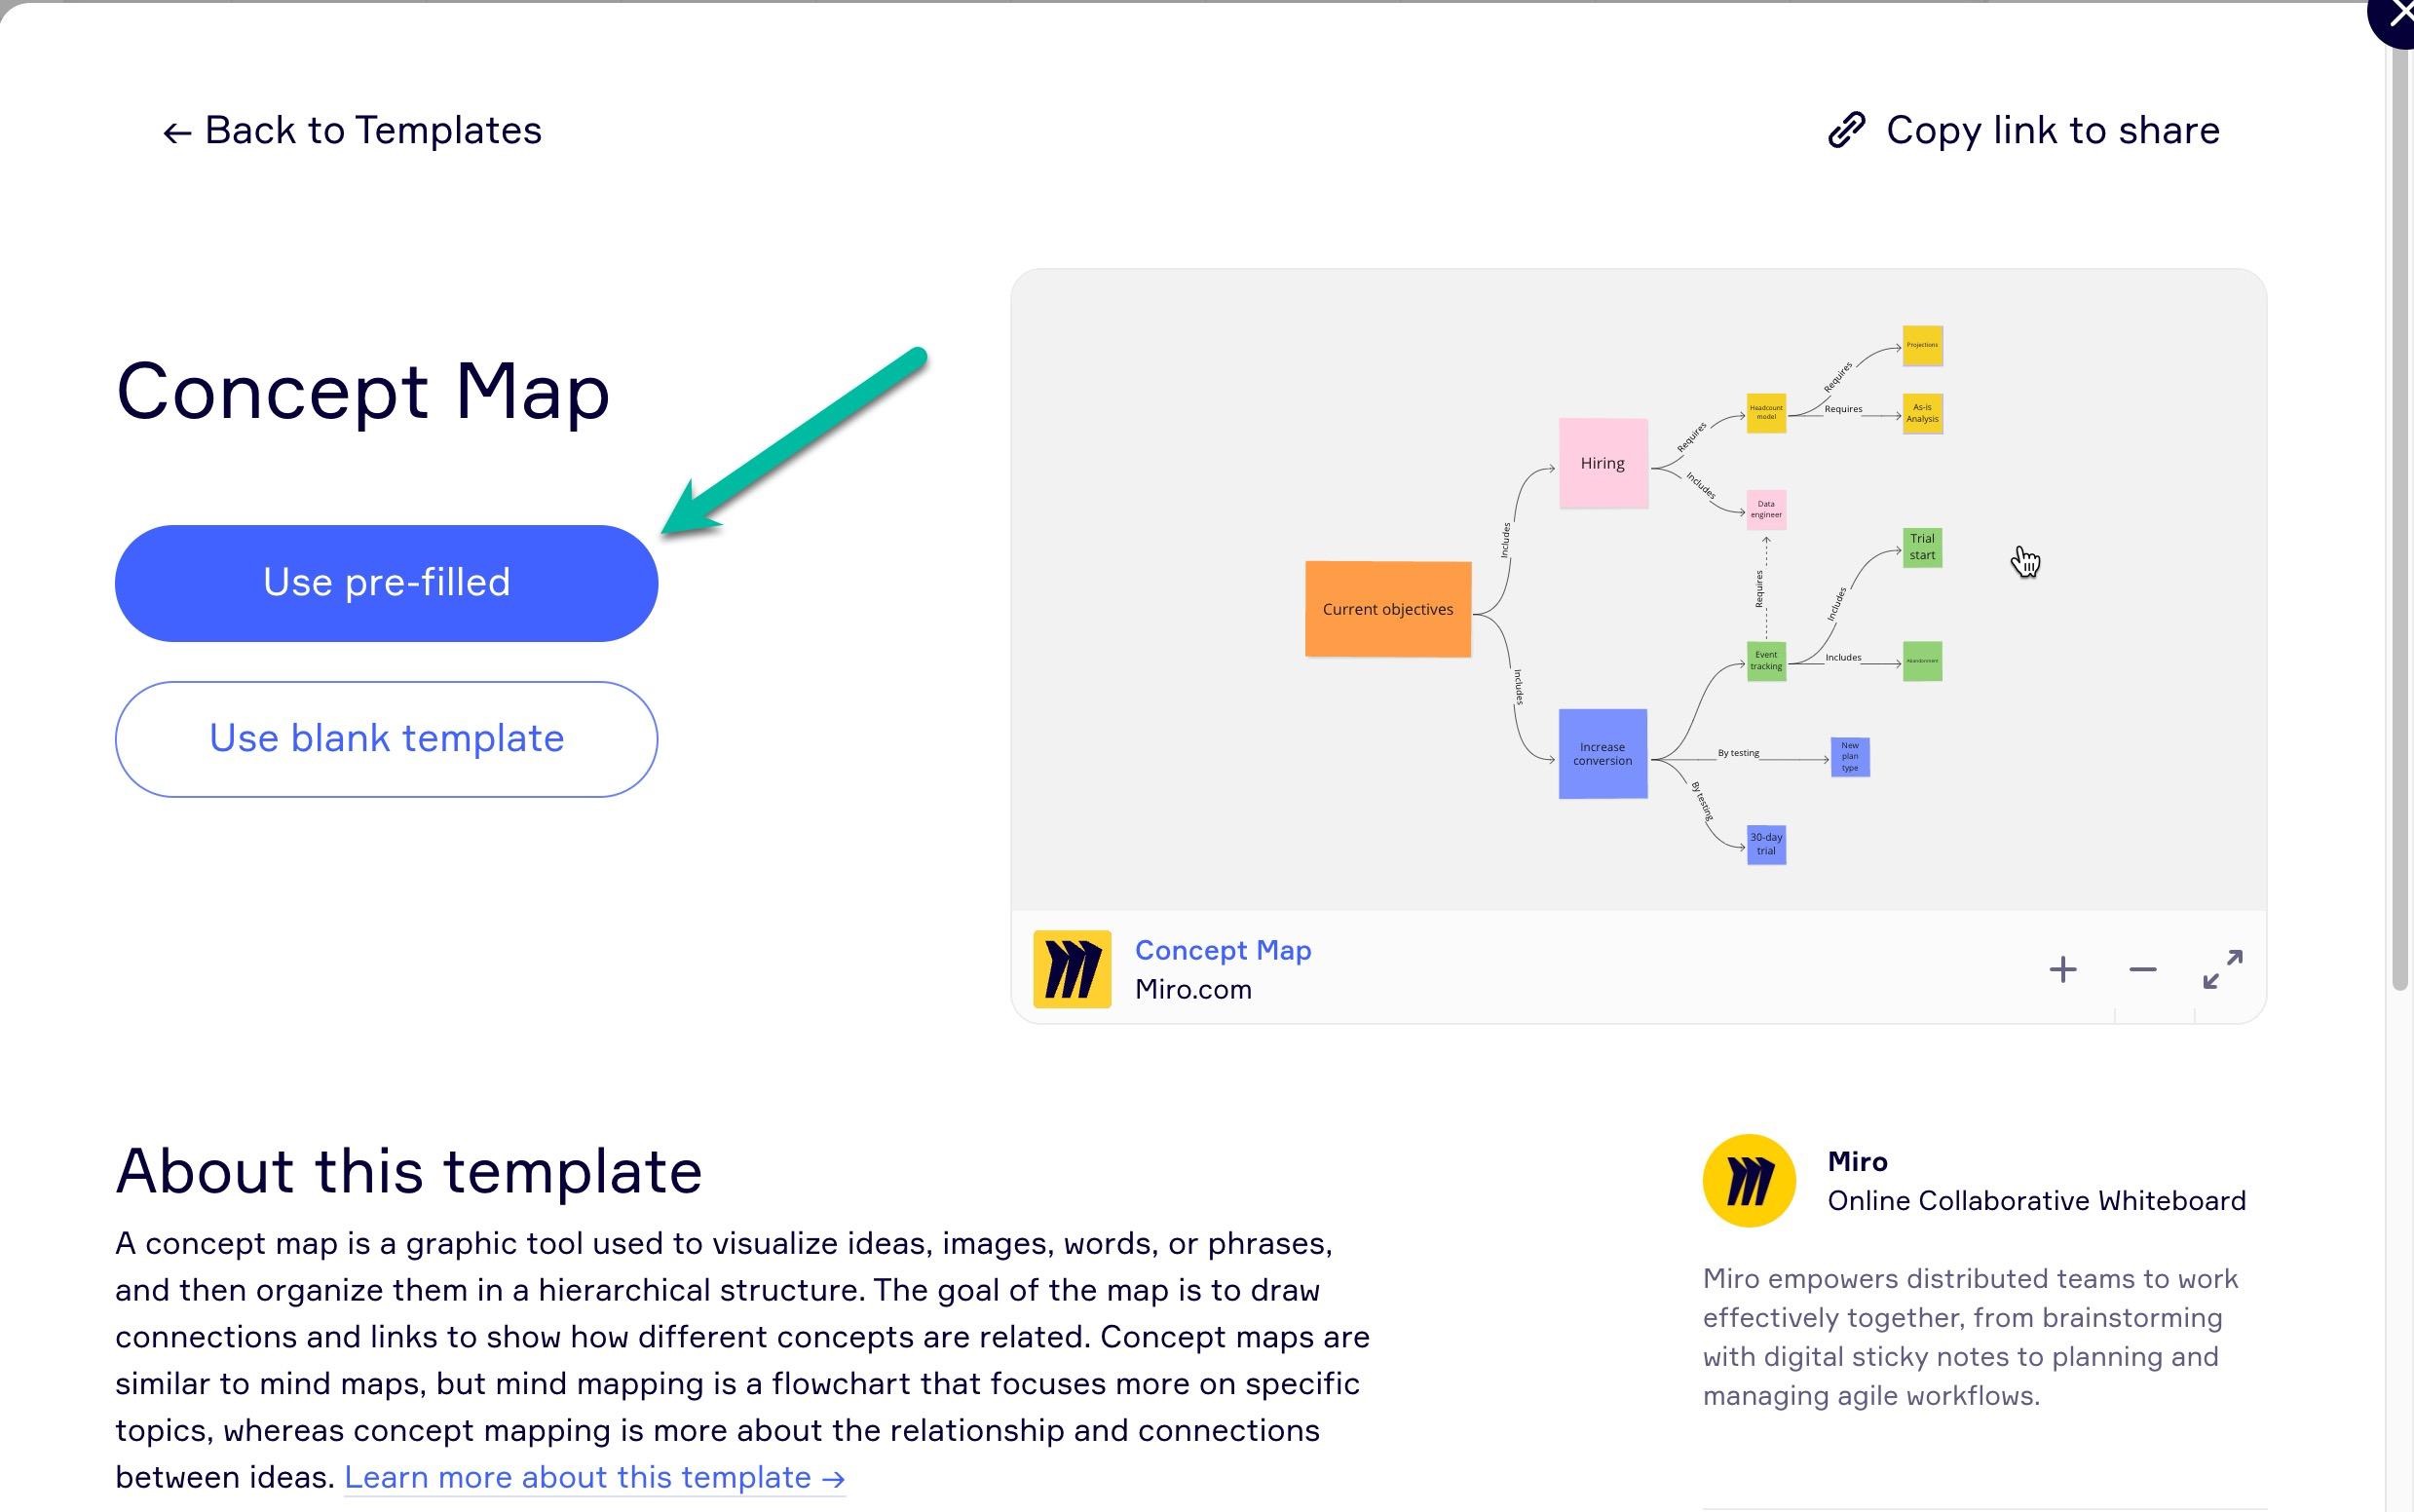
You now have an active Miro board! The Miro board is automatically saved.

You’ve created a great Miro board, and now you want to save it as a PDF. We’ll export your Miro board to a PDF using the following steps.
A Frame is used to define the area of your content that you wish to export. It is similar to defining a page in a spreadsheet. You put the Frame around the content you want saved as a PDF.
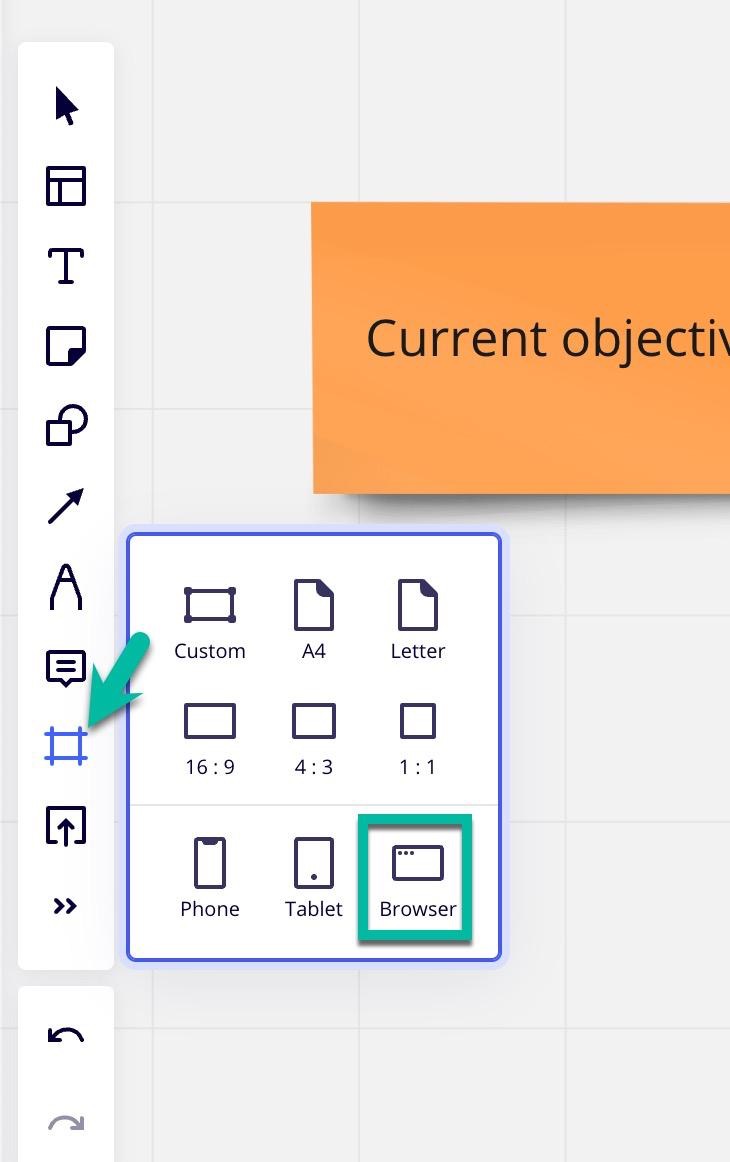
The popup shows the typical aspect ratio of the Frame. Don’t worry. The Frame is adjustable, as we’ll see below.
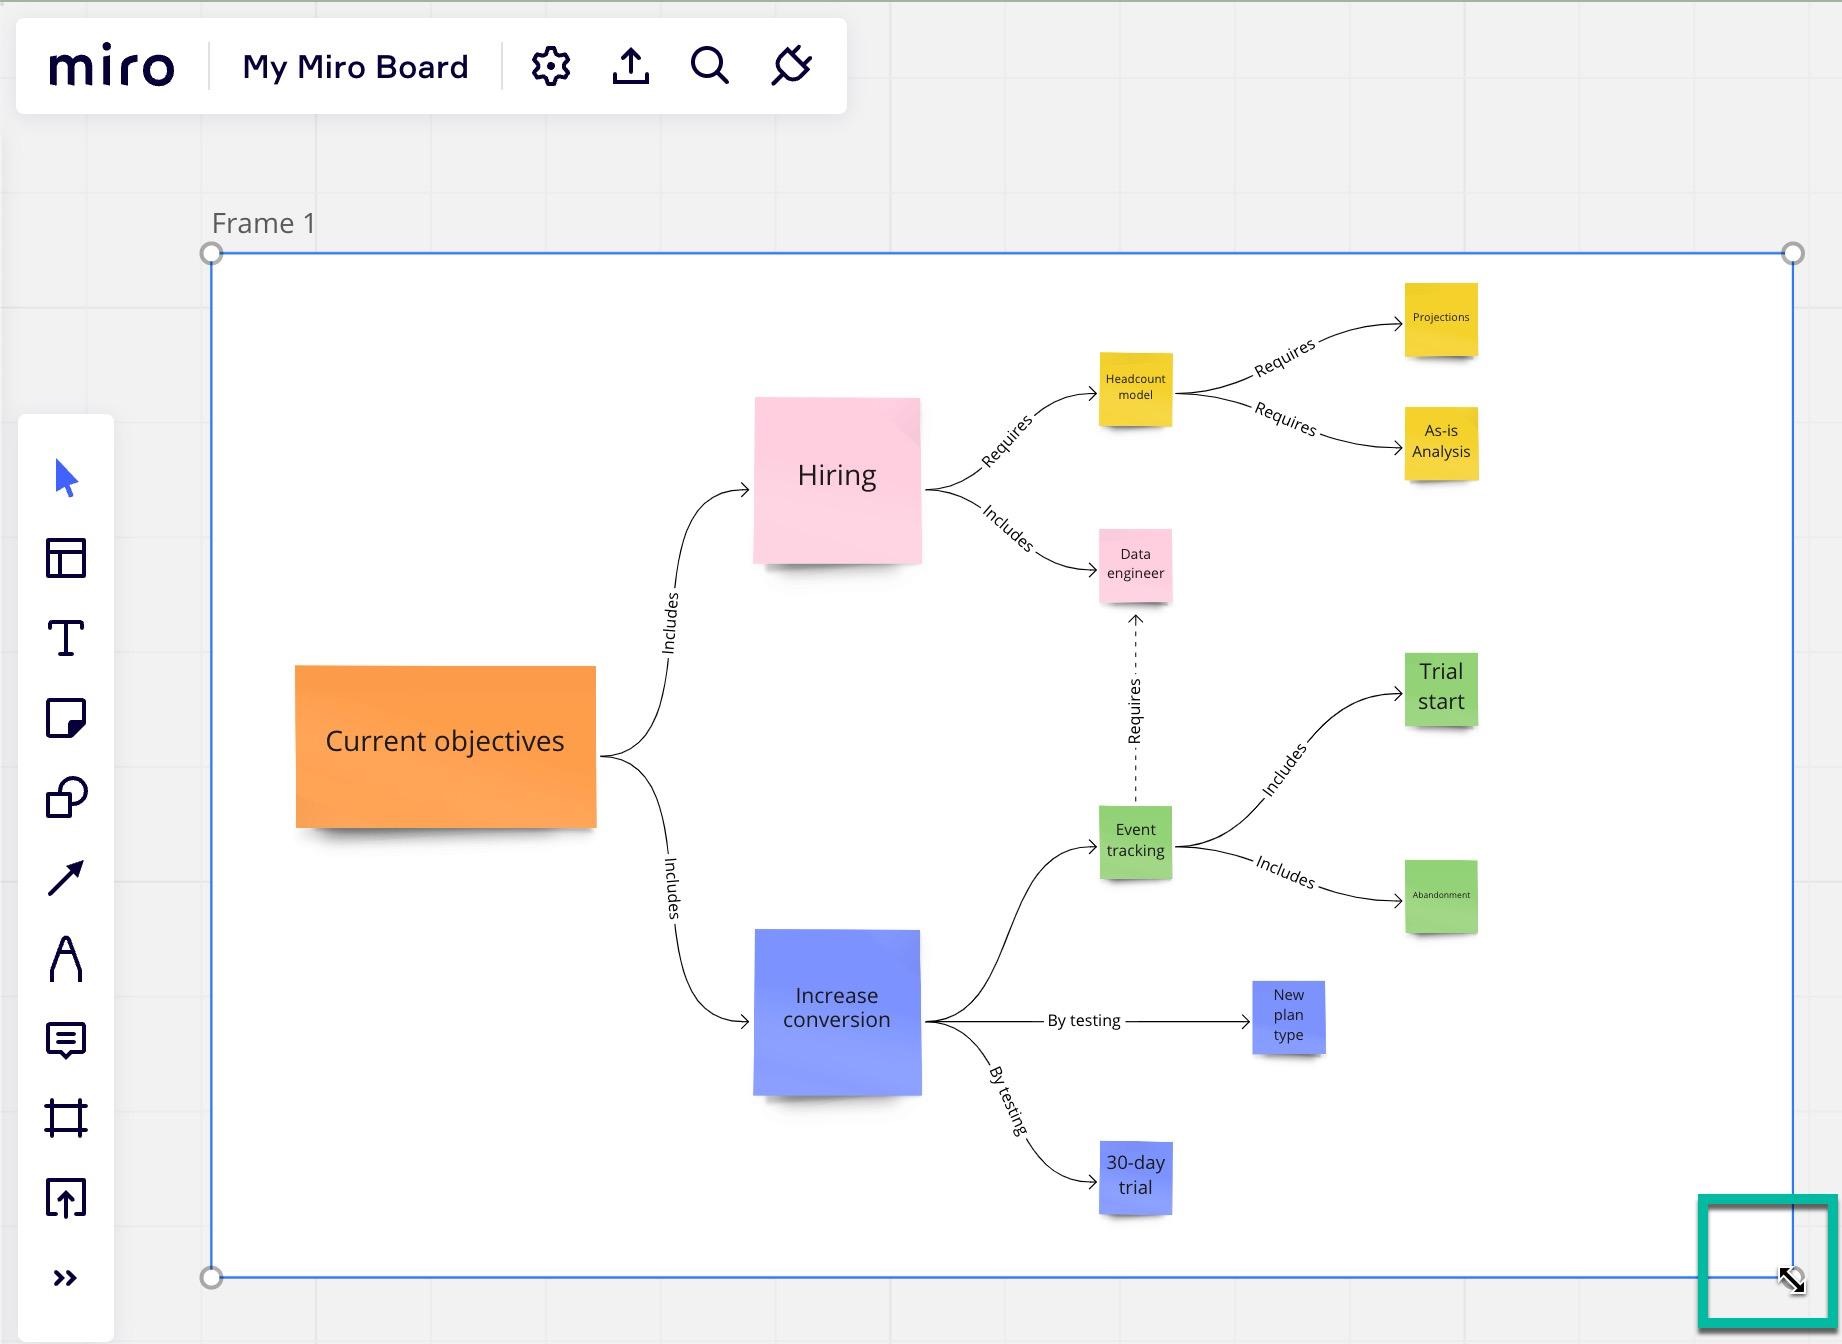
Once the Frame is in place, you’re ready to export your Miro board as a PDF.
Now we’ll save your Miro board to a PDF file which you can freely share across platforms.
Important: Choose the up-arrow icon on the left side of the screen and NOT the big blue “Share” text button on the right of the screen!

Congratulations! Your Miro board is exported as a PDF. You can open it in any program which supports viewing PDF files.
While Miro is designed to share and collaborate with team members, there are many occasions when you want to have people who are not on your team view your board. You may use email, but that is an inefficient way to share with multiple people over time.
The better way to have people view your PDF file is to share it on the web. Sometimes, you might wish to password-protect the PDF so that only those with the password can view your board. The PDF hosting service we recommend has this feature.
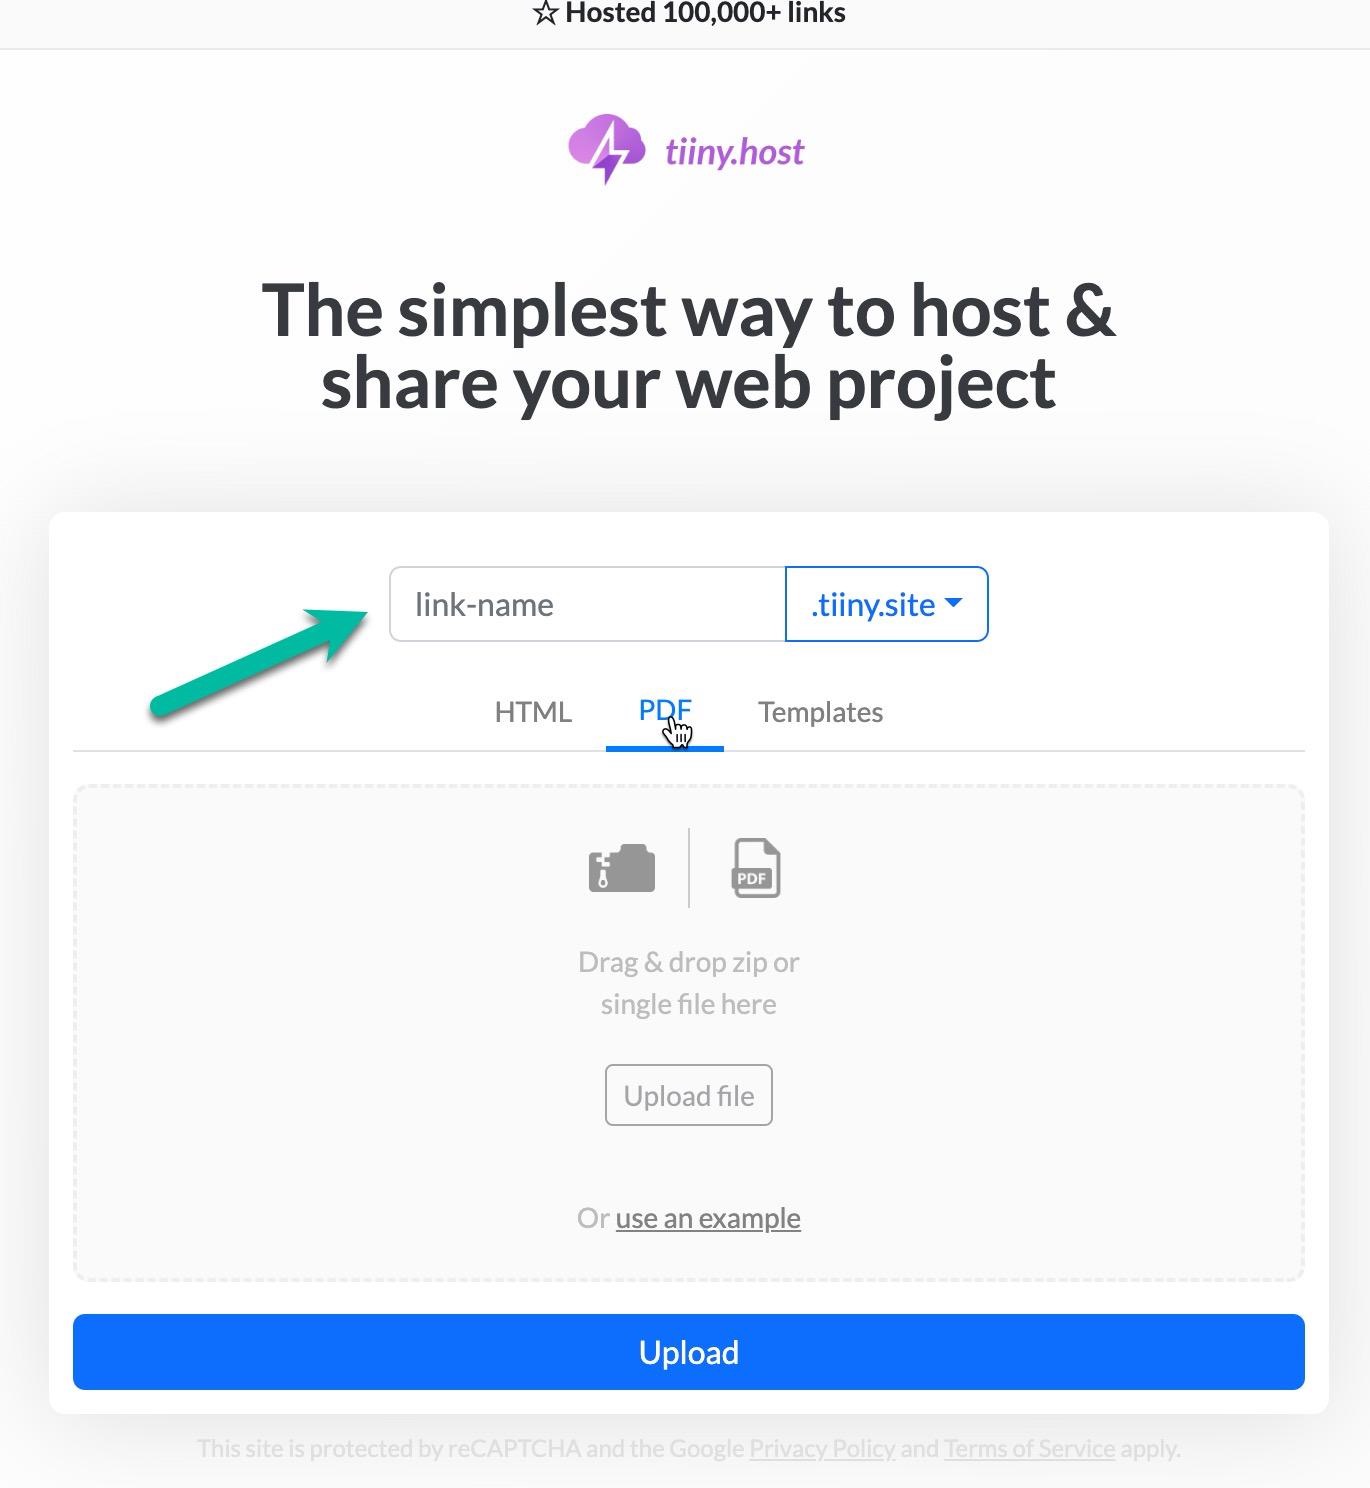
We recommend uploading your PDF to Tiiny.host. You can upload it for free. In three quick steps, your PDF will be live on the web!
That’s it!
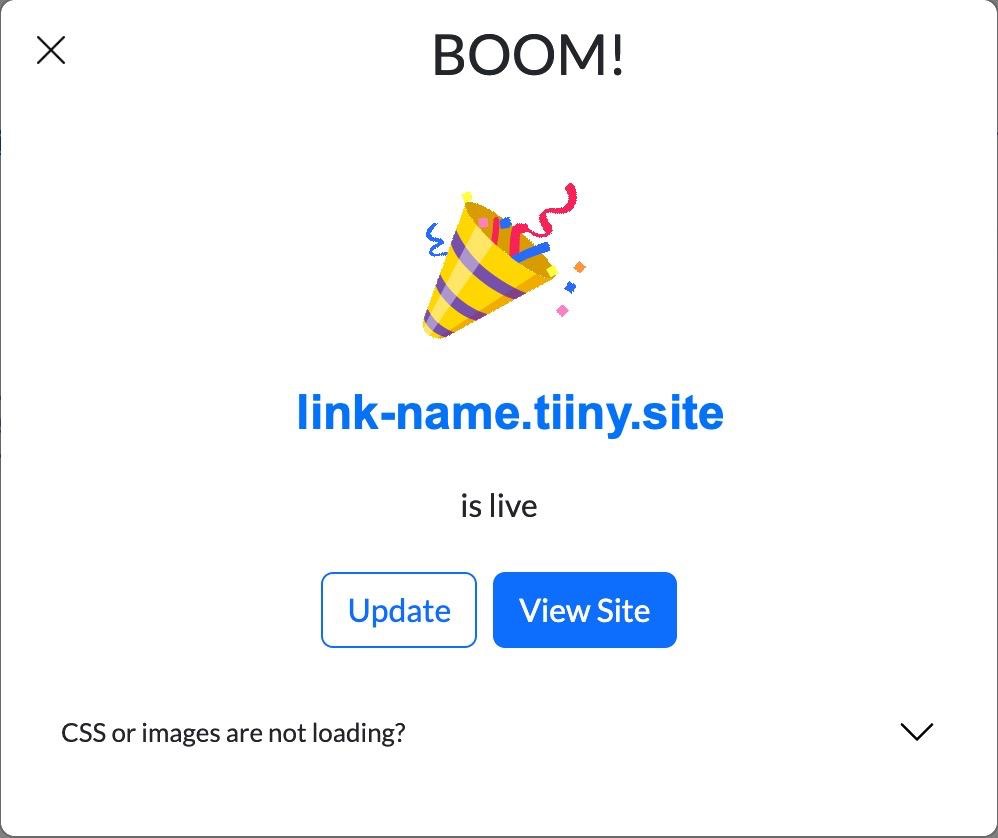
Your Miro board PDF is now live on the World Wide Web.
Access your live PDF file from your web browser at link-name.tiiny.site
Share the link with your friends, colleagues, or others.
Miro also allows you to create multi-page PDFs. In addition, you can save your Miro board as an image or CSV and share that on Tiiny.host.
Tiiny.host is the simplest way to host and share your web project, PDF file, or static HTML site. There are many ways to make use of Tiiny.host’s easy 1-2-3 uploading and hosting services. Visit Tiiny.host’s FAQ page for more information or to contact support directly.