
Discovery calls with your prospects are the best way to understand their problems and communicate how you can help solve them. The sooner you can communicate your value to them, the sooner they become your paying clients.
Scheduling calls effectively, however, is painstaking admin work. Your client might have busy schedules, live in different time zones, or might run into unforeseen events that make connecting in person difficult.
Enter Calendly. Calendly makes it incredibly easy for your prospects to book a call with you based on your real-time available schedule. This means you can spend more of your solving problems than doing mindless admin work.
In this tutorial, we will go through how to set up Calendly for your own website.
Set up a landing page
We will first need a landing page for our business. I decided to use the HTML provided in our Build a simple website for your freelance business tutorial.
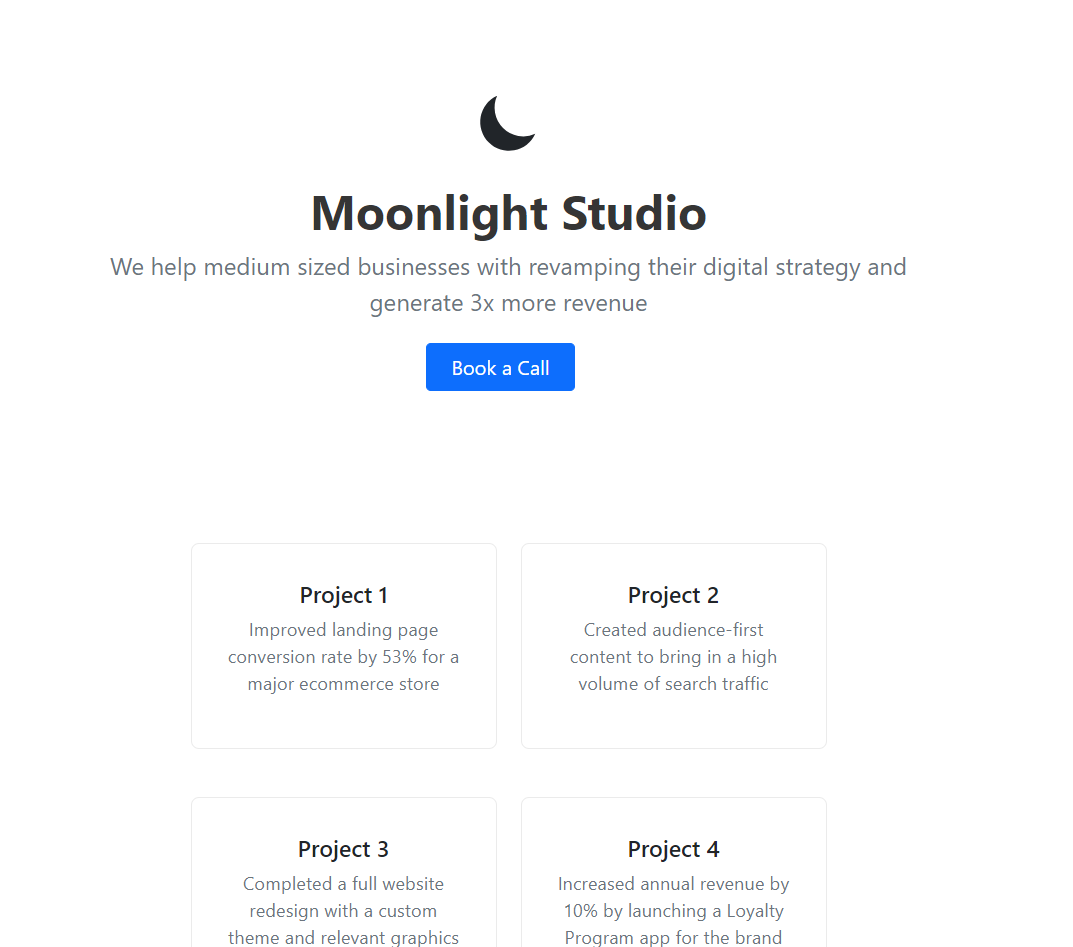
Since we want those who are interested in our services to book a call with us, our primary call-to-action should be just that.
Calendly Setup
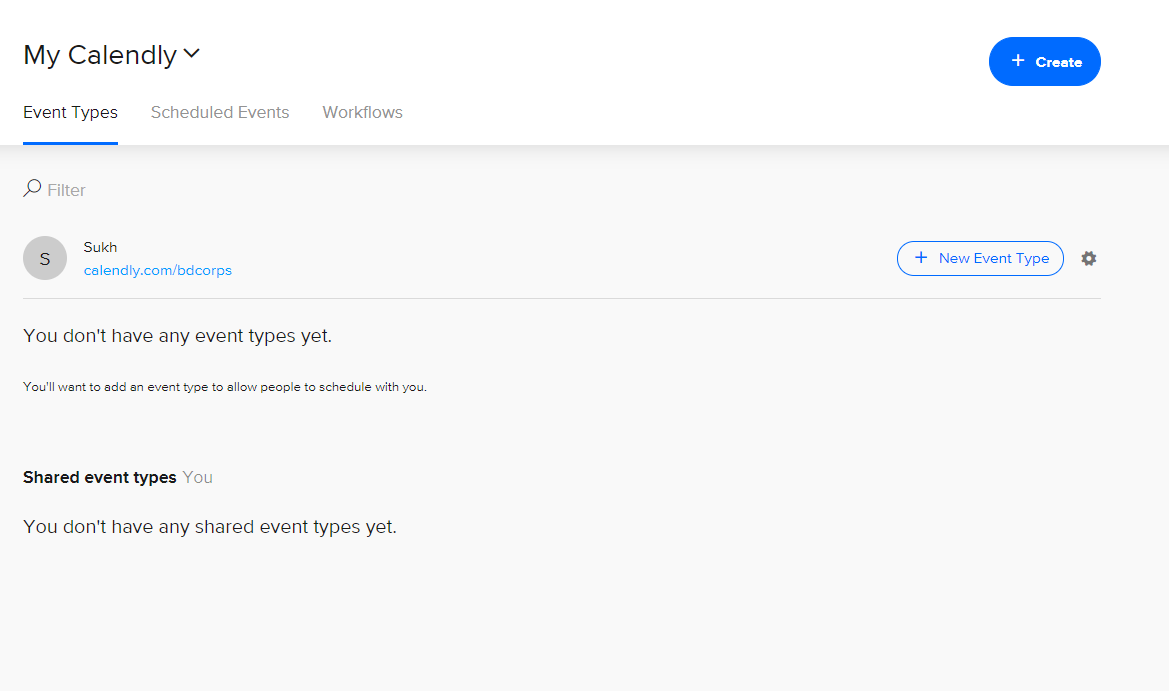
We can get started with Calendly by signing up for a free account and setting up our first event for a one-on-one.
- Sign up using your email at calendly.com/signup
-
Click on the New Event Type button
-
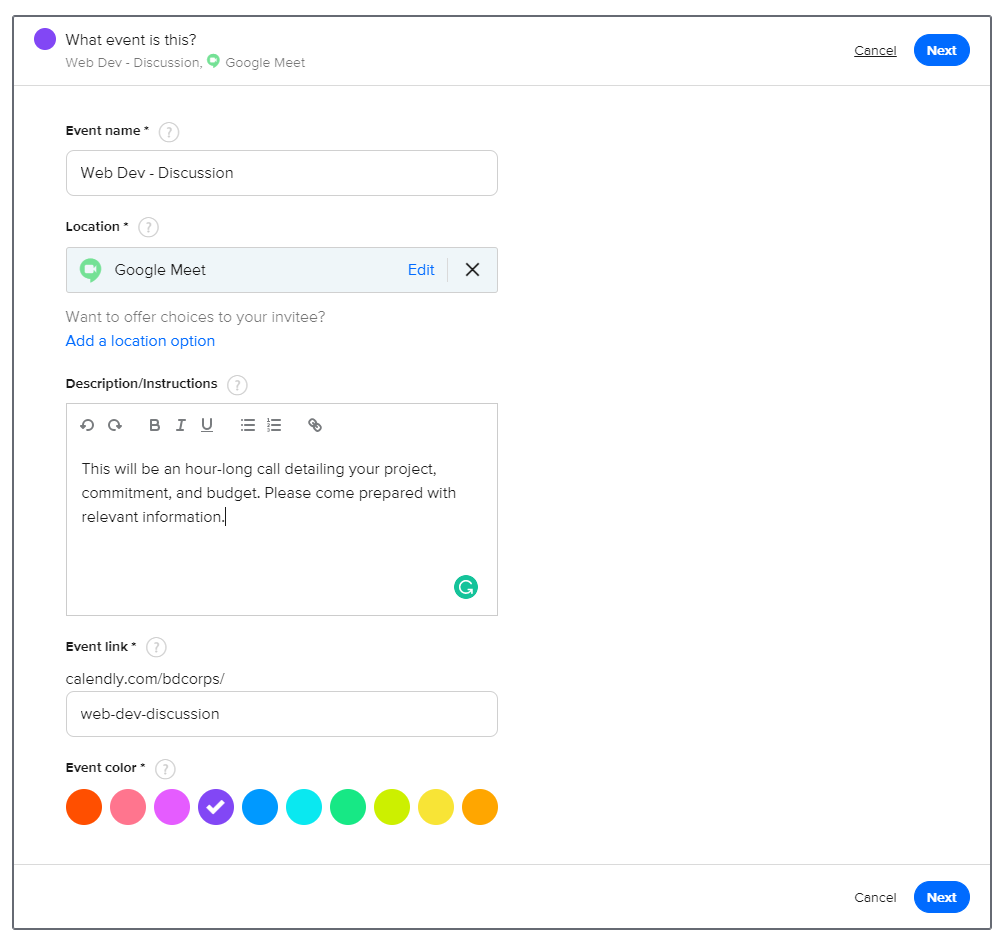
Select One-on-One
-
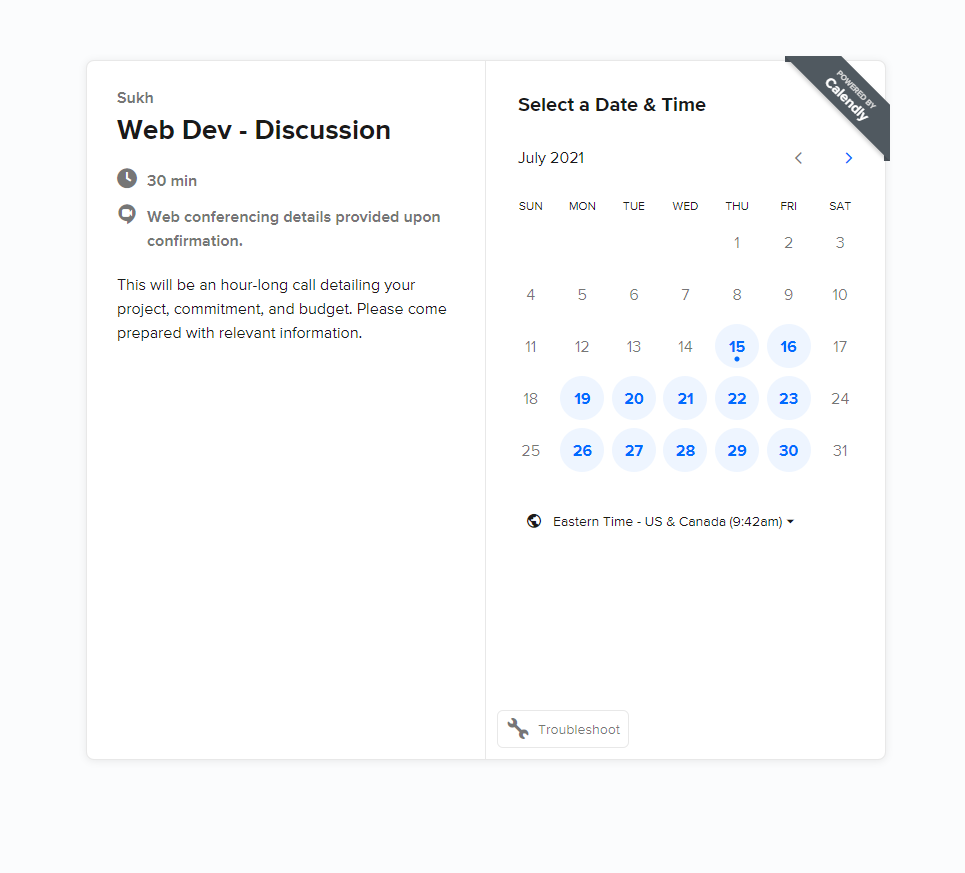
Configure your event - name, location, and any other instructions you want to leave. Click Next.
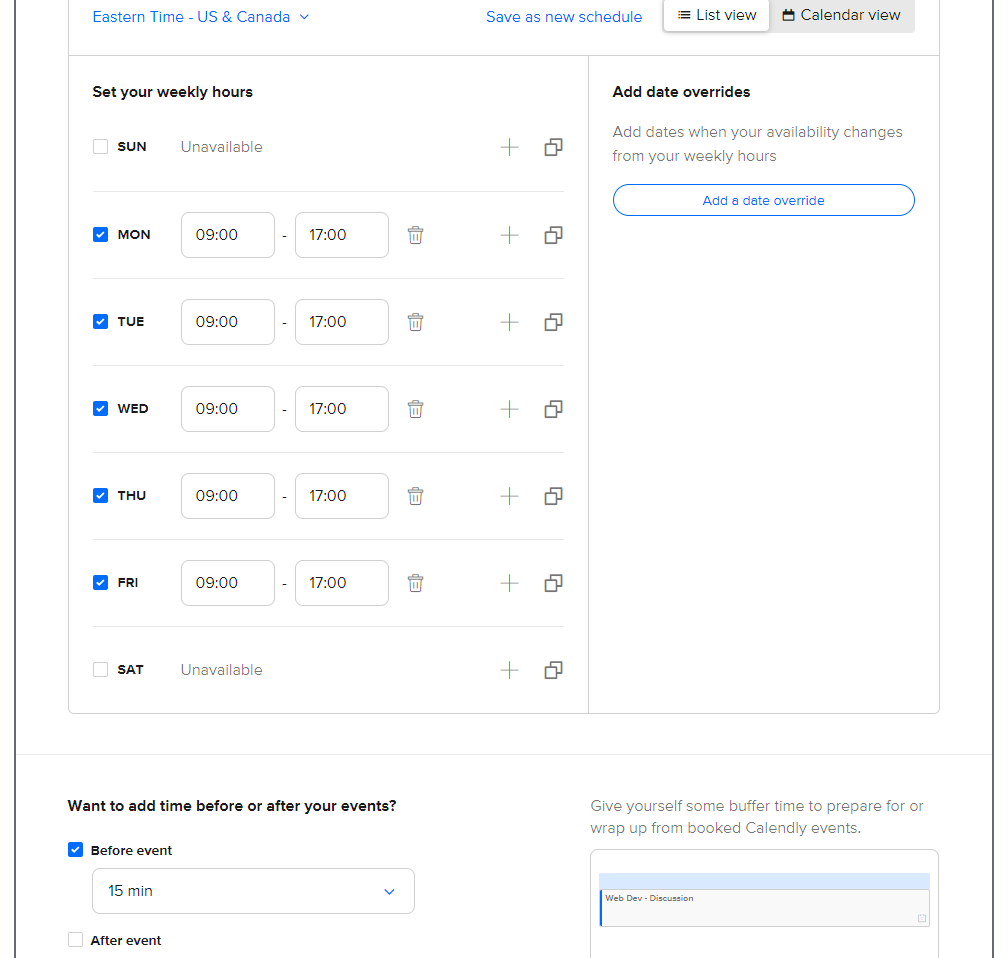
- In the next screen, specify what days and times you would be available for. Be sure to check your time zone.
- (Optional) If you want your meetings to not be back to back, I would recommend adding 15 minutes before the event.
-
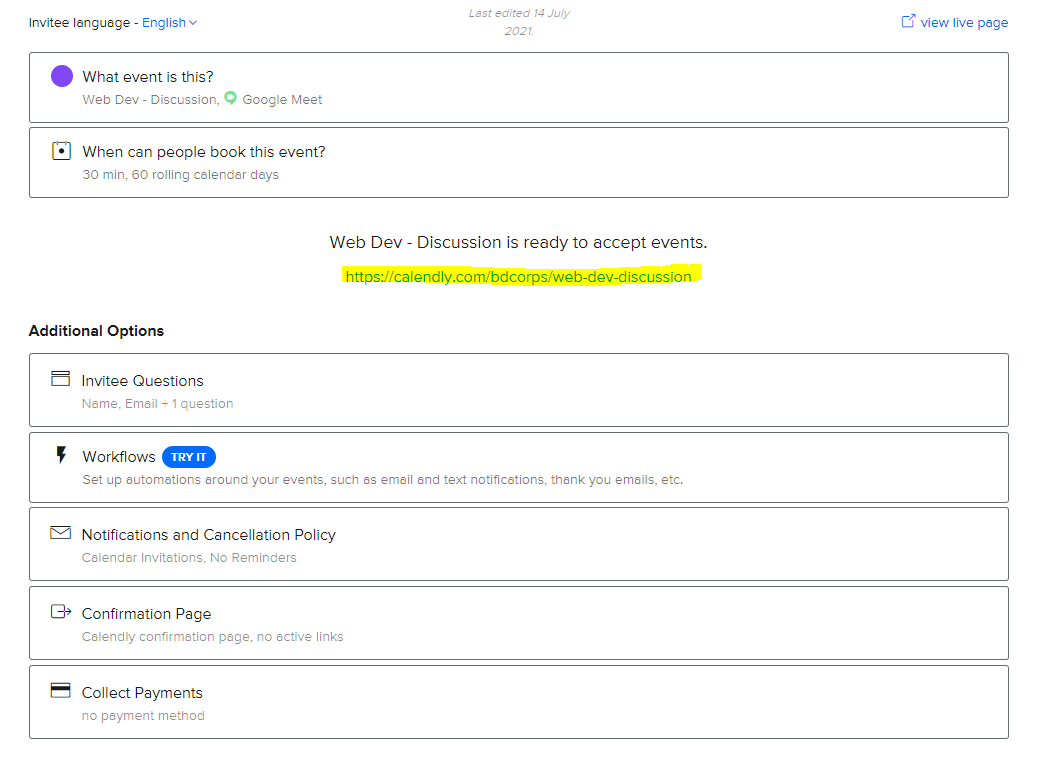
Click Next and your event should now be created. You can preview your booking page by clicking on the link Calendly has generated for you.
Add Calendly button to the landing page
Edit the HTML on your landing page to direct people to the Calendly booking page when they try to book a call. Replace the **CALENDLY_LINK** with the generated link from the last step.
<a href="**CALENDLY_LINK**">Book a call with me</a>
And there you have it! Now whenever a prospect books a call with you, their contact information will automatically show up on your calendar.
