- Why is posting a menu online so popular with restauranteurs?
- How to create a digital restaurant menu step-by-step
- Start thinking the process through.
- Gather your crucial information.
- Now it’s time to design and create the menu itself.
- How to use Canva to design a menu
- Posting and sharing your menu online with Tiiny.host
- Taking next steps
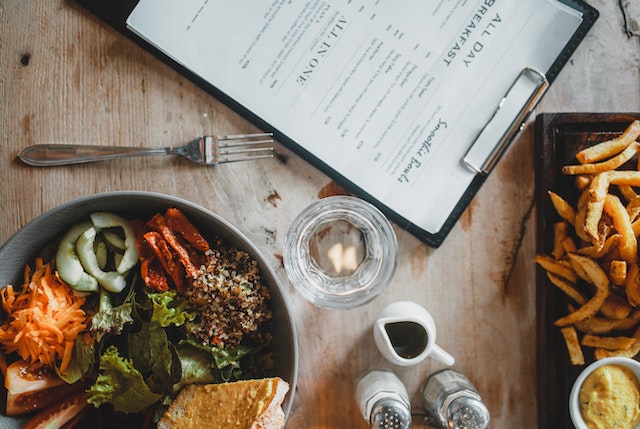
You may have been to a restaurant that offers a digital menu. More and more, restaurants post their menus online for their customers to see. Why?
Are you a restaurant owner or employee? This article explains both how to make an online menu and how to make a menu online.
What’s the difference?
- First, you must design and create the menu.
- Then, you post the menu online for easy access by your customers.
I’ll take you through why and how to make an online menu and then easily post that menu live on the web.
Why is posting a menu online so popular with restauranteurs?
Making an online menu available is a profitable practice both for restaurants and ghost kitchens. There are several reasons for this:
- Convenience: Posting a menu online allows customers to easily view the offerings and prices of a restaurant without having to visit in person or call.
- Marketing: A well-designed menu can be an effective marketing tool, showcasing the restaurant’s style and offerings to potential customers. With the right food marketing solutions, restaurants can strategically craft their menus to highlight high-margin items, enhance visual appeal, and align with their brand identity.
- Search engine optimization: Having a menu posted on a restaurant’s website can help improve its search engine rankings, making it more visible to potential customers.
- Customer feedback: Posting a menu online allows customers to provide feedback and make suggestions, which can help a restaurant improve its offerings and service.
- Specials and promotions: An online menu allows a restaurant to update and promote unique dishes or restaurant promotions easily.
- Ordering and delivery: Some restaurants offer online ordering and delivery services through their website or third-party platforms, and an online menu is necessary for these services.
As with most recipes, there are several steps involved in making an online menu and then posting that menu to the web for customers to see.
Let’s first create the menu.
How to create a digital restaurant menu step-by-step
Like any project, you must gather your information and resources together before beginning your menu design work.
Start thinking the process through.
- Consider who your customers are and what they desire.
- Decide on the menu’s format. You’ll want your menu to reflect your brand, including size, layout, and design.
Gather your crucial information.
- Choose the dishes you want on this menu. Current design practices suggest that you don’t overload your menu.
- Write the descriptions for each of your menu items. Use descriptive and appealing language, and keep it brief.
- Group the dishes into appropriate categories. Arrange them in a logical order.
- Set prices for each dish. Calculate these prices carefully.
Now it’s time to design and create the menu itself.
You may:
- Hire a graphic designer.
- Do all the design work yourself using graphic design apps.
- Use a design tool, including pre-made templates.
1. How to hire a graphic designer
Hiring a graphic designer is a somewhat costly but effective way to create a professional digital menu.
A great way to find a graphic designer is by using a service such as 99designs.com. Other services include Crowdspring and Design Pickle.
2. Use graphic design apps to create your menu
There are paid apps you can use yourself that are industry leaders in graphic design, such as:
Free graphic design apps include:
3. Use a free online design tool to create a menu
There are many competing online services in this category. I’ve chosen Canva as a popular and free tool that is easy to use. Canva also offers hundreds of menu templates. You need only edit them with your information, then download the final menu file.
How to use Canva to design a menu
Log into Canva, create a free account, and search for “menu.”
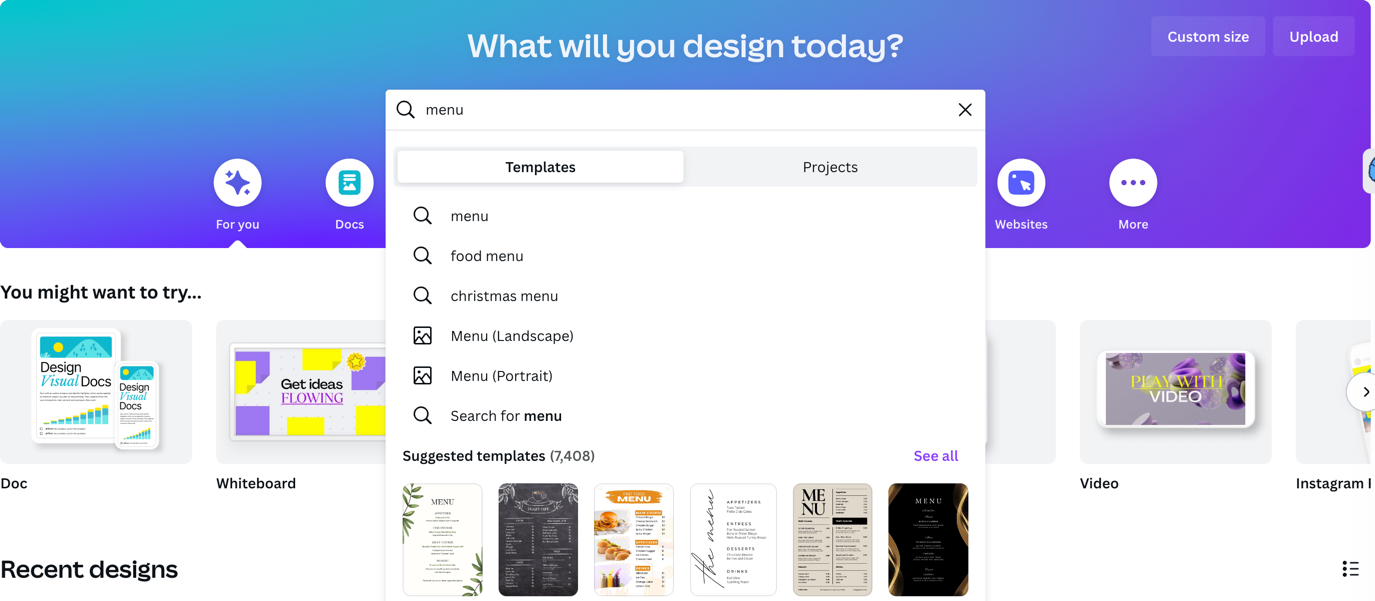
You’ll be taken to a page with hundreds, if not thousands, of menu template choices. Scroll through the choices, choose the one that best represents your brand, and edit it to create your final design.
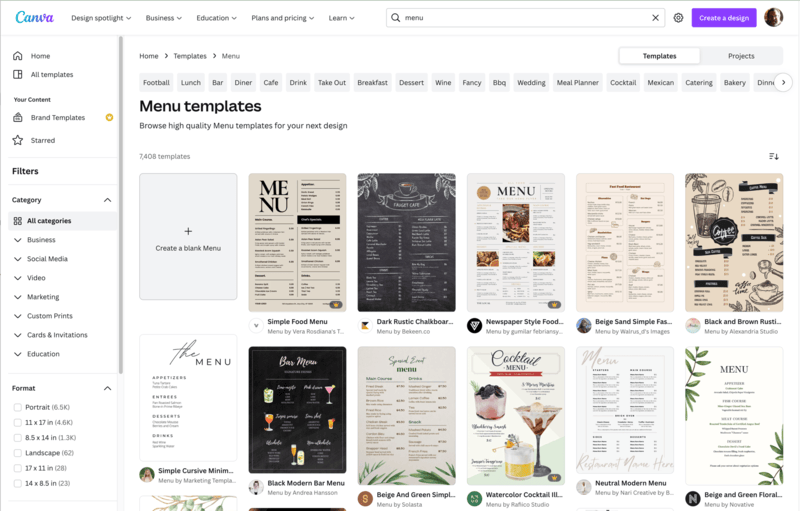
Canva has excellent online help, so that’s all I’ll cover in this post.
Download your final menu design as a PDF or as an image. Either will do.
But you’re not done yet.
Posting and sharing your menu online with Tiiny.host
Tiiny.host is the easiest way to share your menu online. I write for Tiiny.host and recommend them highly based on my own use.
Posting your menu to Tiiny.host is a simple three-step process.
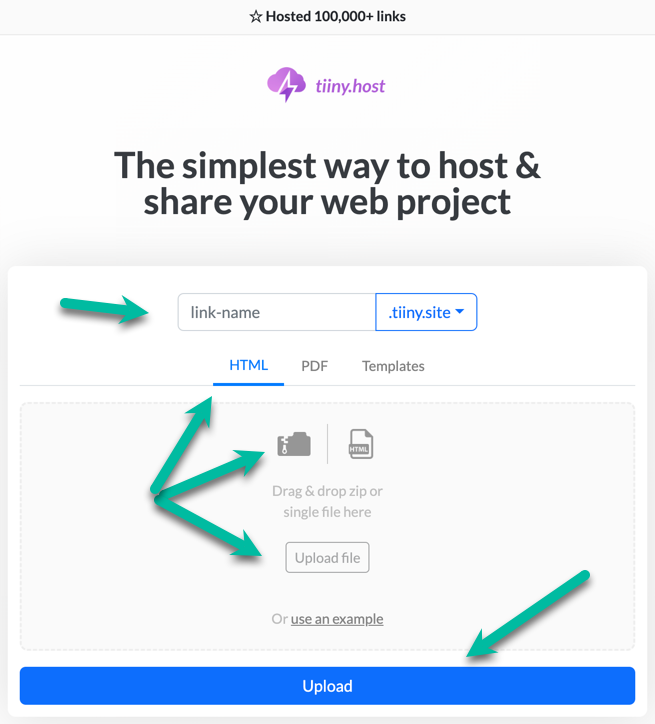
- Provide a link-name for your website. It may be your restaurant’s name or any other phrase that reflects your branding. Don’t put any spaces in the link-name! Use hyphens instead.
- The HTML section is also used for images and the PDF section for… PDFs. Choose one, then drag & drop or click to upload your final menu file.
- To finish the process and post your file to Tiiny.host, click the big, blue “Upload” button.
That’s it!
Your menu is now live on the web. You can host it there for free.
Taking next steps
If you require or desire additional services, such as viewing your visitor statistics, password-protecting your file, or using a custom domain name, there are two additional paid levels to Tiiny.host—Solo and Pro. Check out their features and pricing.
Tiiny.host’s customer service is awesome! If you have questions about their service or this article, you can contact them directly at tiiny.host/help.
