You may sit around wondering, “How can I make my static website more interactive?” Many people do.
Well, you’re in the right place.
In this blog post, we’ll explore the differences between static and dynamic websites and discuss various techniques to bring life to your static web pages.
By the end of this post, you’ll be able to create a more dynamic, user-friendly website that will impress your visitors.
Let’s begin.
Static vs. Dynamic Websites
Before making your static website more interactive, let’s take a quick look at the differences between static and dynamic websites.
Static Websites:
- Pre-built HTML, CSS, and JavaScript files
- No server-side processing
- Fast and simple to create
- Limited interactivity and customization
- ARTICLE: How to Build a Static Website
Dynamic Websites:
- Generate content and layout on-the-fly
- Server-side processing
- More complex to create
- Highly interactive and customizable
In short, static websites are generally quicker to build and require less maintenance, Dynamic websites offer more flexibility and customization options—and usually more interactivity.
RELATED ARTICLE: Static Site Generators for WordPress
Incorporating Dynamic Content into Your Static Website
Here are some useful techniques to help you add dynamic content to your static website’s experience:
Leverage APIs
Application programming interfaces (APIs) allow your static website to fetch data from external sources, such as weather information, news articles, or social media posts. You can use JavaScript to call these APIs and display the data on your website.
APIs are usually handled by JavaScript libraries and often implemented by web programmers.
We’ll look at a programming example later in this post.
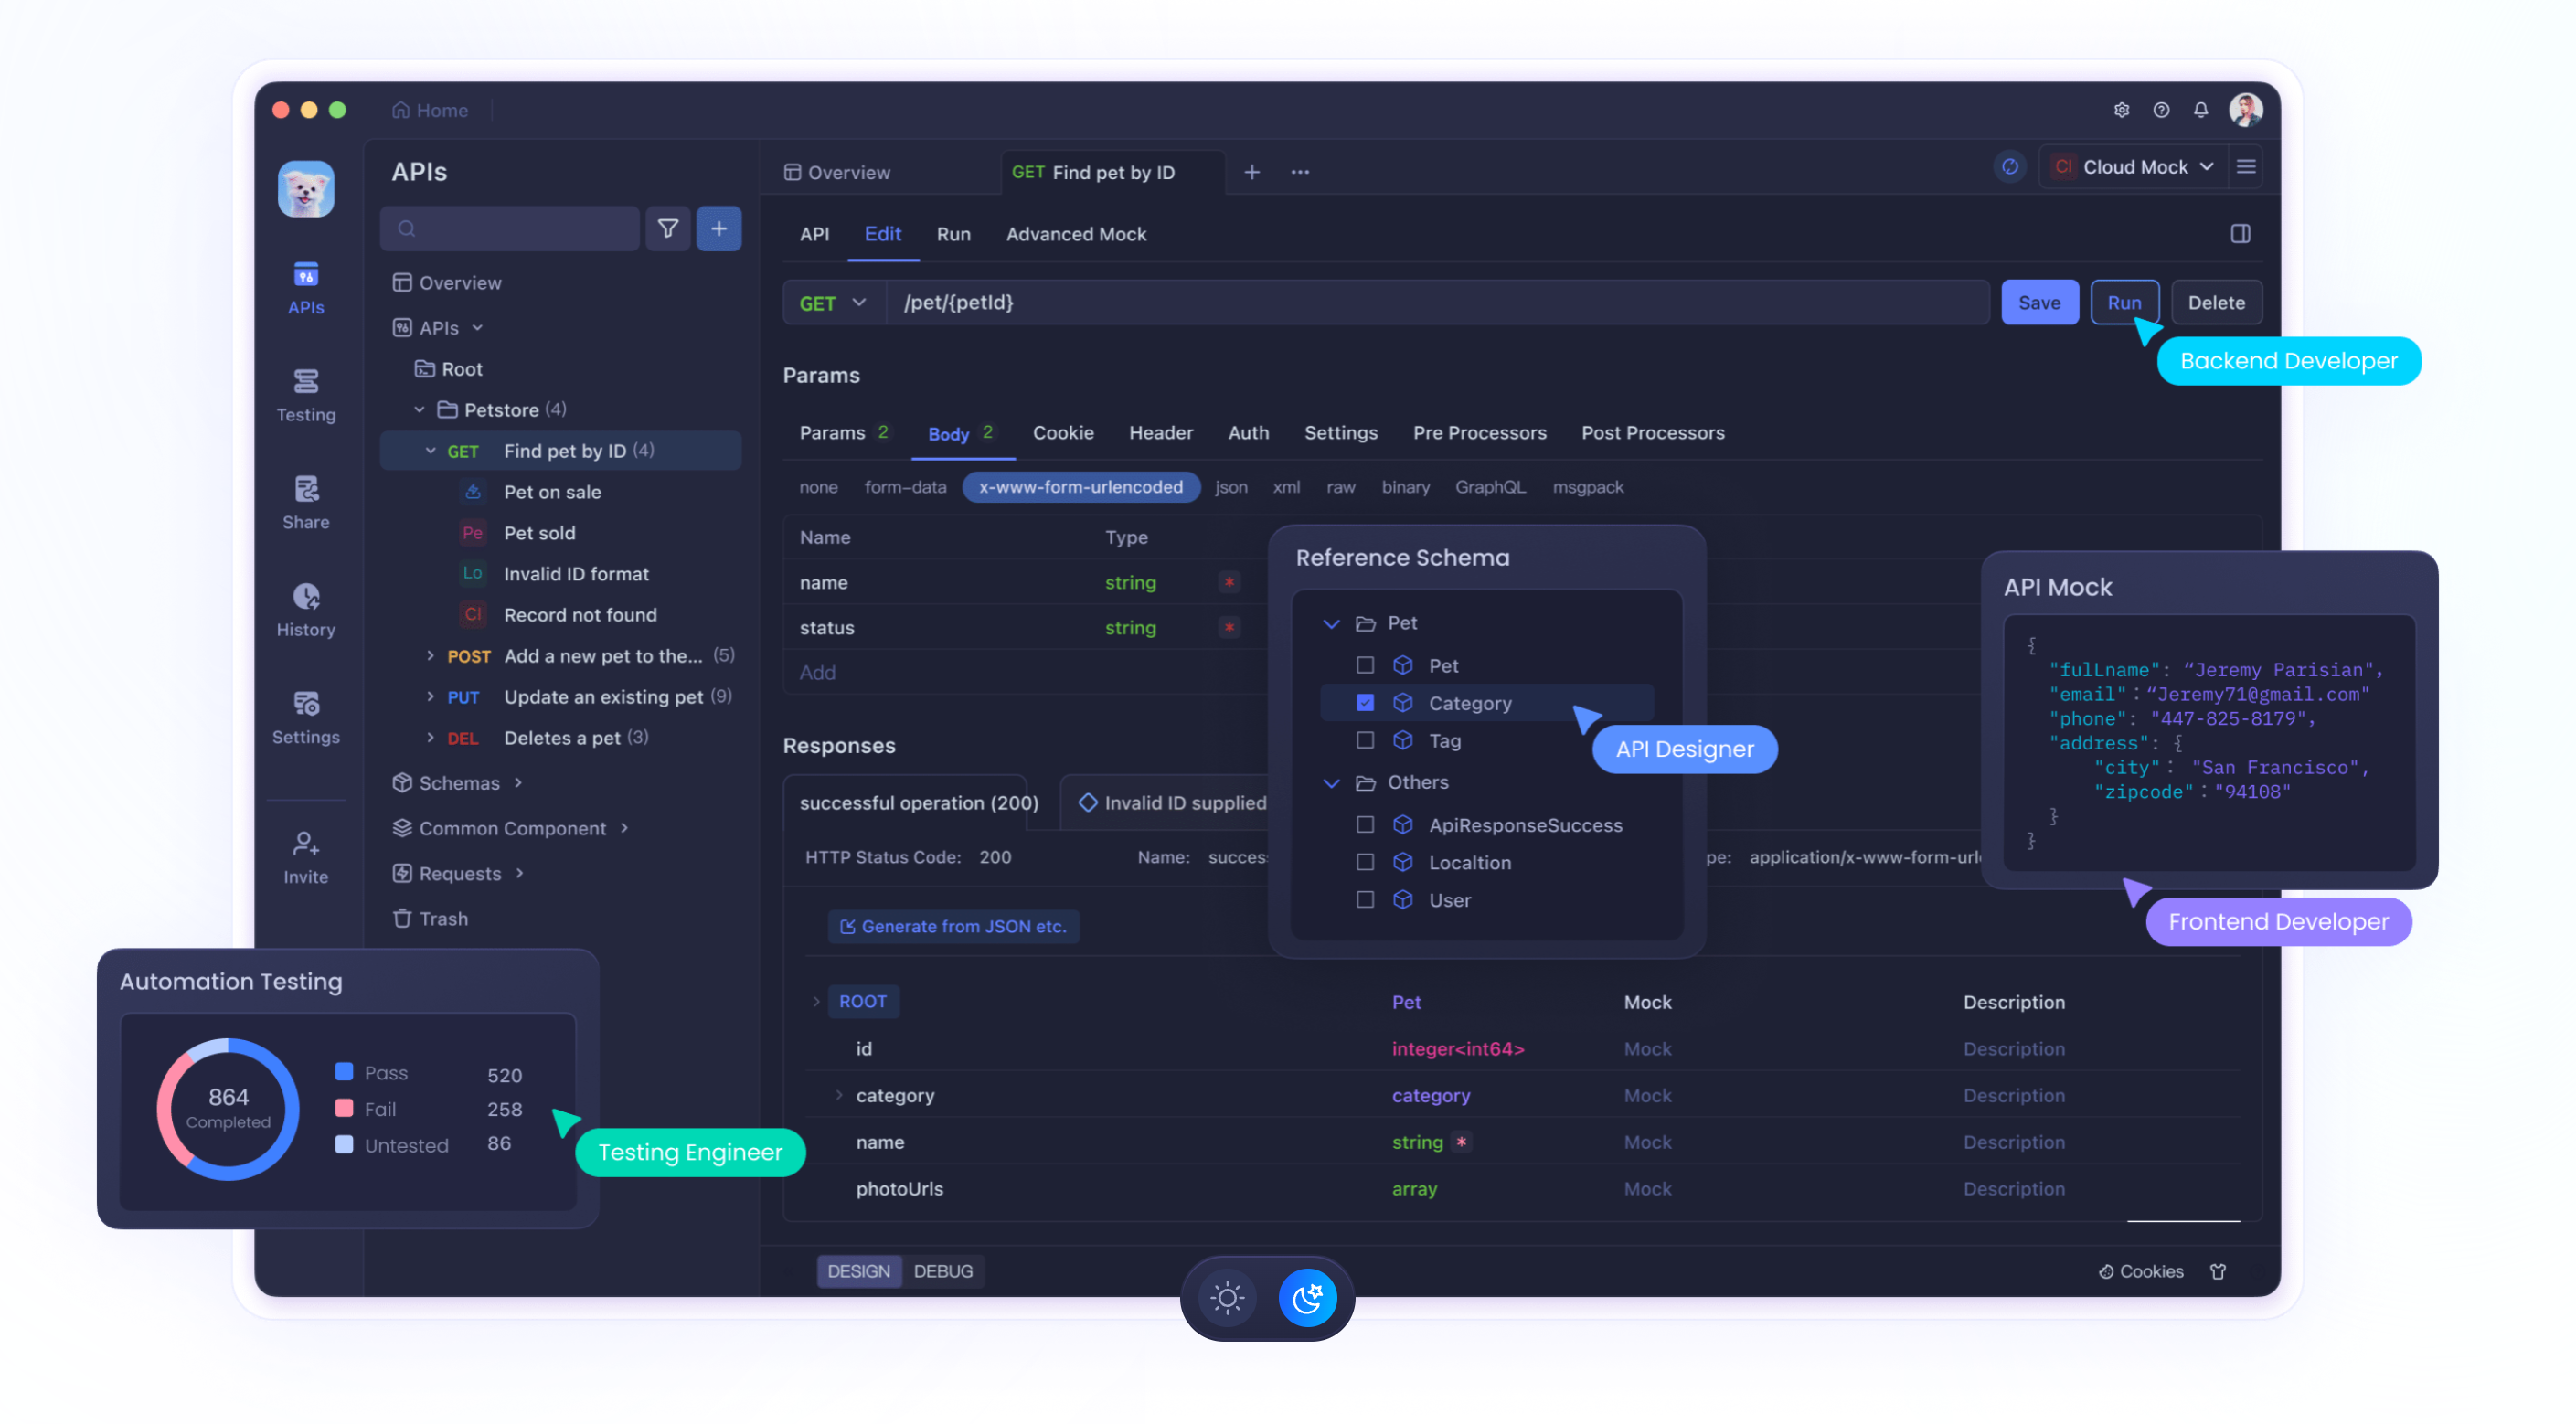
For instance, services like Apidog offer an extensive collection of APIs for various functionalities, making it easier to integrate diverse features into your site.

Use a Headless CMS
A headless content management system (CMS) allows you to manage, edit, and store your site’s content apart from your actual website.
You create your content in the headless CMS. Then your static site generator (SSG) uses your content to generate the web pages you host on your website.
This way, you can easily update content without having to edit the HTML files directly.
Popular headless CMS options include Contentful, Sanity, and Strapi.
Use JavaScript Libraries and Frameworks
Countless JavaScript libraries and frameworks are available to help you add interactivity and dynamic content to your website.
Some popular options include:
- jQuery: A lightweight library for DOM manipulation, event handling, and animations in JavaScript.
- React: A JavaScript library for building user interfaces, particularly for single-page applications. Best for programmers.
- Vue.js: A progressive JavaScript framework for building user interfaces. Also requires programming abilities.
HTML Dynamic Content: Tips and Tricks
Here are some tips and tricks to help you optimize your static site’s dynamic content:
- Dynamic content can sometimes render differently on different visitors’ browsers. Test your website across various browsers and devices. Test thoroughly to see that every visitor’s website experience is top-notch.
- Make sure your dynamic content is accessible to all users, including those with disabilities. Use semantic HTML when necessary.
- Keep your website’s performance in mind. While adding dynamic content can enhance your site’s interactivity, it can also slow it down. Be mindful of the number and size of your API calls and JavaScript libraries.
How to Display Dynamic Content on an HTML Page
Now, let’s walk through a simple example of how to display dynamic content on an HTML web page.
In this example, we’ll use JavaScript to fetch data from an API and display it on our static website.
Step 1: Set up the HTML structure
First, create an HTML file with a basic structure and an empty element where you’ll display the dynamic content.
For instance:
<!DOCTYPE html>

<html lang="en">

<head>

	<meta charset="UTF-8">

	<meta name="viewport" content="width=device-width, initial-scale=1.0">

	<title>Dynamic Content Example</title>

</head>

<body>

	<h1>Latest News</h1>

	<div id="news-container"></div>

	<script src="script.js"></script>

</body>

</html>
Step 2: Write the JavaScript to fetch and display data
Next, create a JavaScript file (in this case, script.js) to fetch data from an API and display it in the news-container element. Here’s an example using the JSONPlaceholder API:
const newsContainer = document.getElementById('news-container');

fetch('https://jsonplaceholder.typicode.com/posts?_limit=5')

	.then((response) => response.json())

	.then((data) => {

data.forEach((post) => {

const postElement = document.createElement('div');

postElement.innerHTML = `

	<h2>${post.title}</h2>

	<p>${post.body}</p>

`;

newsContainer.appendChild(postElement);

});

})

.catch((error) => {

console.error('Error fetching data:', error);

});
We’re fetching data from the JSONPlaceholder API, limiting the results to 5 posts.
We then:
- iterate through the data
- create new HTML elements for each post
- append them to the news-container
And that’s it!
You’ve successfully added dynamic content to your static website with just a few lines of code.
TL; DR
Learning how to make a static website more interactive and engaging can significantly improve your visitor’s website experience.
You can create a more dynamic, user-friendly website by understanding the differences between static and dynamic websites and incorporating dynamic elements, such as APIs, headless CMSs, and JavaScript libraries.
Remember to keep performance and accessibility in mind, and definitely test your site across different browsers and devices.
How do I host a static website?
Visit Tiiny.host for fast, secure, and easy hosting of your static website.
As a user of Tiiny.host myself, I can vouch for them. They’re great!
Once you visit the homepage at Tiiny.host, you are three simple steps from your project being live on the web.
- Enter the link-name for your site.
- Choose HTML, then drag and drop or upload your zipped website file.
- Click the big blue “Upload” button.
That’s it!
Next steps
Tiiny.host offers everything you need for sharing a professional or personal website on the internet.
Tiiny.host’s customer service is awesome! Contact them directly at Tiiny.host/help and see. They’ll answer your questions about their services, help you out with any problems, and explain any issues raised by this article.


