- Why Host a CodePen Separately?
- Step 1: Export Your Codepen Project
- Step 2: How To Quickly Host Your Codepen Project with TiinyHost
- Alternative: How To Host Codepen Project on GitHub pages
- Common Issues When Hosting a Codepen Project
- Frequently Asked Questions
- Can I share a CodePen without showing the code?
- Do I need a backend to host a CodePen project?
- Can I use my own domain with TiinyHost?
- Can I update the hosted version of my project on TiinyHost?
- What file do I need for hosting to work?
- Is free hosting enough for a portfolio piece?
- What if my hosted project looks broken?
- Should I share the CodePen link or the hosted version?
- Final Thoughts
You’ve built something cool in Codepen.
You can’t wait to share it.
But when you share it with other people, they not only see your finished result, they also see the code editor.
It’s okay if you’re sharing it with other developers.
But if you are sharing it with clients or showing off a new UI design, then you’ll want to host your Codepen project on its own URL or domain.
That way, people land on a clean live page. No editor. No code panes. Just the final result.
In this article, I’ll show you:
- How to export your code files from Codepen
- The simplest way to deploy your project on the internet
- How to set up GitHub pages for static hosting
Why Host a CodePen Separately?
Codepen is great for quick prototyping and testing front-end code.
It’s one of the best places to experiment with animations, quickly prototype a UI idea, or to put together an interactive demo just for fun.
The best part about Codepen is that it makes it super easy to use libraries for HTML, CSS, and JavaScript. Whether you want to use a different flavor of CSS such as Sass, or write Typescript instead of plain JavaScript, Codepen has you covered.
But one downside of using Codepen is that when you share it, the shared link still has Codepen branding. And your visitor sees the project code inside the CodePen environment rather than a standalone website.
That’s probably not what you want when sharing your Codepen with other people.
Sharing your CodePen link is fine for getting feedback from other developers. But for a portfolio site, a client presentation, or a job application, it’s not ideal.
Hosting your pen as a standalone URL means your users only see the polished output of your code and not the code itself.
Step 1: Export Your Codepen Project
Before you can host your project, you will need to export the code from Codepen.
Note: For this article, I’m going to use a Codepen I found interesting as an example.
Exporting your code is really simple.
Click the Export button on the bottom right of the screen:
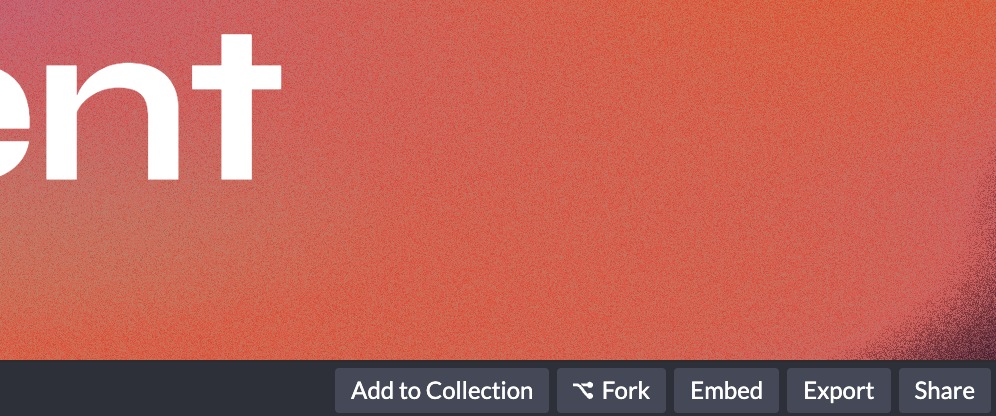
Now, select Expert .zip option.
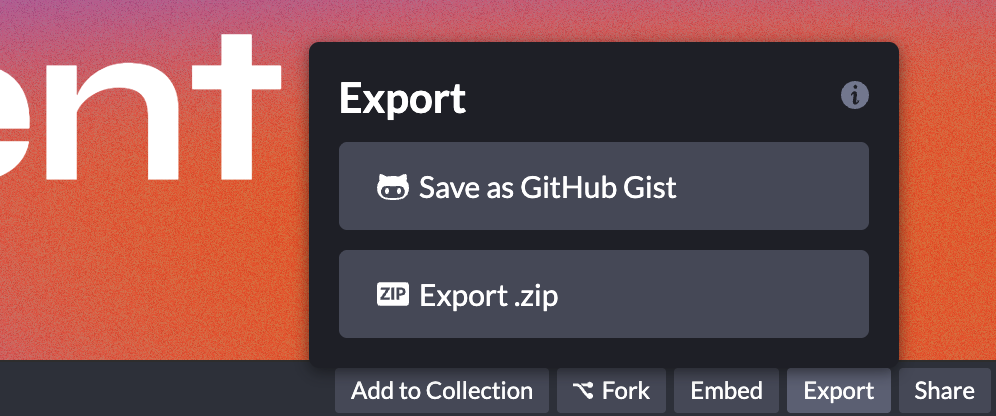
It will export all your code into a neatly packaged ZIP file containing all the files you need.
If you don’t see an export button, make sure you are logged into your Codepen account. If you’re aren’t logged in, you won’t see the Export button.
Still don’t see an export button?
Try Saving the project.
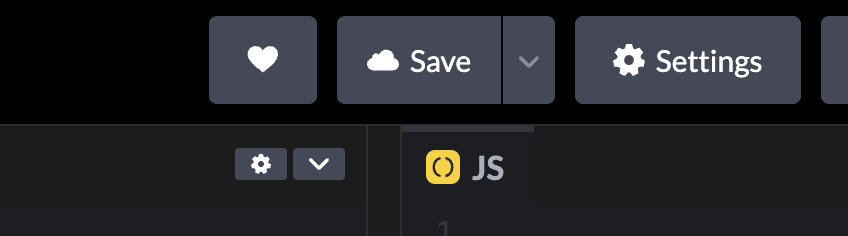
You will find the Save button in the top header on the right side.
The export button only shows up once you save your project.
Step 2: How To Quickly Host Your Codepen Project with TiinyHost
Once you export your code, you will need to upload it to a hosting service.
The easiest and fastest way to do it is to upload your ZIP file to TiinyHost.
The steps are really easy.
Visit the TiinyHost website.
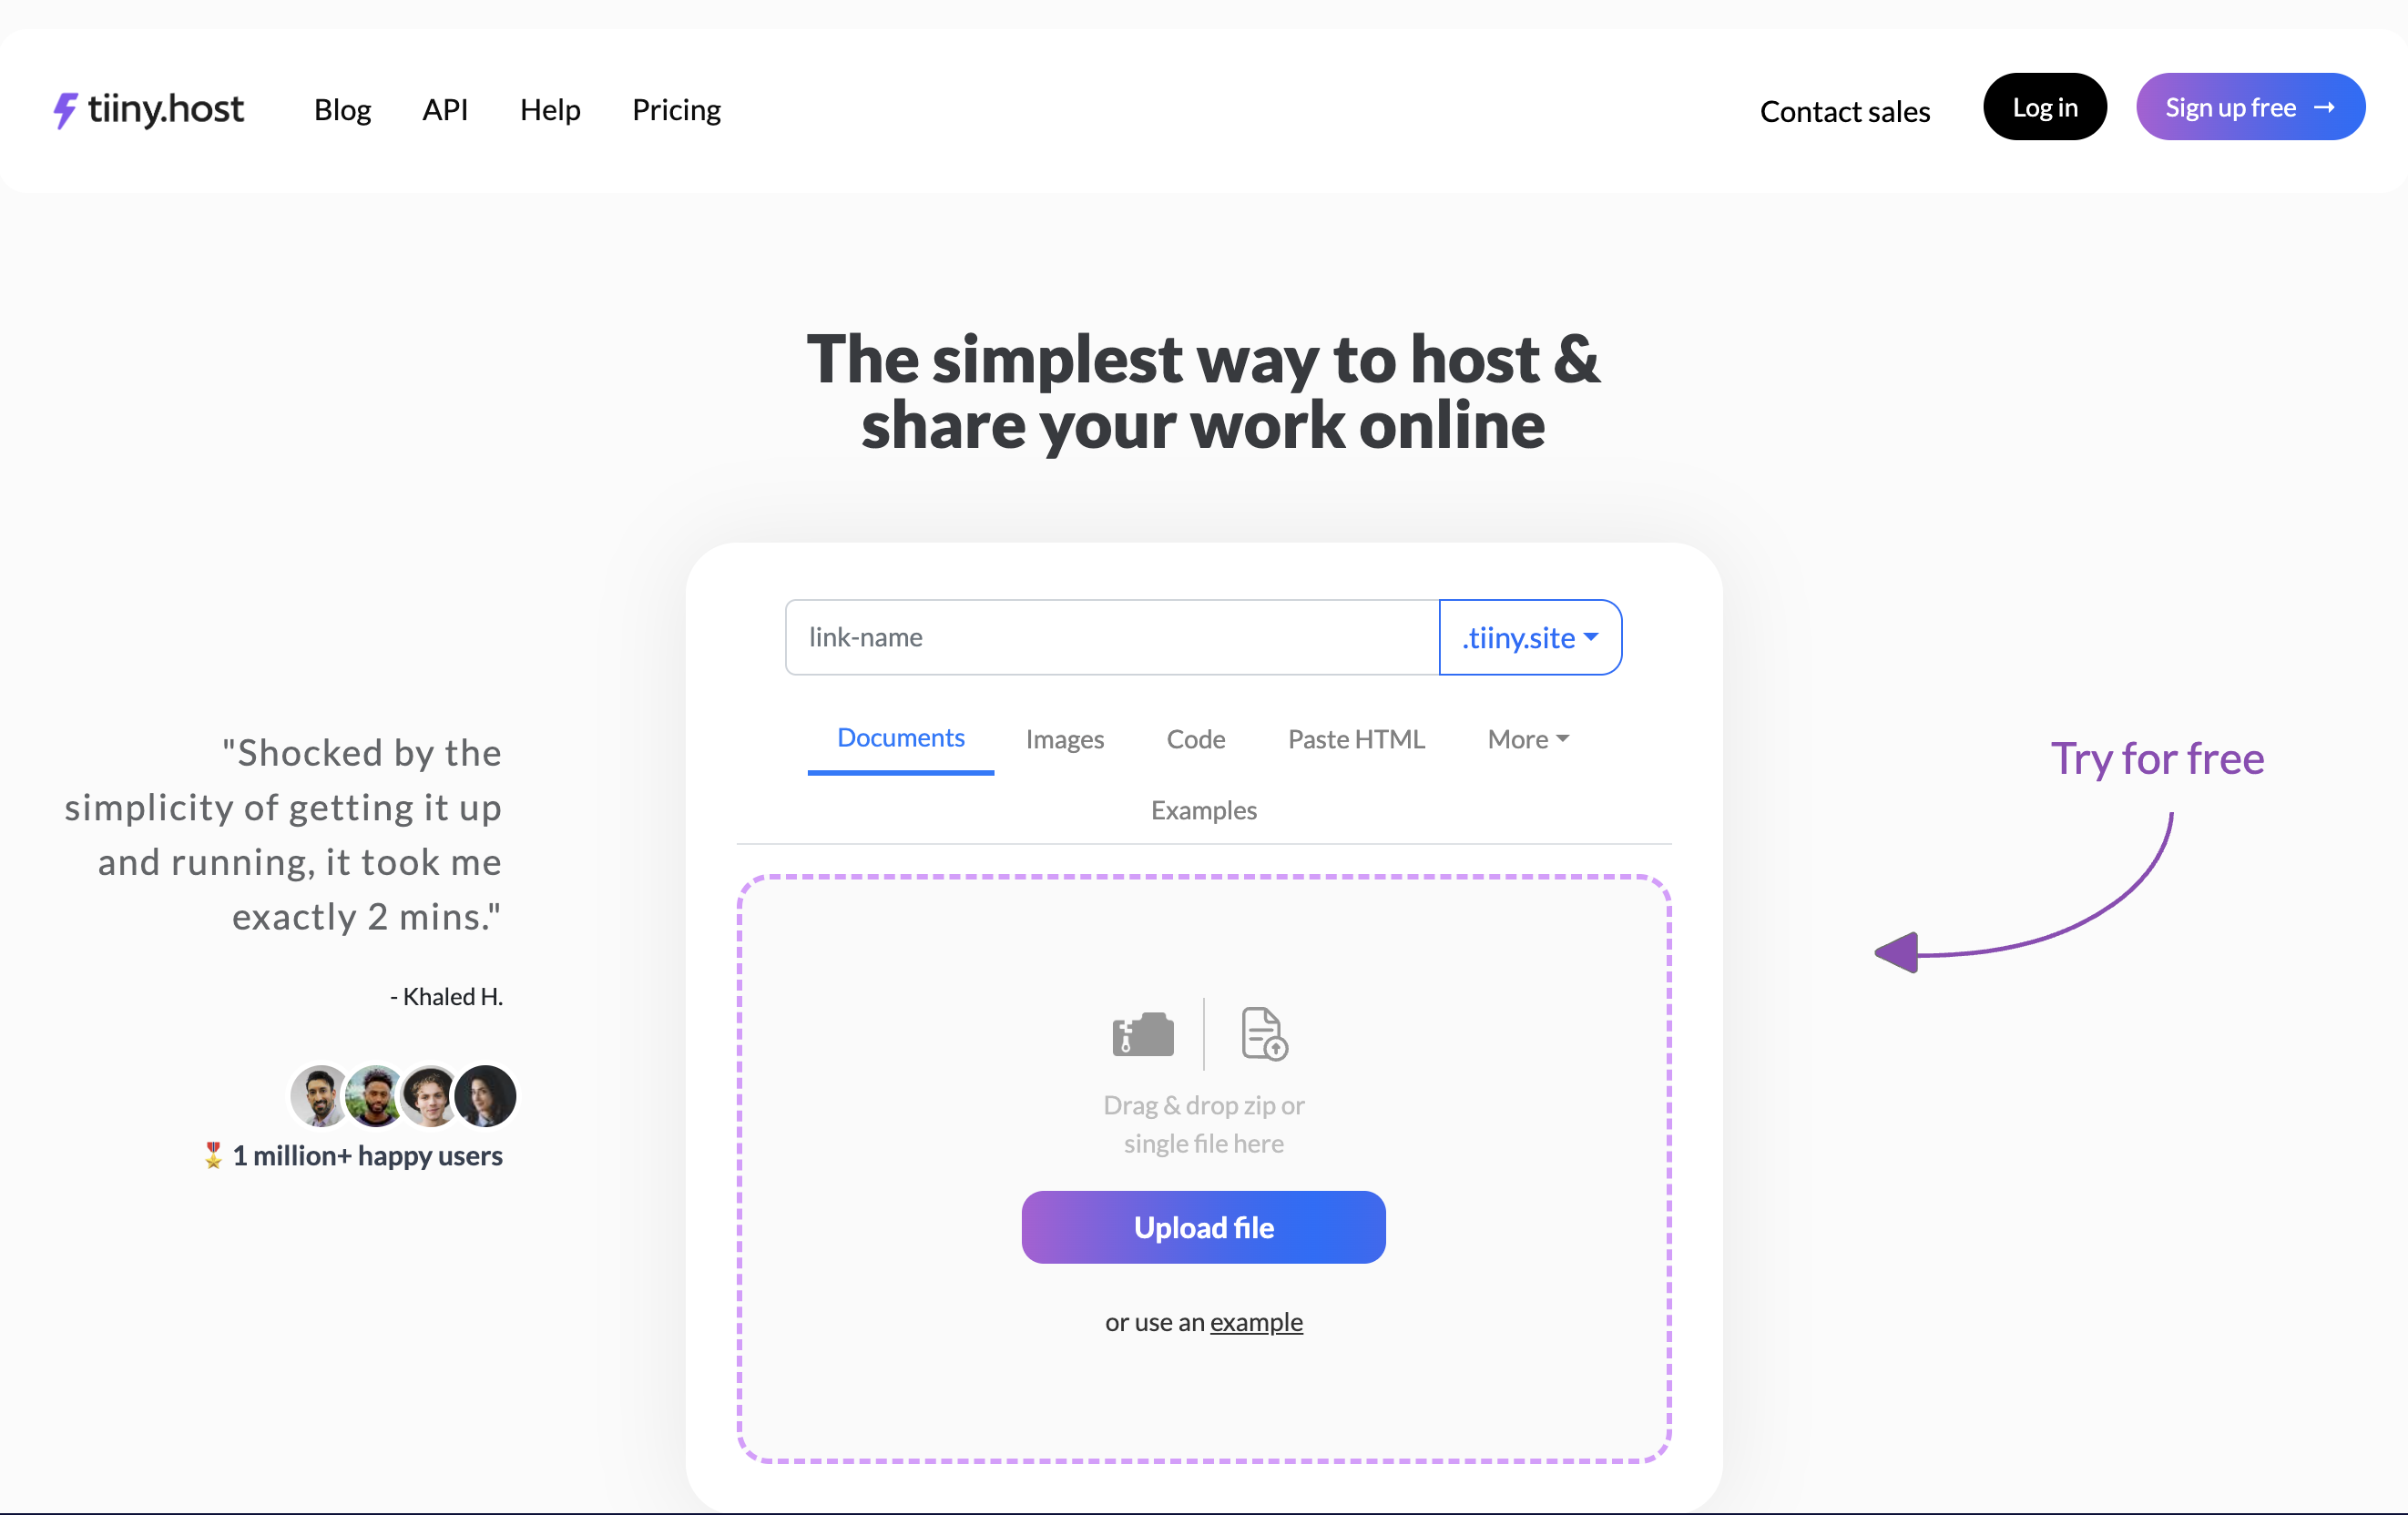
Enter a name for the link. People will see this name when you share this link. You can leave it empty if you want an autogenerated name.
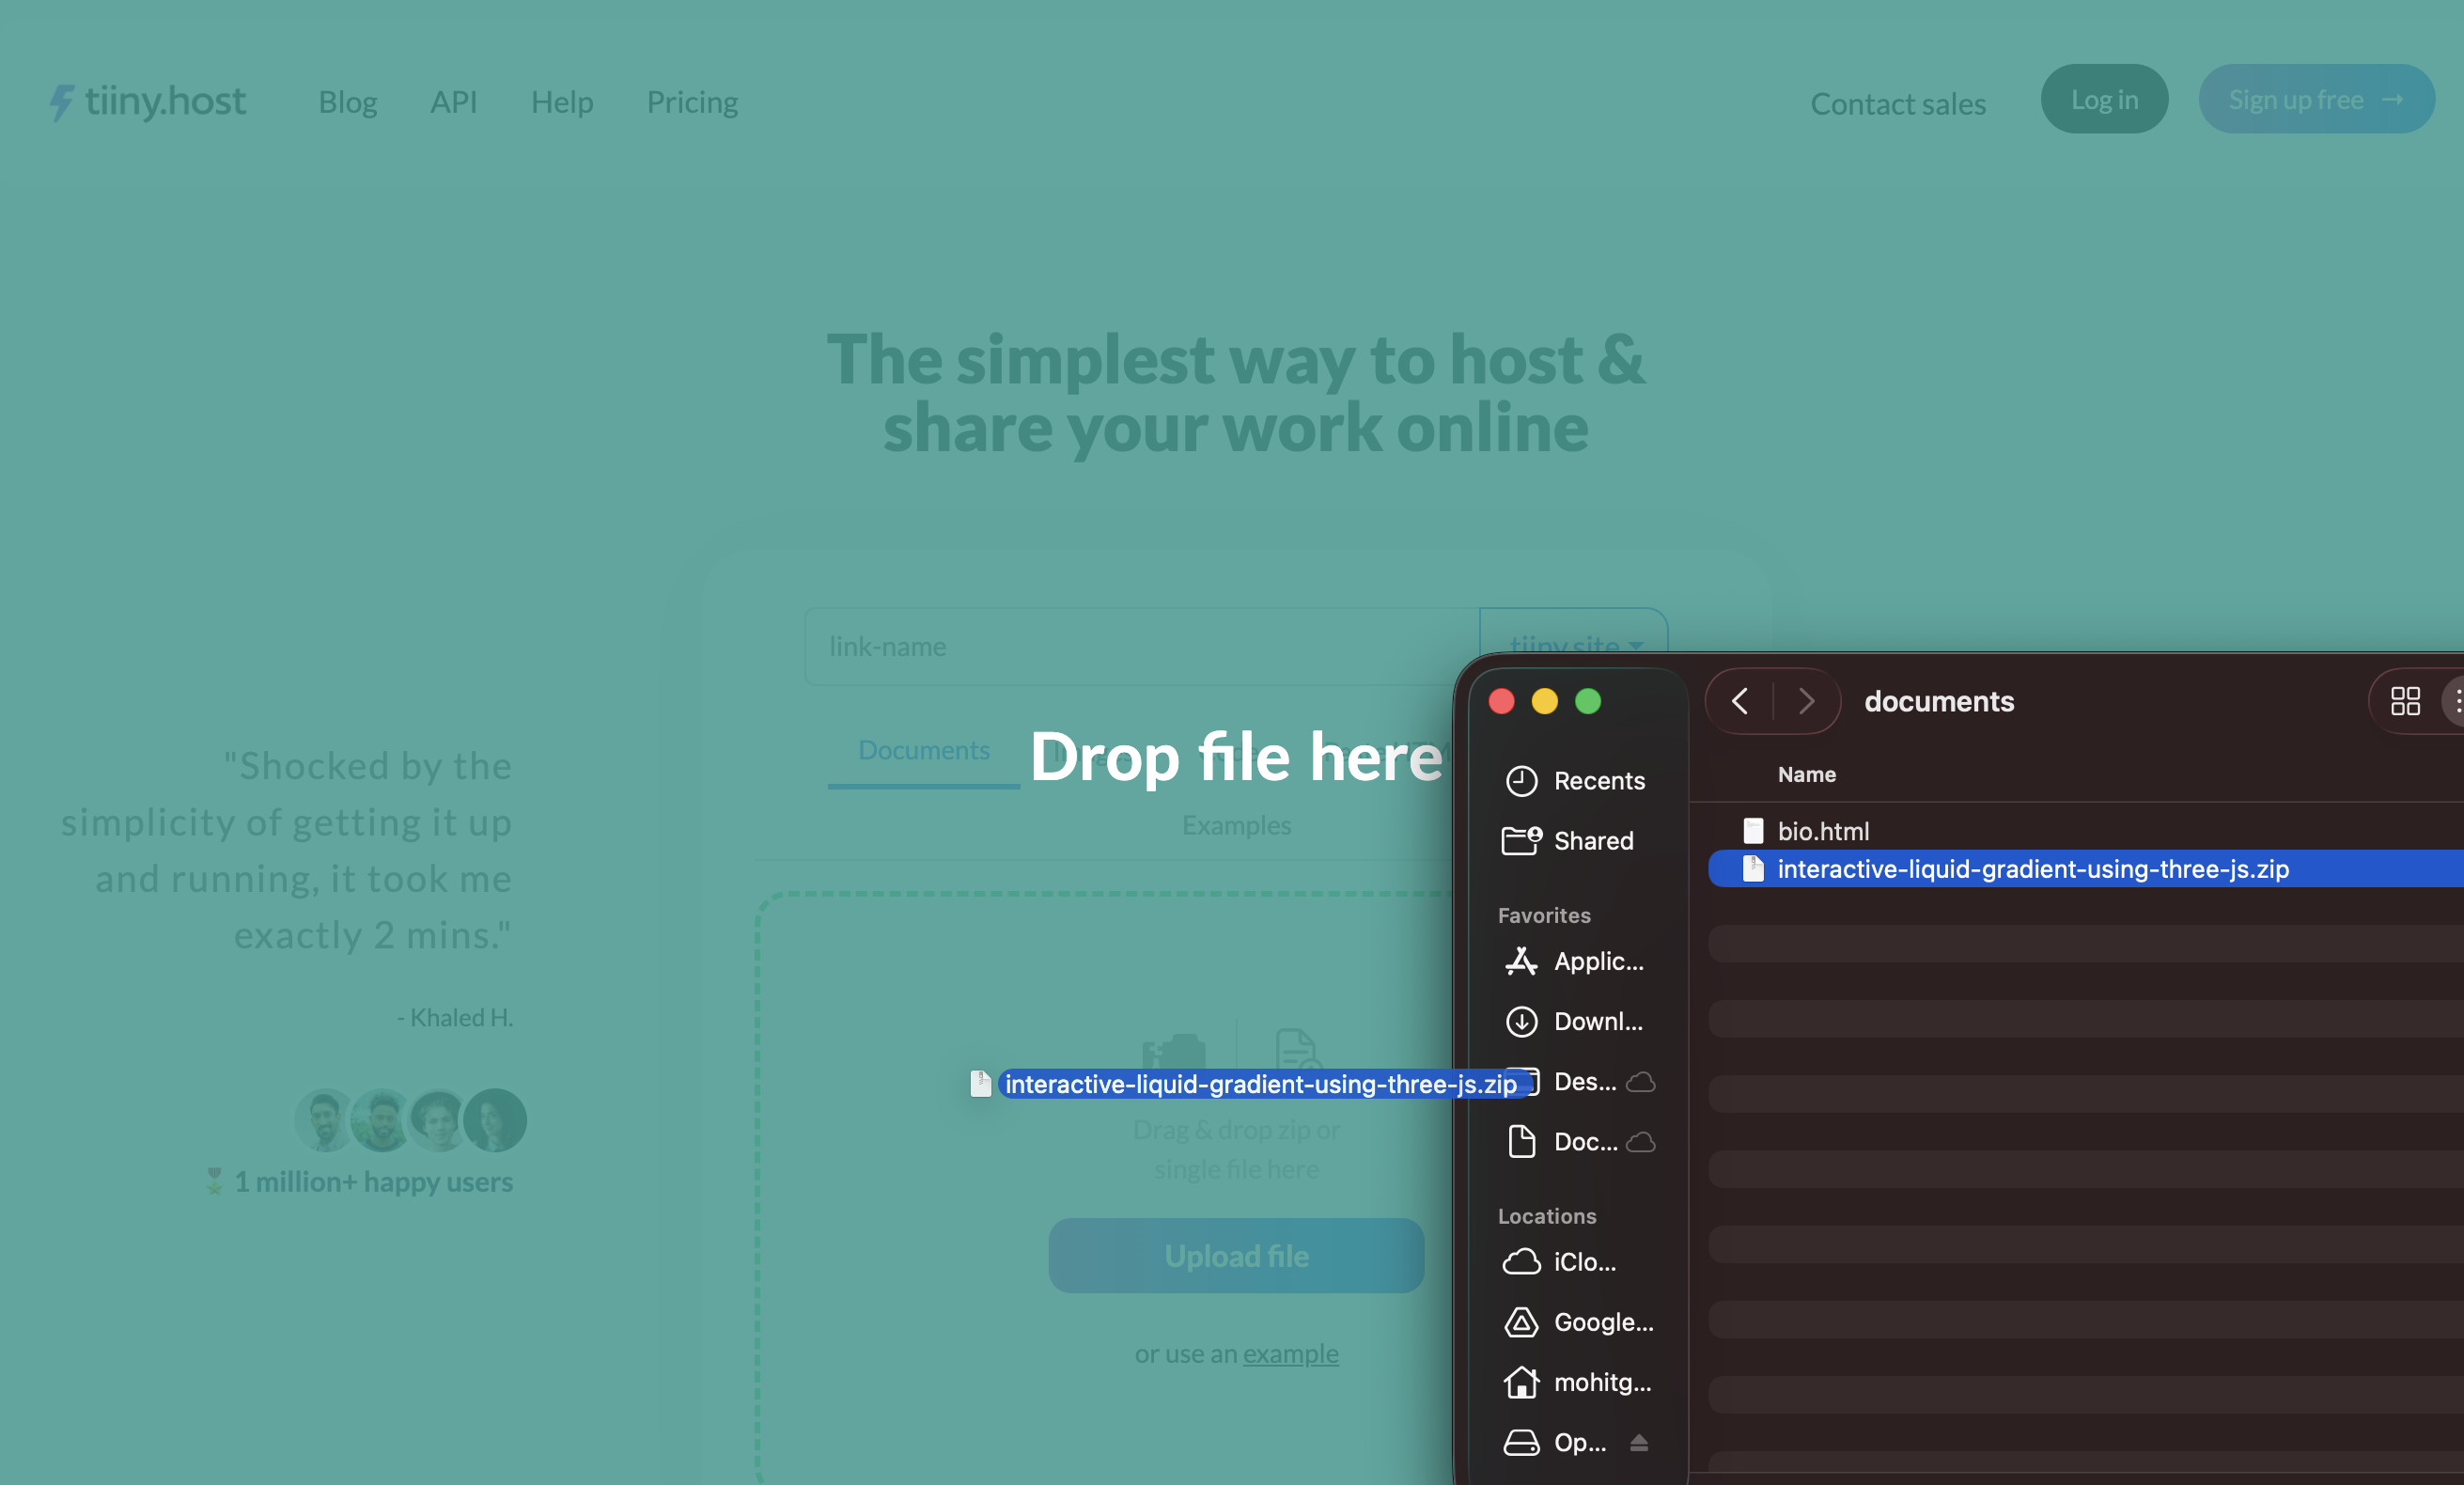
Now, drag and drop your ZIP file onto the TiinyHost website.
Once your ZIP file is uploaded, you will be asked to pick the main file. If your project has multiple index.html files, then you will need to select the one you want people to see.
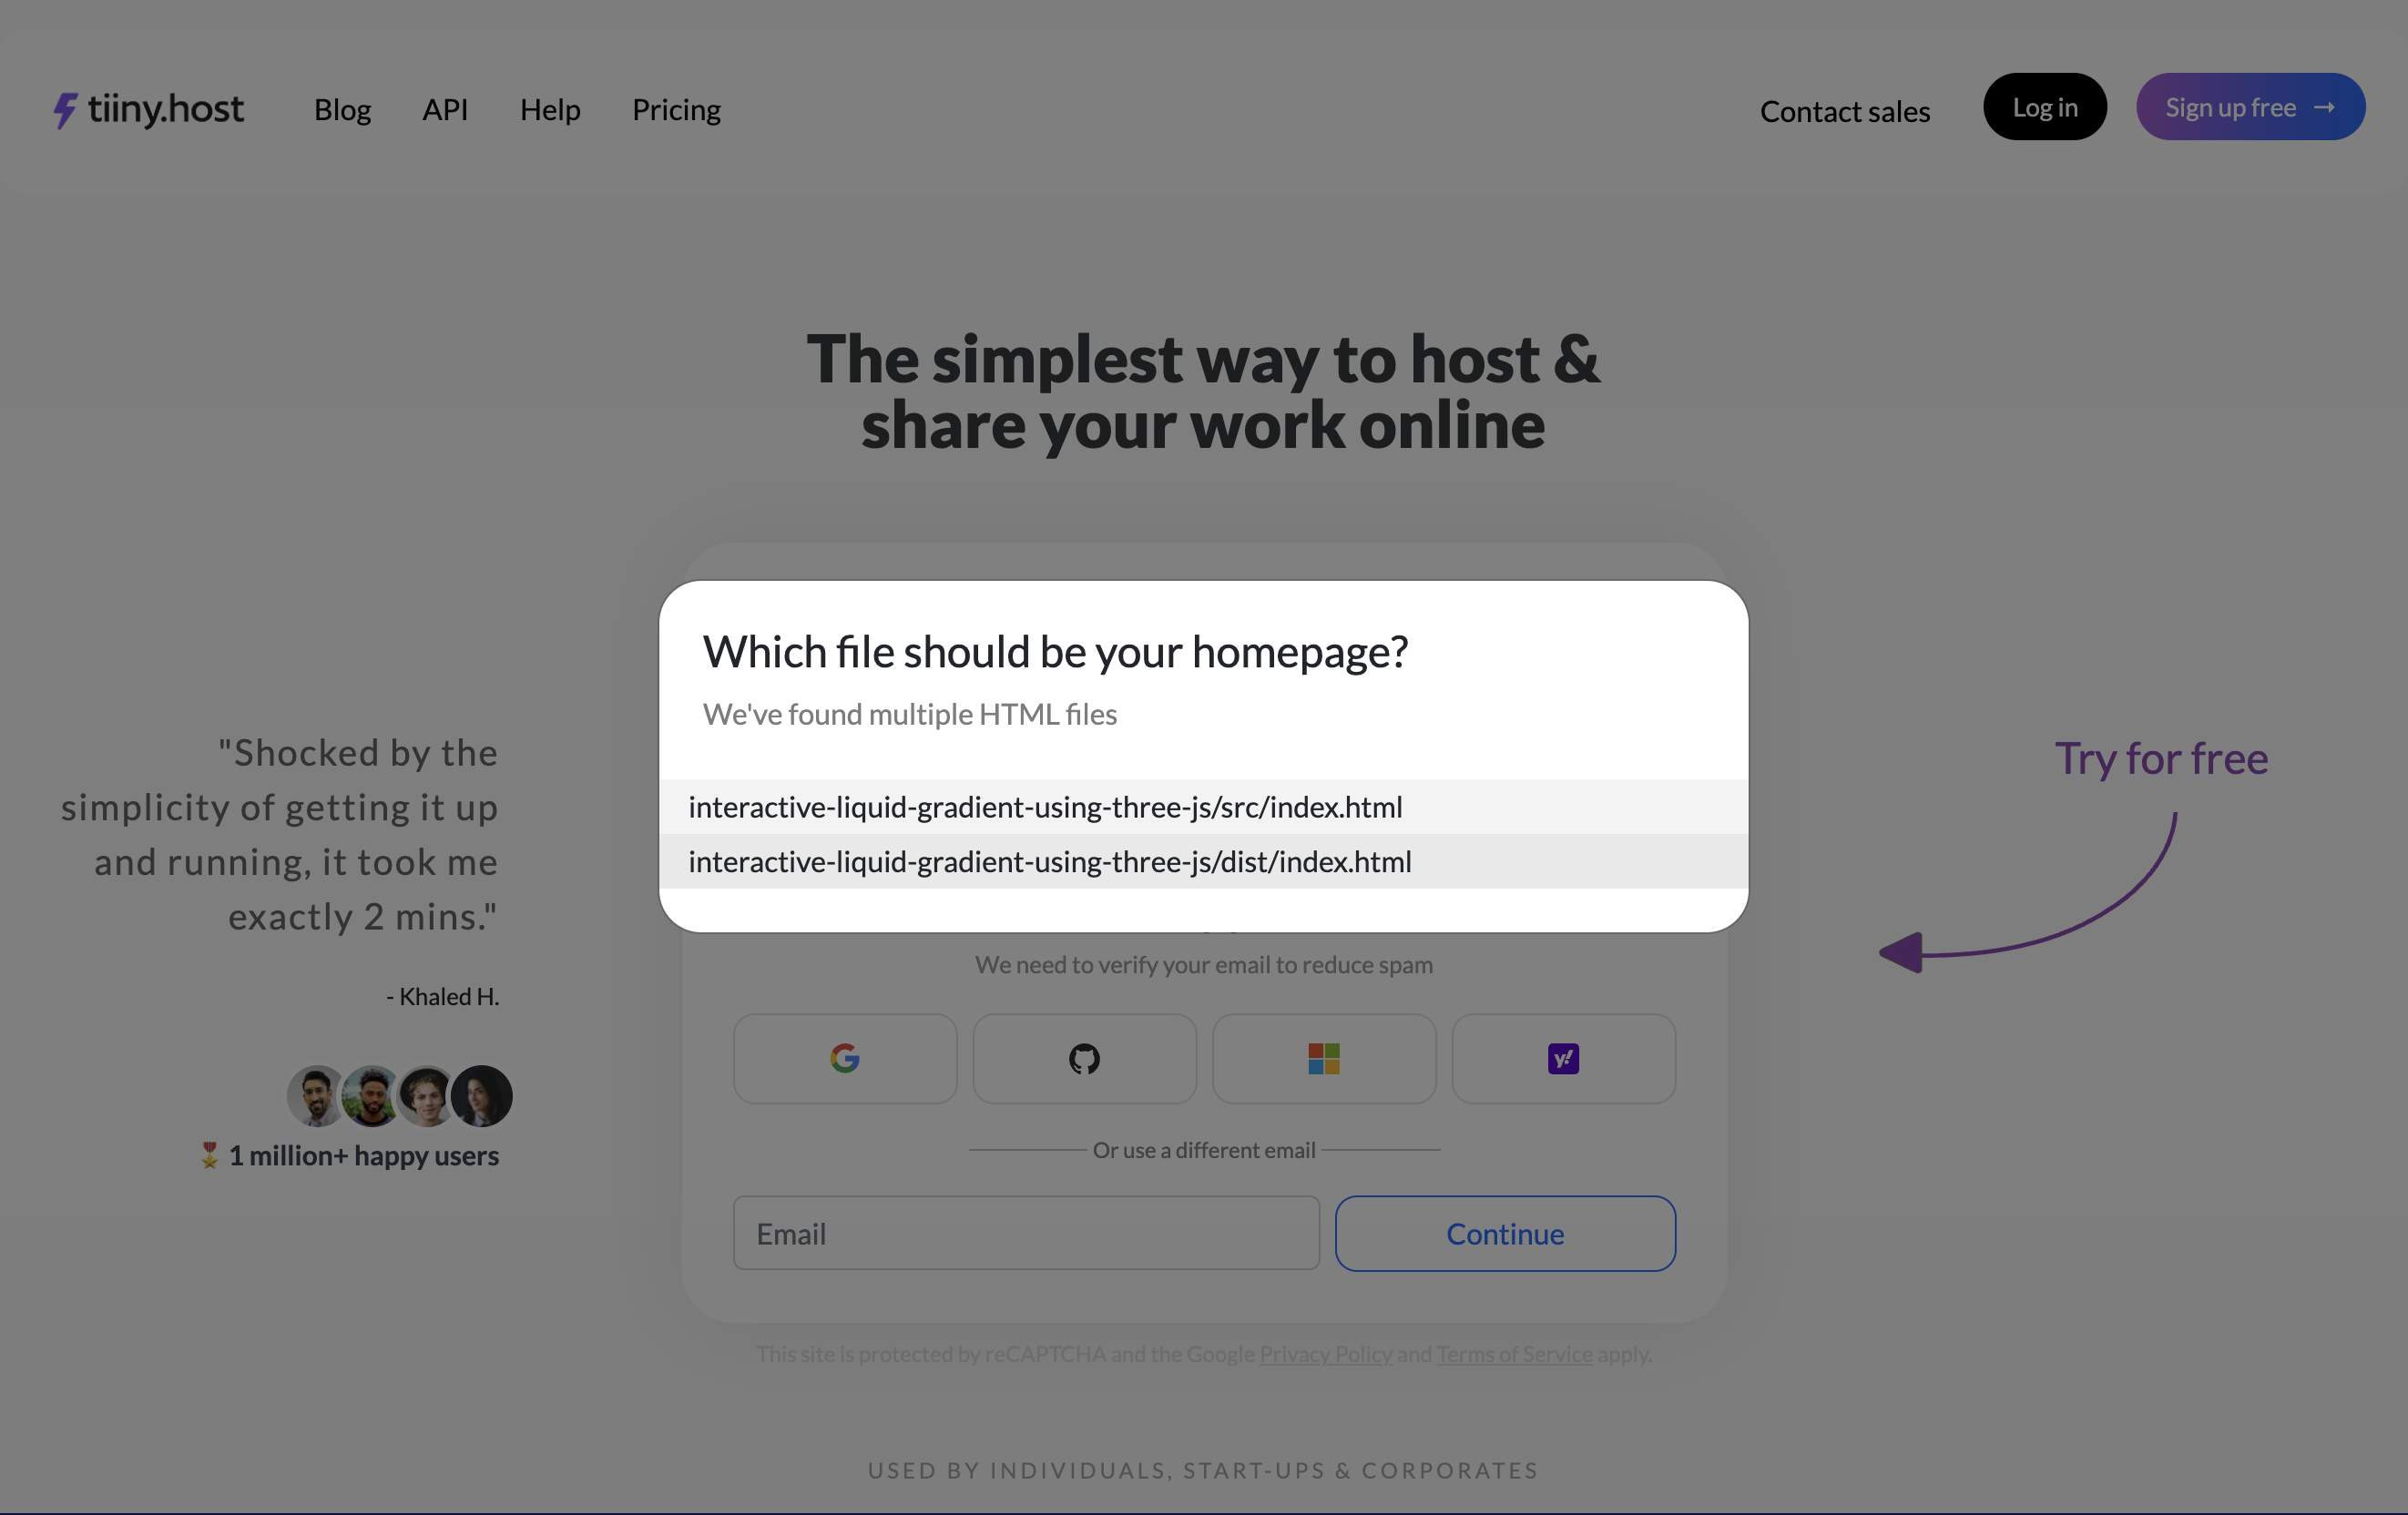
Most of the time this will be the index.html file inside the dist folder.
Select the appropriate file that you want to be the homepage of your site.
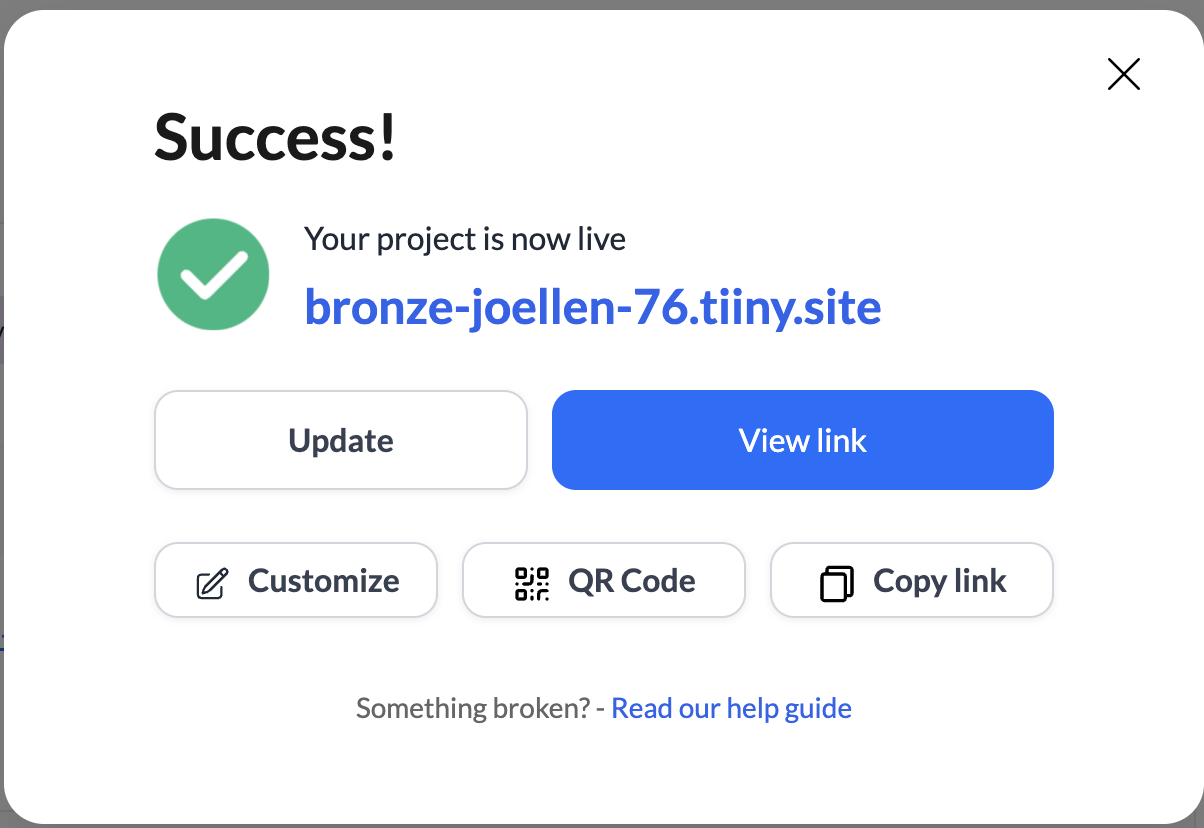
Then, create an account.
Once you create an account, your website will be live, and you will receive a shareable link.
Tip: If you want a broader walkthrough of how to get a website online, read our guide on how to publish a website.
Alternative: How To Host Codepen Project on GitHub pages
GitHub pages is another great way to host your static Codepen project.
The only downside is that you will need to create a public repository of your code. That means, anyone can view and copy your code if they want.
To host your project on GitHub Pages, you will first need to create a GitHub account if you don’t have.
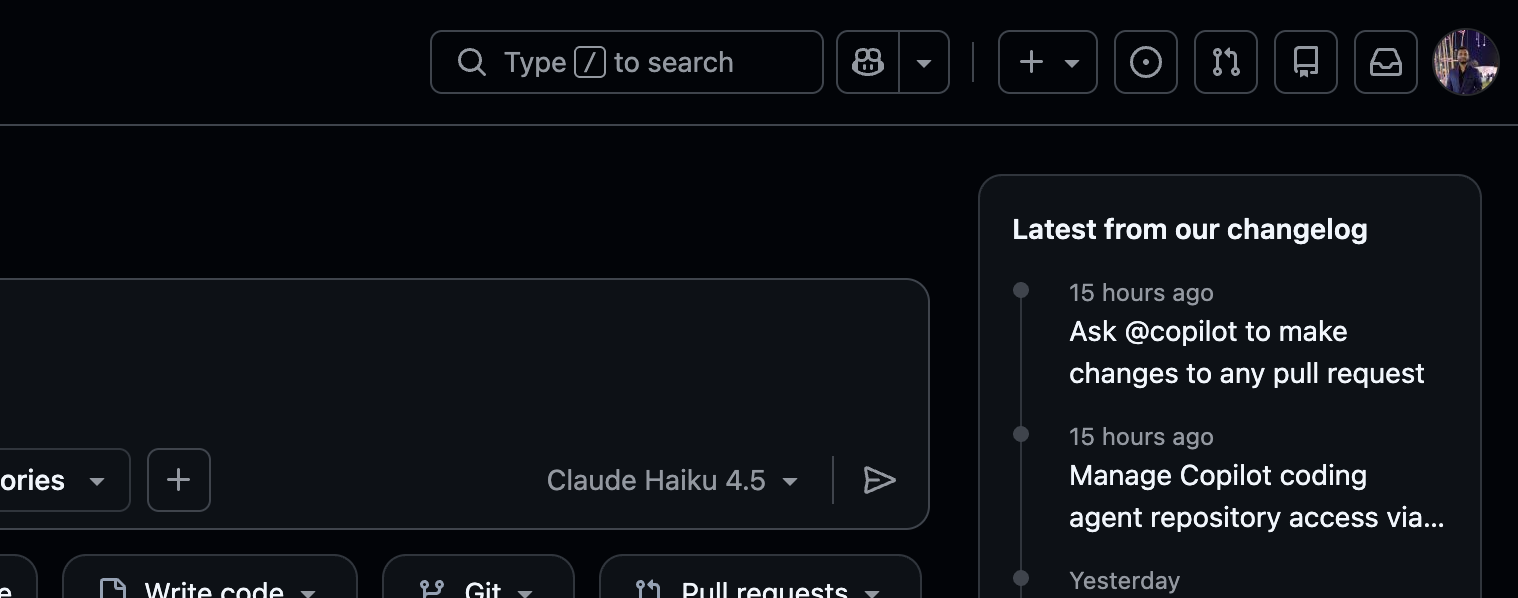
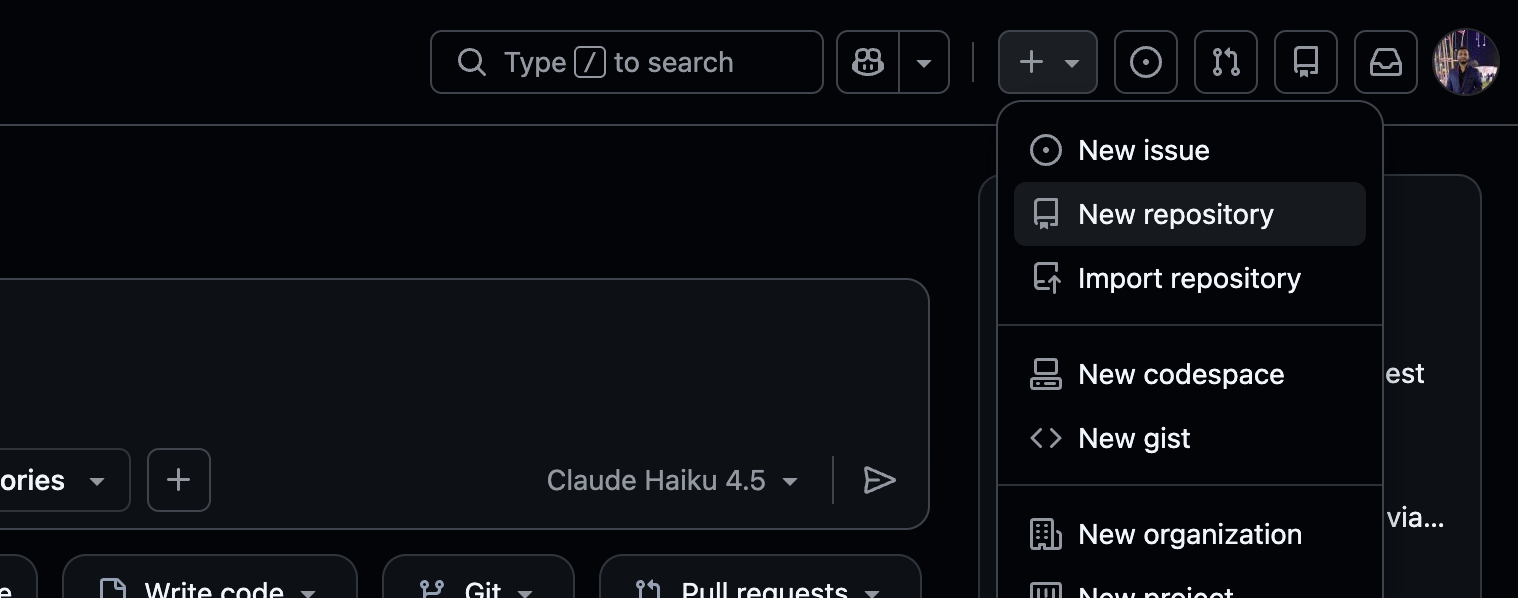
Once you create your account, log in and click the Plus button on the top right of the page.
Select New Repository from the options.
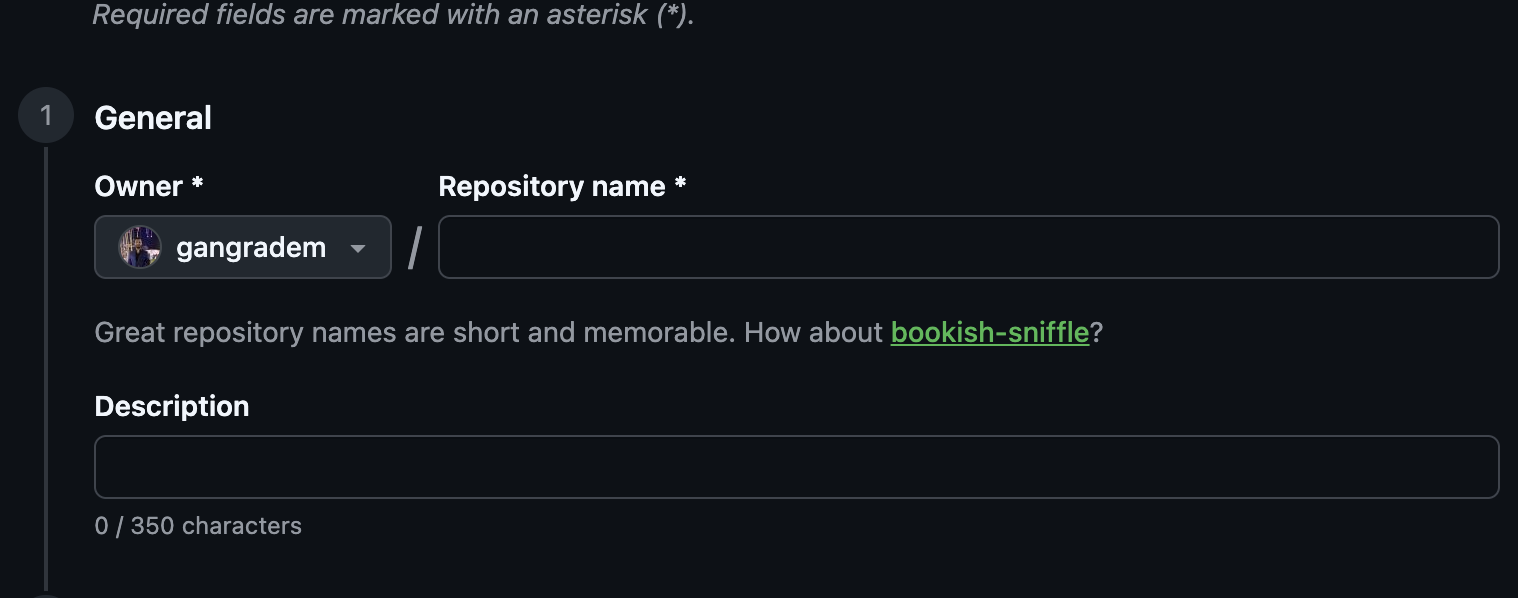
This will take you to the New Repository page.

Now, in repository name, you will need to enter this url:
yourusername.github.io
Replace yourusername with your username.
Your username is listed next to the repository name input:
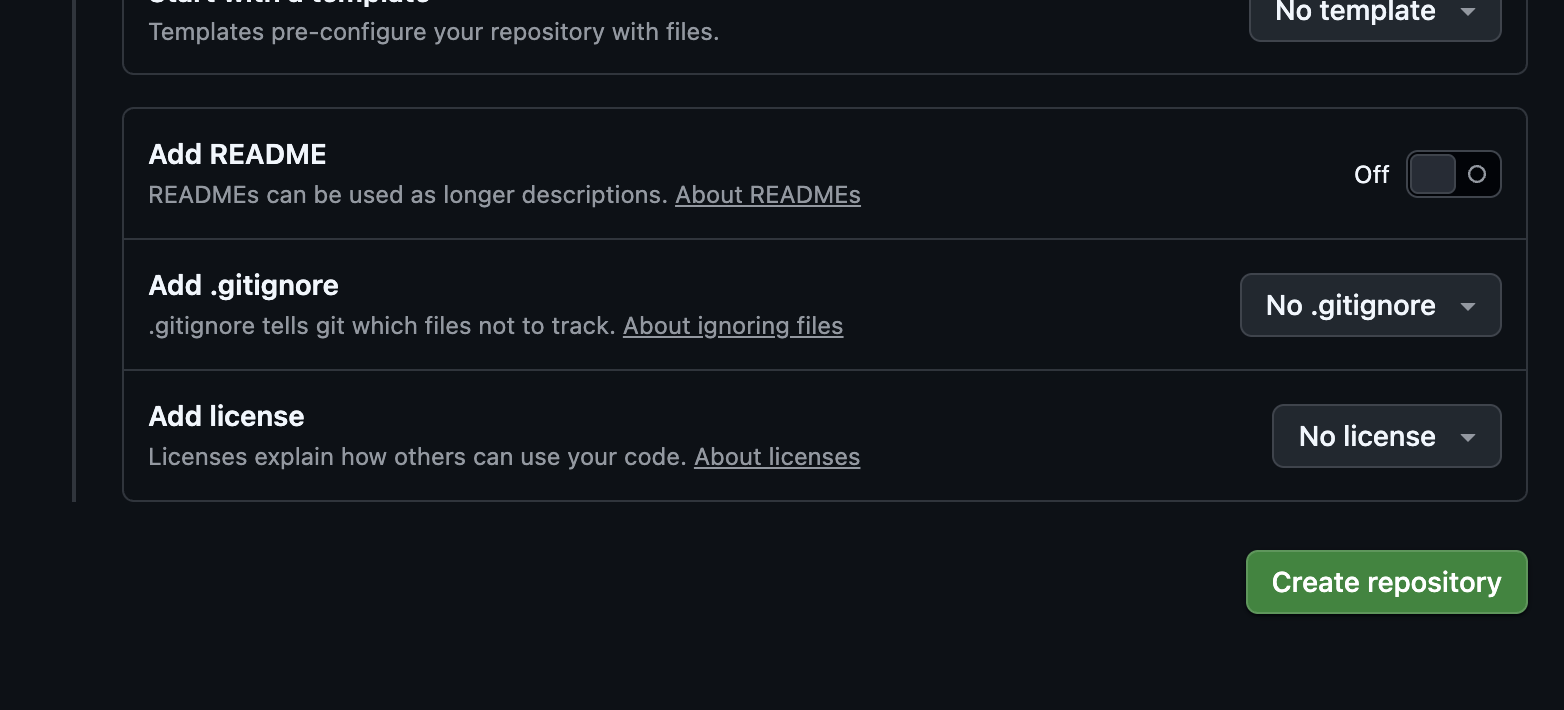
Make sure your Repository’s visibility is set to Public.
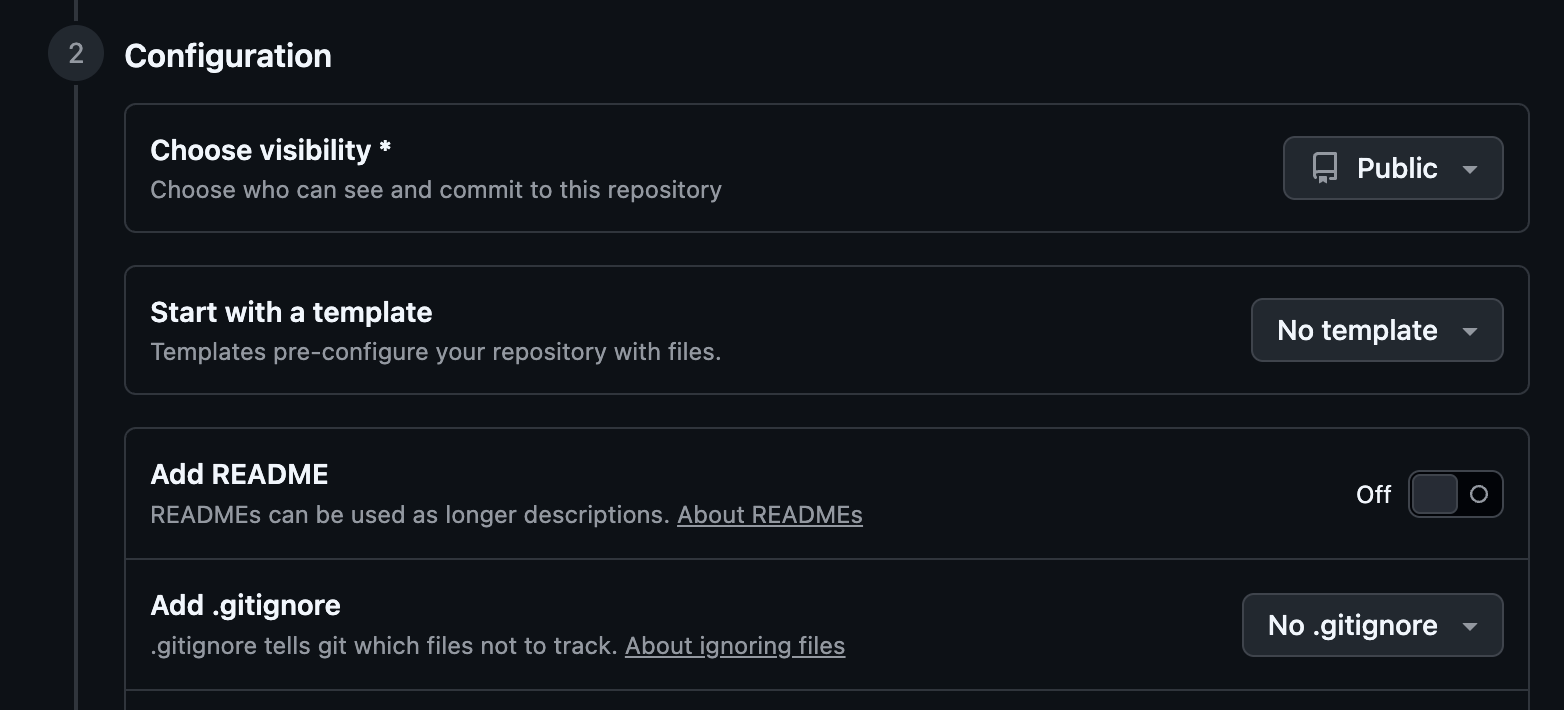
Now, click the Create repository button at the bottom of the page.
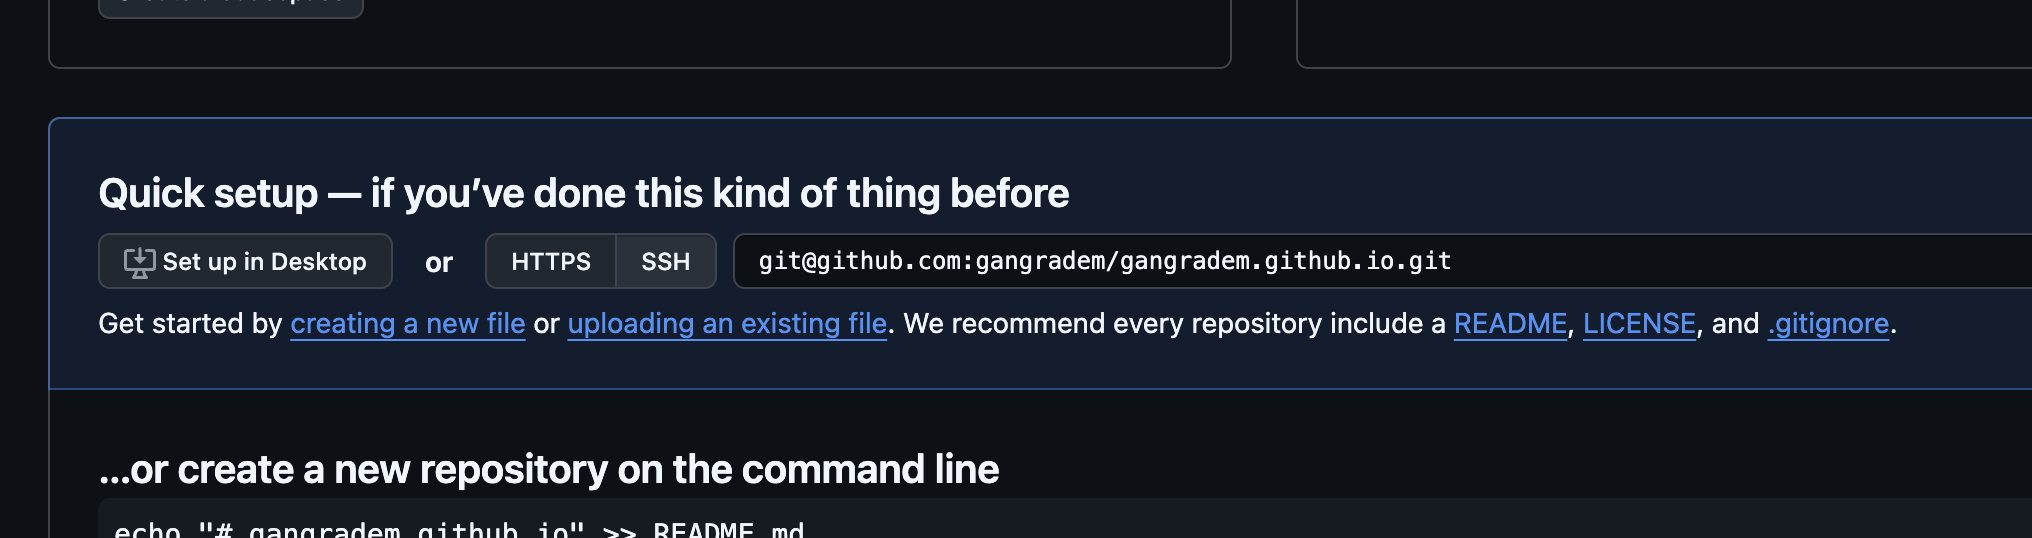
You will now see an empty repository page.
Click the ‘uploading an existing file’ link in the Quick Setup area.
You will now need to extract the ZIP file you exported from Codepen. On MacOS, you can just double click the ZIP file and it will be extracted into a folder of the same name.
For most Codepen projects, you will see the following files inside the ZIP file:

Open the dist folder and select all the files inside it.
Now, drag and drop those file onto the drop zone in the GitHub website.
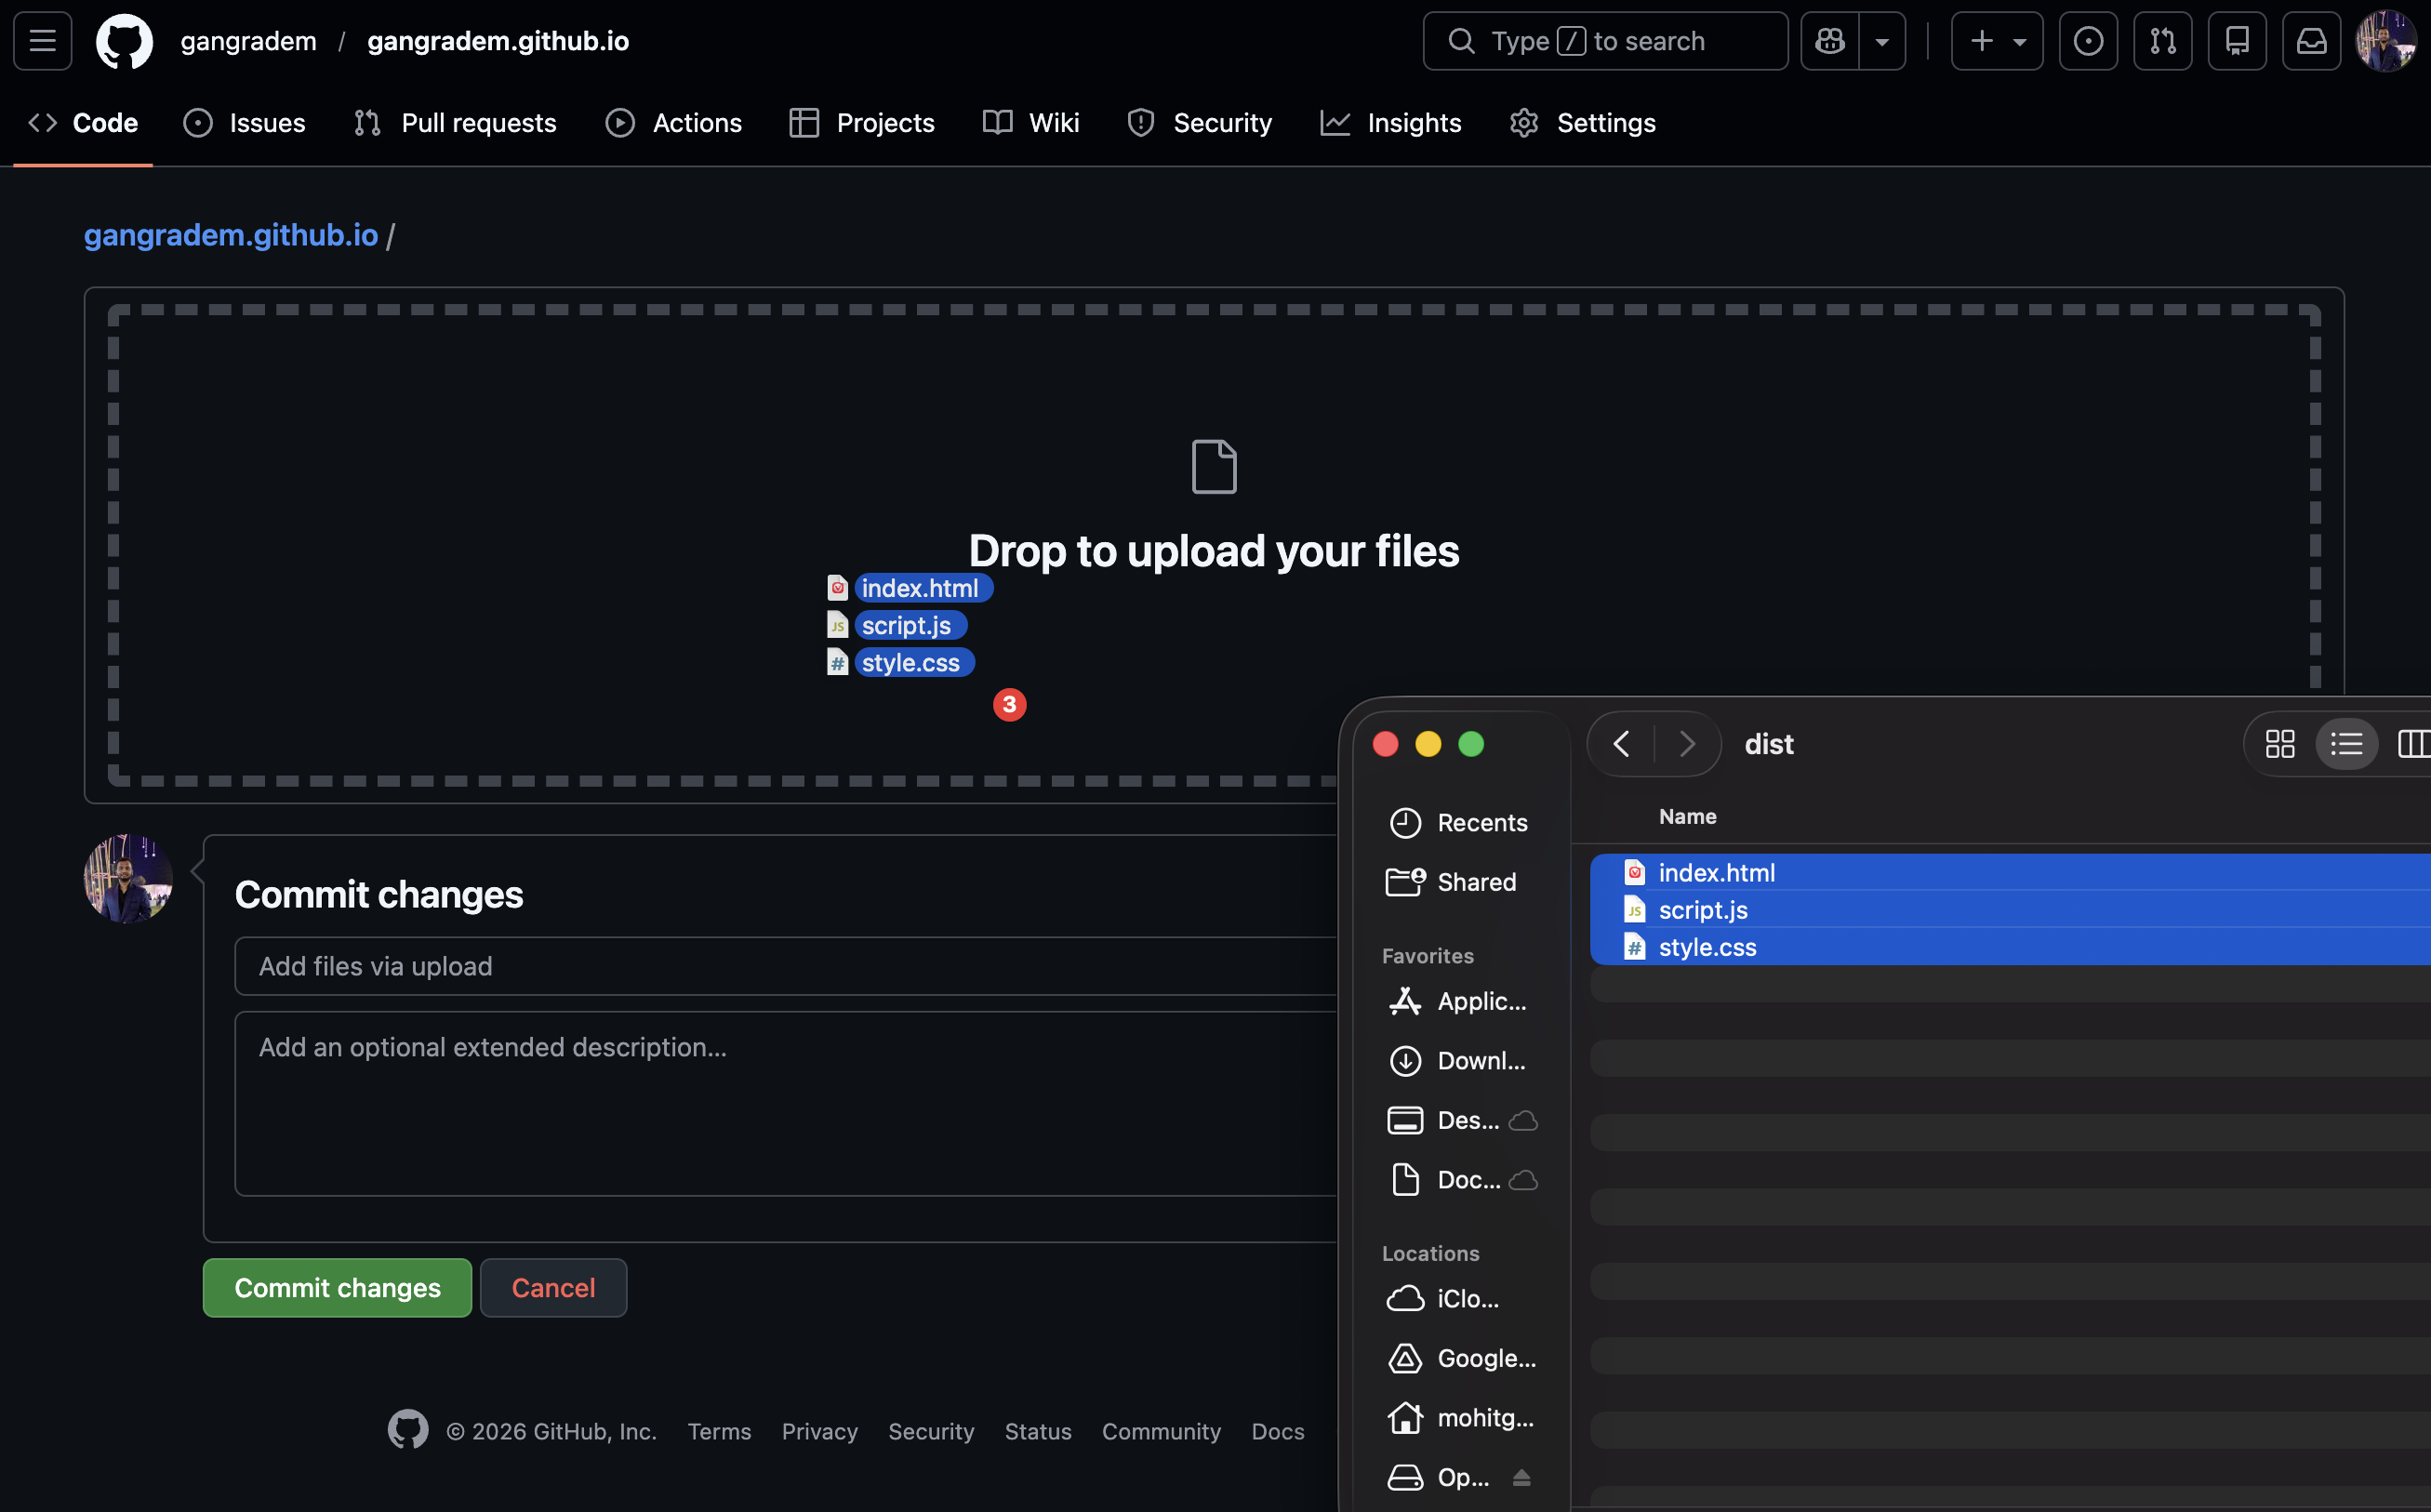
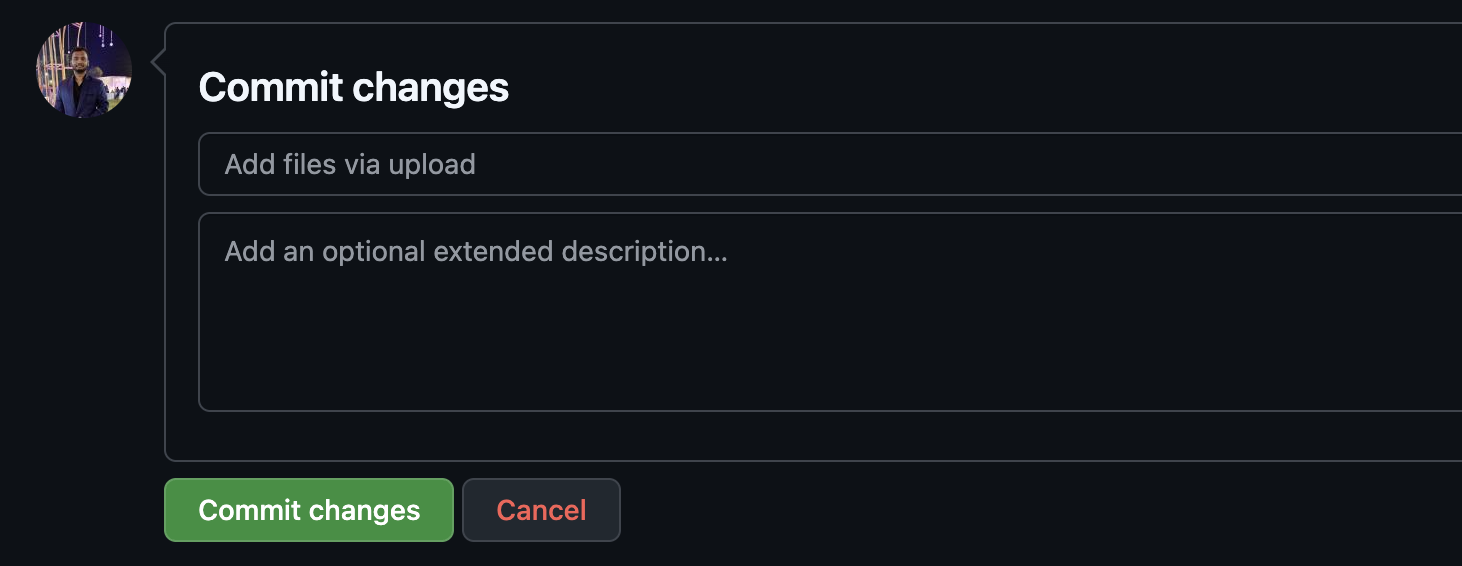
Scroll down and click the Commit changes button.
If you now visit ‘https://yourusername.github.io’, you will see that your files are live.
If you want a more detailed walkthrough, check out our guide on how to host a website on Github.
Common Issues When Hosting a Codepen Project
When hosting a Codepen project yourself, there are a few things that can go wrong.
The Hosted Version Looks Different
If your hosted version looks different or images aren’t showing up, most of the time it’s because something isn’t loading correctly.
Check your index.html file to see if there are any broken links to CSS or JS or image files.
You will also want to make sure that you chose the correct index.html file when uploading your project to TiinyHost. Did you select the index.html file inside the dist directory?
If you need help inspecting your website’s HTML, here are two guides that can help:
The Export Option Isn’t Showing
The export option only shows up when you are logged in. Make sure that you are logged into your Codepen account. If you don’t have an account, you will need to create one to use the export feature.
If you still don’t see the Export button, it’s probably because you haven’t Saved the project. Click the Save button to save. The export button only appears for saved projects.
External Libraries Aren’t Loading
Does your hosted version look half broken?
Are the interactive elements not interactive anymore?
Most of the time this happens because an external library isn’t loading correctly.
Codepen provides a helpful environment where everything is set up for you. But when you host the project yourself, you have to make sure that the hosting environment has everything needed by your project.
In your exported HTML file, look at what’s being loaded int he <head> tag.
Are the scripts loading in the proper order? For example, jQuery should load before your JS file that uses it. Are the script paths valid?
The fix for this issue usually comes down to carefully checking the links and making sure they are linking to the correct files. Sometimes it also helps to cop the asset paths again from the working version.
Frequently Asked Questions
Can I share a CodePen without showing the code?
When you share a Codepen project, people can see the code that went into making the final presentation. If you don’t want people to see your code, you will want to host the Codepen projects code on a static hosting service such as TiinyHost.
All you have to do is export your project from Codepen as a .zip file, and upload the .zip file to TiinyHost. And voila! It will give you a live link to your project. The link will only show the users the final presentation and not the code that went into making it.
Do I need a backend to host a CodePen project?
Most Codepen projects are static front-end projects and don’t require a backend server. Most of them consist of HTML, CSS and JavaScript, which work fine when you host them with a static host.
If, however, you used a preprocessor such as Typescript or you used an NPM package, then the ZIP you get from Codepen will contain the source code and a dist folder.
The dist folder will contain the built/processed version of your project. If you want to serve dynamic content, you will want to host the source code files on a server and run those files.
Can I use my own domain with TiinyHost?
Yes, you can use your own domain with TiinyHost as long as you are on a paid plan. For a detailed guide, take a look at our guide on how to use a custom domain for your TiinyHost website.
Can I update the hosted version of my project on TiinyHost?
Yes, you can update the hosted version of your project whenever you want and as many times as you want.
The steps are simple:
Export your code again as a .zip file from Codepen.
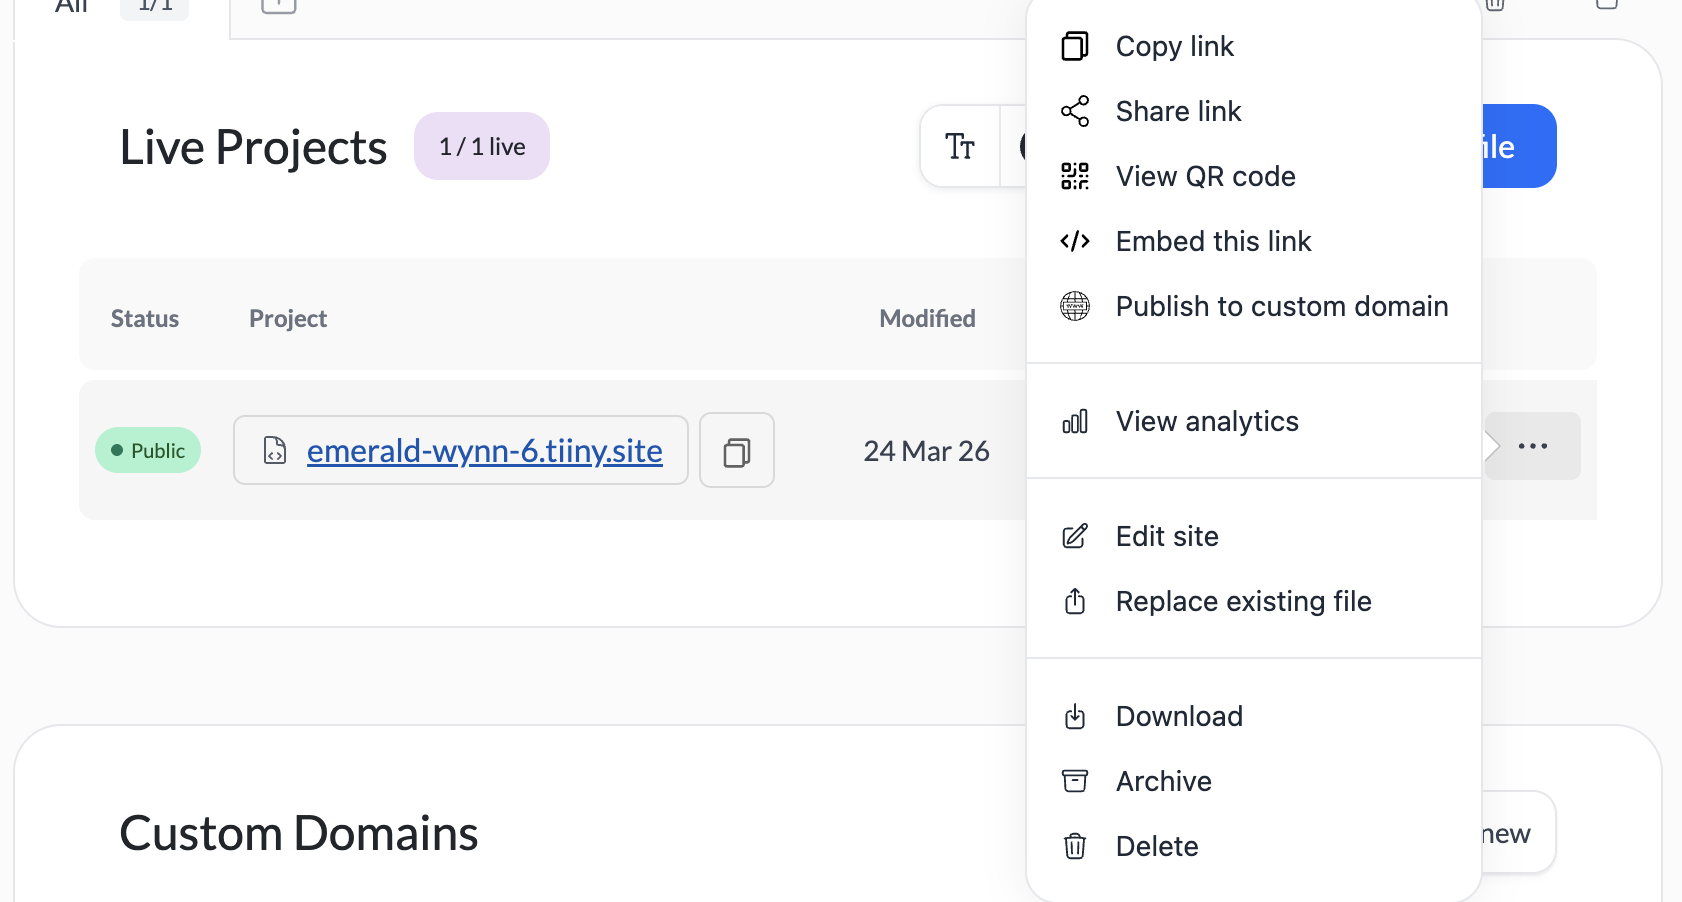
Now, in your TiinyHost dashboard, take your mouse over to the three dots menu next to your site:
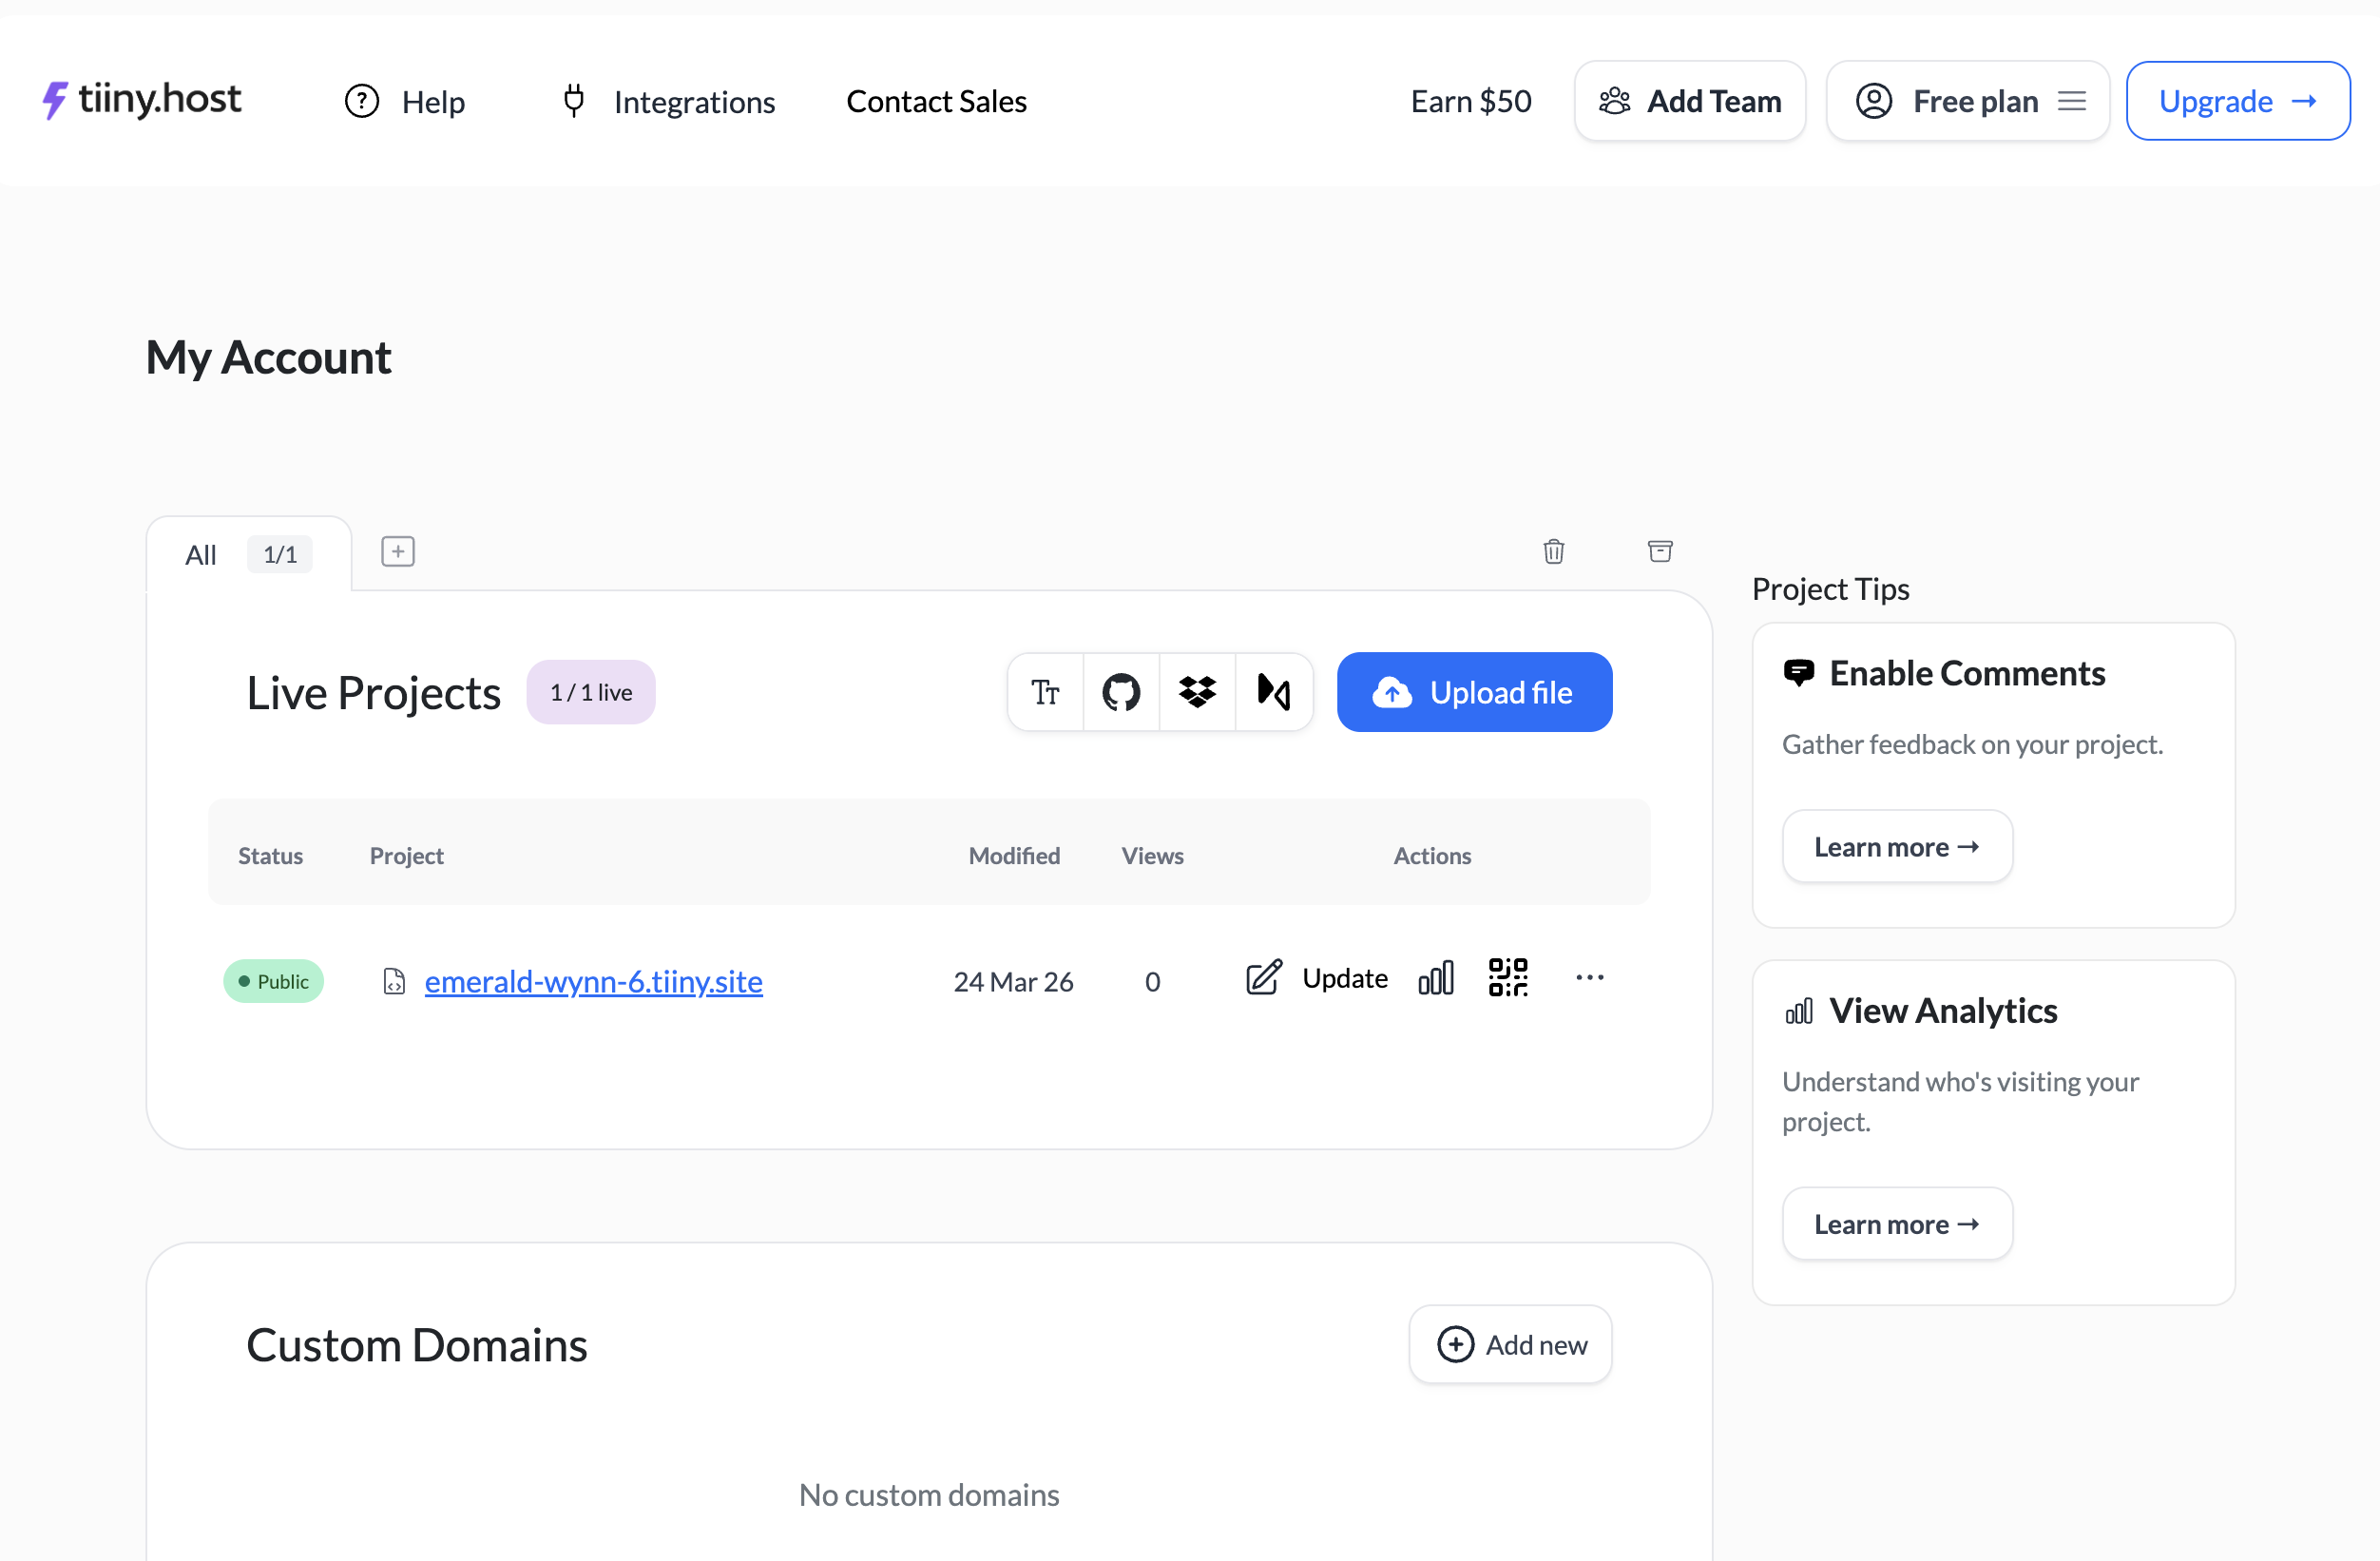
Now, select the Replace existing file option.
It will allow you to upload your latest ZIP file.
Once uploaded, select the index.html file as the main page.
What file do I need for hosting to work?
The main file you need for hosting to work is the index.html file. It is the file that glues everything together. It will be the page that people see when you share the link. All static web hosts look for this file first.
If you used any external libraries or preprocessors like Sass or Typescript, then Codepen will give you a ZIP with the source and the generated files. If you open that zip, you might find two different index.html files. In that case, you will want to use the index.html file inside the dist folder.
The dist folder contains the built and processed version of your project.
Is free hosting enough for a portfolio piece?
Yes, if you just need a link you can share with people, then free hosting is fine and will do the job.
But it does come with its own tradeoffs. For example, you can’t use a custom domain. You have to use the subdomain provided by the hosting service. If you want to make a good impression on a client, then you’d probably want to use your own domain name.
If you want to host a complete portfolio site or use a custom domain name, you will want to upgrade to a paid plan.
What if my hosted project looks broken?
If you project looks plain and without any styles, the most likely cause is that your CSS file isn’t loading. Most of the time this happens because the index.html file isn’t loading the file. Take a look at your index.html file’s code and check if the link to the CSS file is correct.
If the text feels different, check if the fonts are getting loaded or not.
If the buttons or animations aren’t working right, most of the time it’s because the JavaScript isn’t loading.
If you need a refresher, check MDN’s documentation on both the <link> element and the <script> element.
Should I share the CodePen link or the hosted version?
It depends on who you’re sharing it with and what you want them to see. If you want feedback from other developers, share the Codepen link. It lets them play around with the code and even fork the project if they need to.
But if you want to present the output of the code professionally, then the hosted version is better. A hosted standalone web page looks a lot more professional. That’s important if you’re going to share your work with recruiters, prospective clients, hiring managers, or with non-technical people.
Final Thoughts
Codepen is great for building things quickly.
But when it comes to sharing your work with other people? The Codepen experience isn’t the cleanest or most professional option.
That’s why hosting your project as a standalone website makes sense.
The best part? It’s easy and takes less than five minutes.
Just export your Codepen as a .zip file, upload it to TiinyHost, and click the Publish button.
That’s it!
Now you have a live, professional-looking website that you can share with anyone.

