
- Why and When to Export Your Webflow Site Code
- How To Export Your Webflow Code
- How To Host Your Webflow Code on TiinyHost
- What’s not included in a Webflow export?
- Frequently Asked Questions
- Conclusion
Do you know that you can export your Webflow site and host it somewhere else?
Whether you want more control over your website, keep a backup of your work, or save money on Webflow hosting costs, exporting your Webflow site is a handy skill to have.
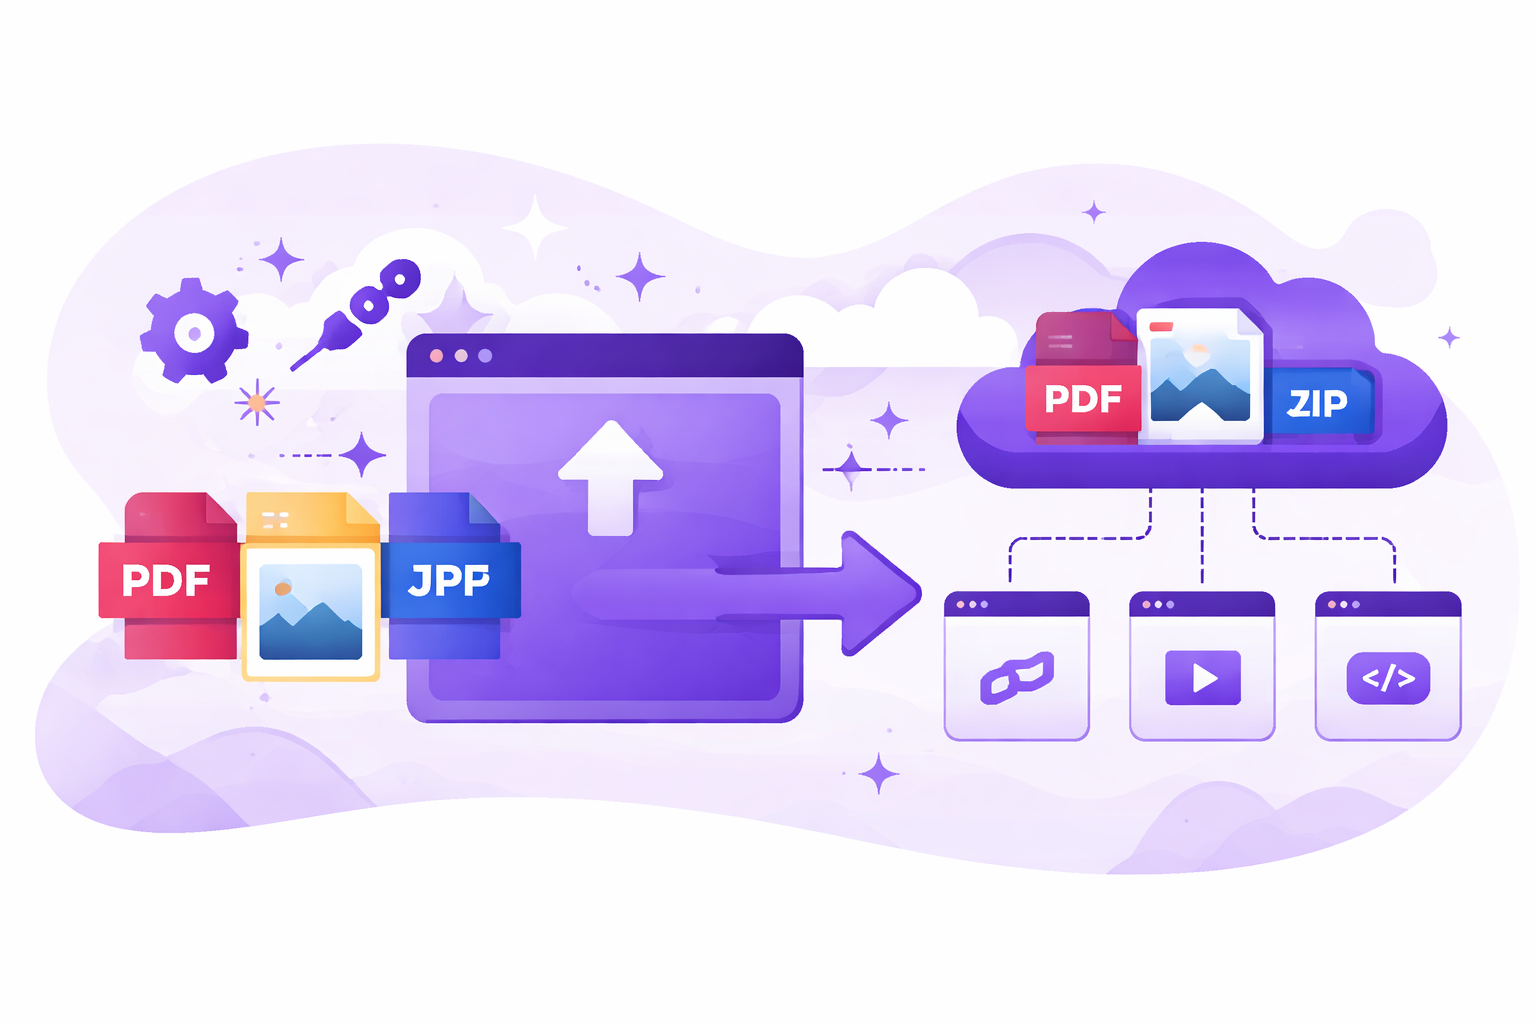
Exporting allows you to download a copy of all the files that make up your website.
In this guide, I’ll show you:
- Why you might want to export Webflow sites
- How to export code from Webflow
- How to host your exported site with TiinyHost
- What’s not included in the export
Why and When to Export Your Webflow Site Code
Here are some of the common reasons why you might want to export your Webflow site:
You want to host your site yourself
Webflow’s site plans and workspace plans can add up quickly. If your website is complete and you don’t see yourself adding anything new anytime soon, then it makes sense to export it and host it as a static website.
Not only does it give you complete control over your website, it can also save you a lot of money. Static hosts like TiinyHost cost a lot less than Webflow. So, whether you want cost savings or more control over your website’s code, exporting might be a good idea.
If you’re curious about what website hosting usually costs, check out our breakdown of web hosting costs.
To make a backup
It’s always a good idea to back up your work and save it somewhere outside Webflow. In case something goes wrong, you can easily restore your Webflow project.
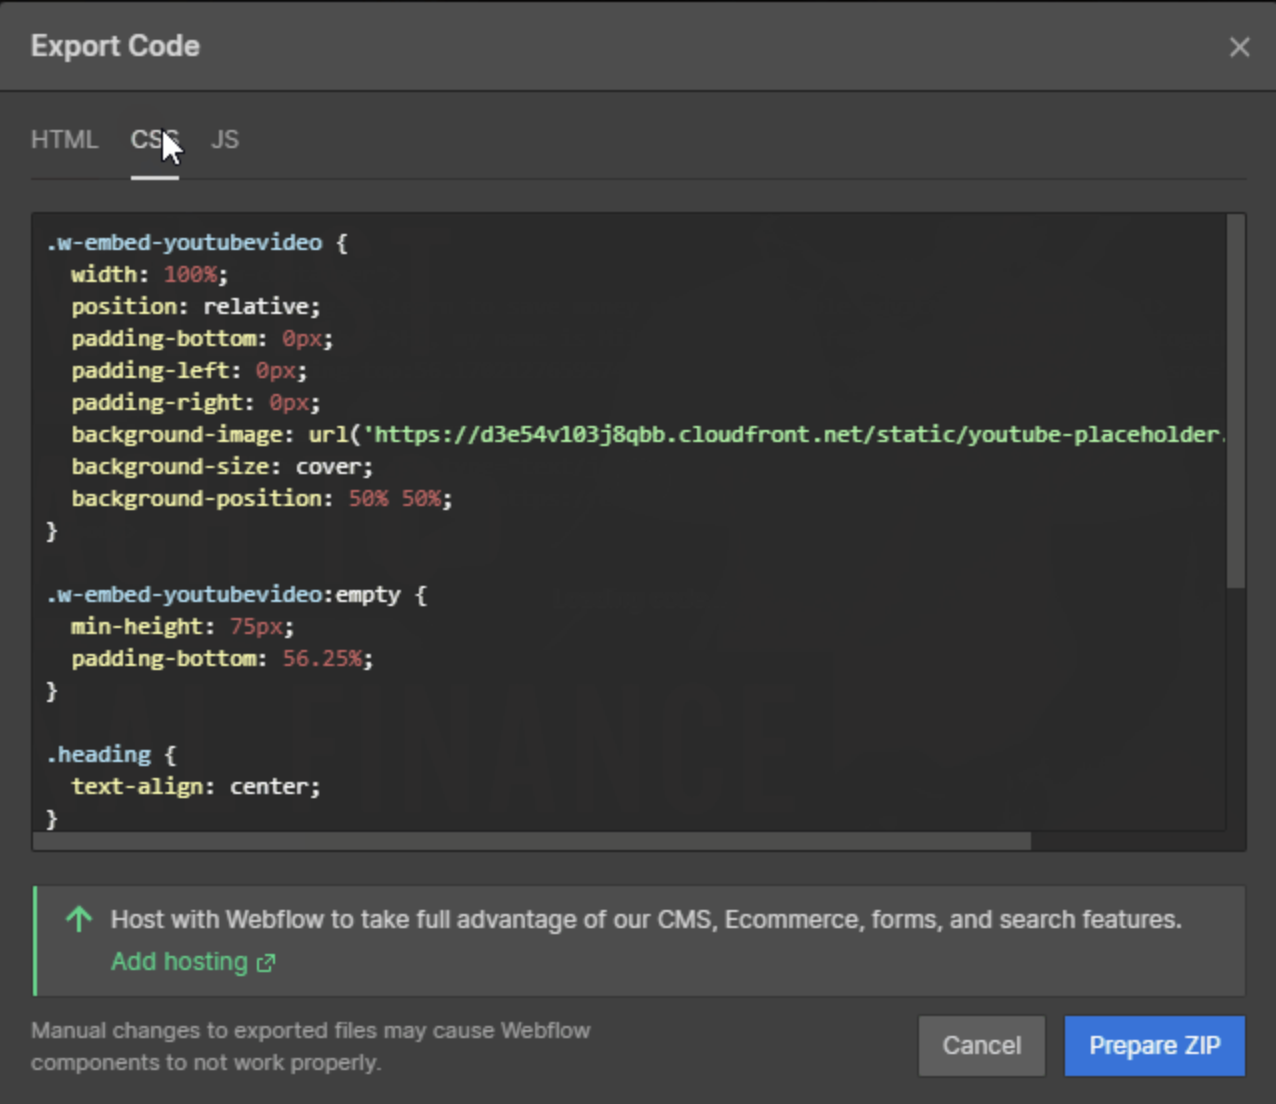
When you export your website, Webflow will give you a zip file containing all your pages as HTML files, and all the styles in .css files in a CSS folder. It will also include all the JS code needed in a JS folder.
You’re handing the site over to someone else
If you are going to hand off the site to your clients, exporting might be very helpful. Instead of requiring your clients to get on expensive Webflow plans, you can have their site hosted on a static web host like TiinyHost.
How To Export Your Webflow Code
Before you can export your website, there’s something important you need to know. The site export feature is only available on paid Workspace plans. That means, even if you are on a paid site plan, you won’t be able to export your website.
The pricing for workspace plans starts at $16 per month when paid annually.
Now, to export your website, open it in Webflow designer.
Click the main menu button in the top left of the editor. It’s the big W button on the top left of the header.

Click the Export code option from the menu. You can also press Shift + E to open the export code window.
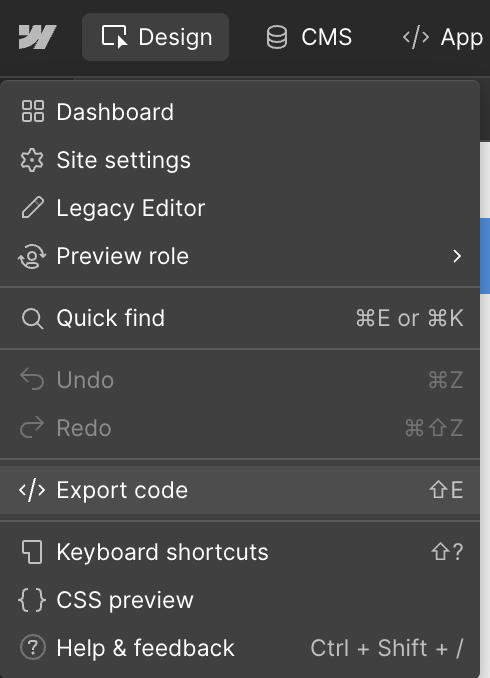
This will open the Export code window.
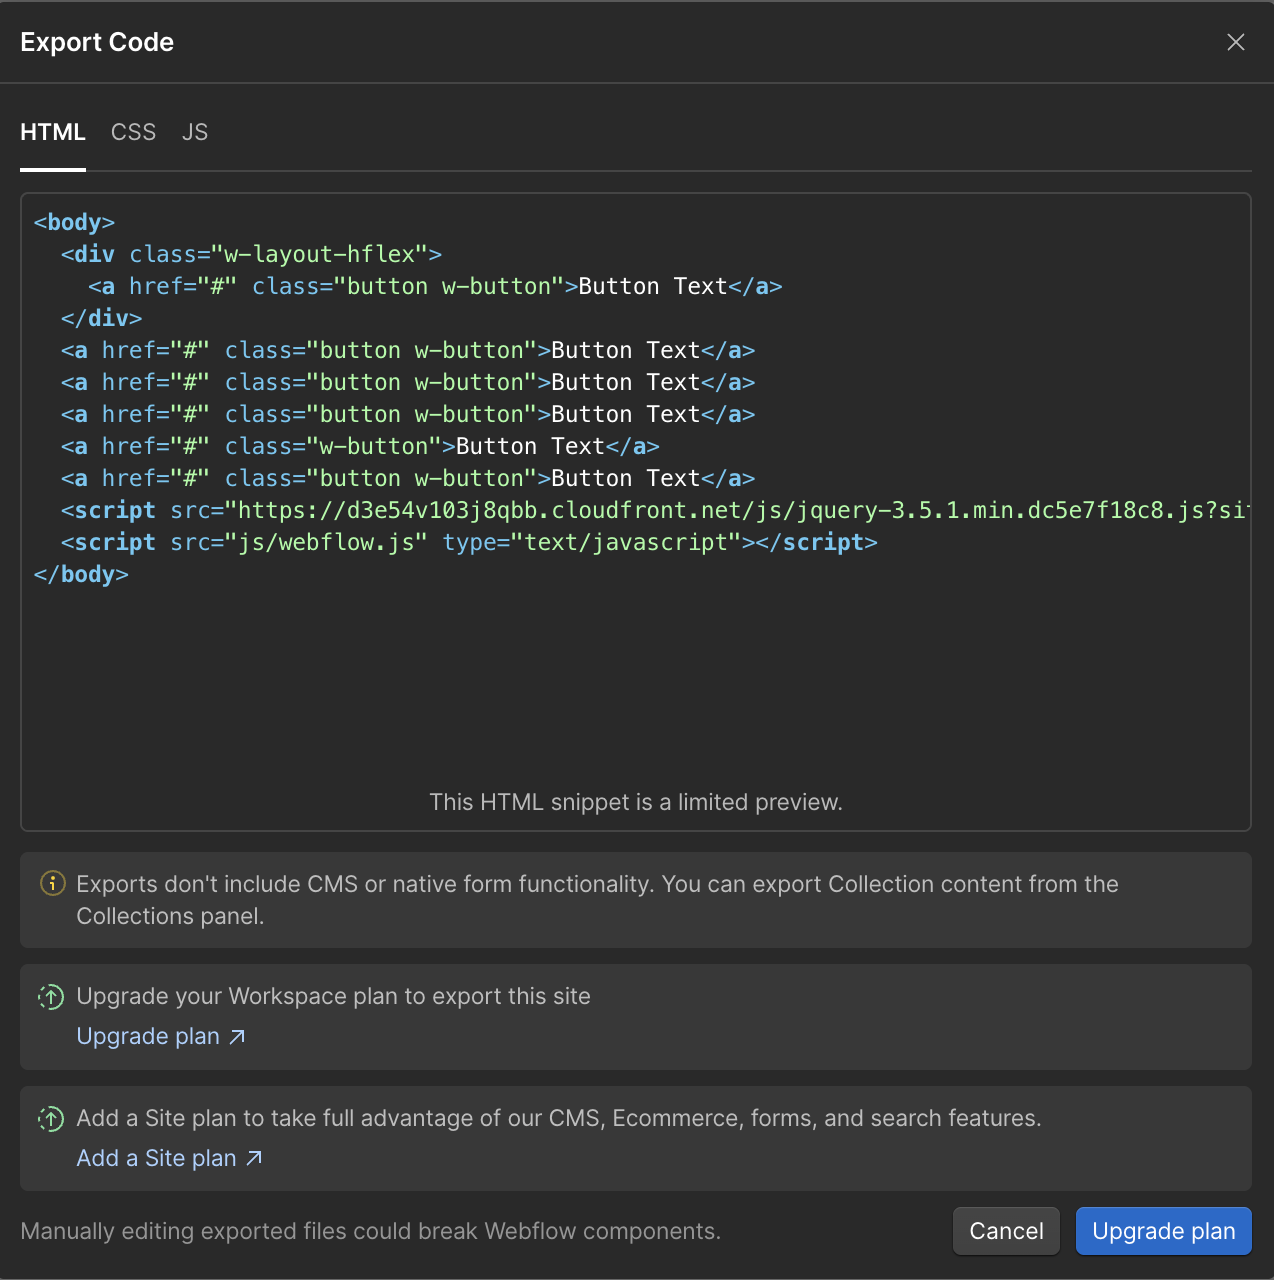
If you aren’t on a paid workspace plan, you will see the Upgrade plan button on the bottom right of the window. This is because export code feature is only available to users on a paid workspace plan.
If you are, however, on a paid workspace plan, then you will see a Prepare ZIP button.
Click the Prepare ZIP button to start the export process. Webflow will take some time to create the ZIP file containing all your website pages. The amount of time it takes will depend on how many pages your website has.
Once Webflow is done creating the ZIP, you will see a Download ZIP button in place of Prepare ZIP. Click the download button to download the .zip file containing all your code.
How To Host Your Webflow Code on TiinyHost
Once you have exported your site’s code, you can host it on any static web hosting platform you want. This includes TiinyHost, Netlify, Vercel, GitHub Pages, and Cloudflare.
If you want to know which of these hosts is best for you, check out our comparison of the best static web hosting services.
TiinyHost is one of the easiest and the fastest static web host on the market.
All you need to do is upload your exported code .zip file to TiinyHost and it will take care of the rest. No setting up a Git repository or putting your code up on GitHub.
Visit TiinyHost in your browser.
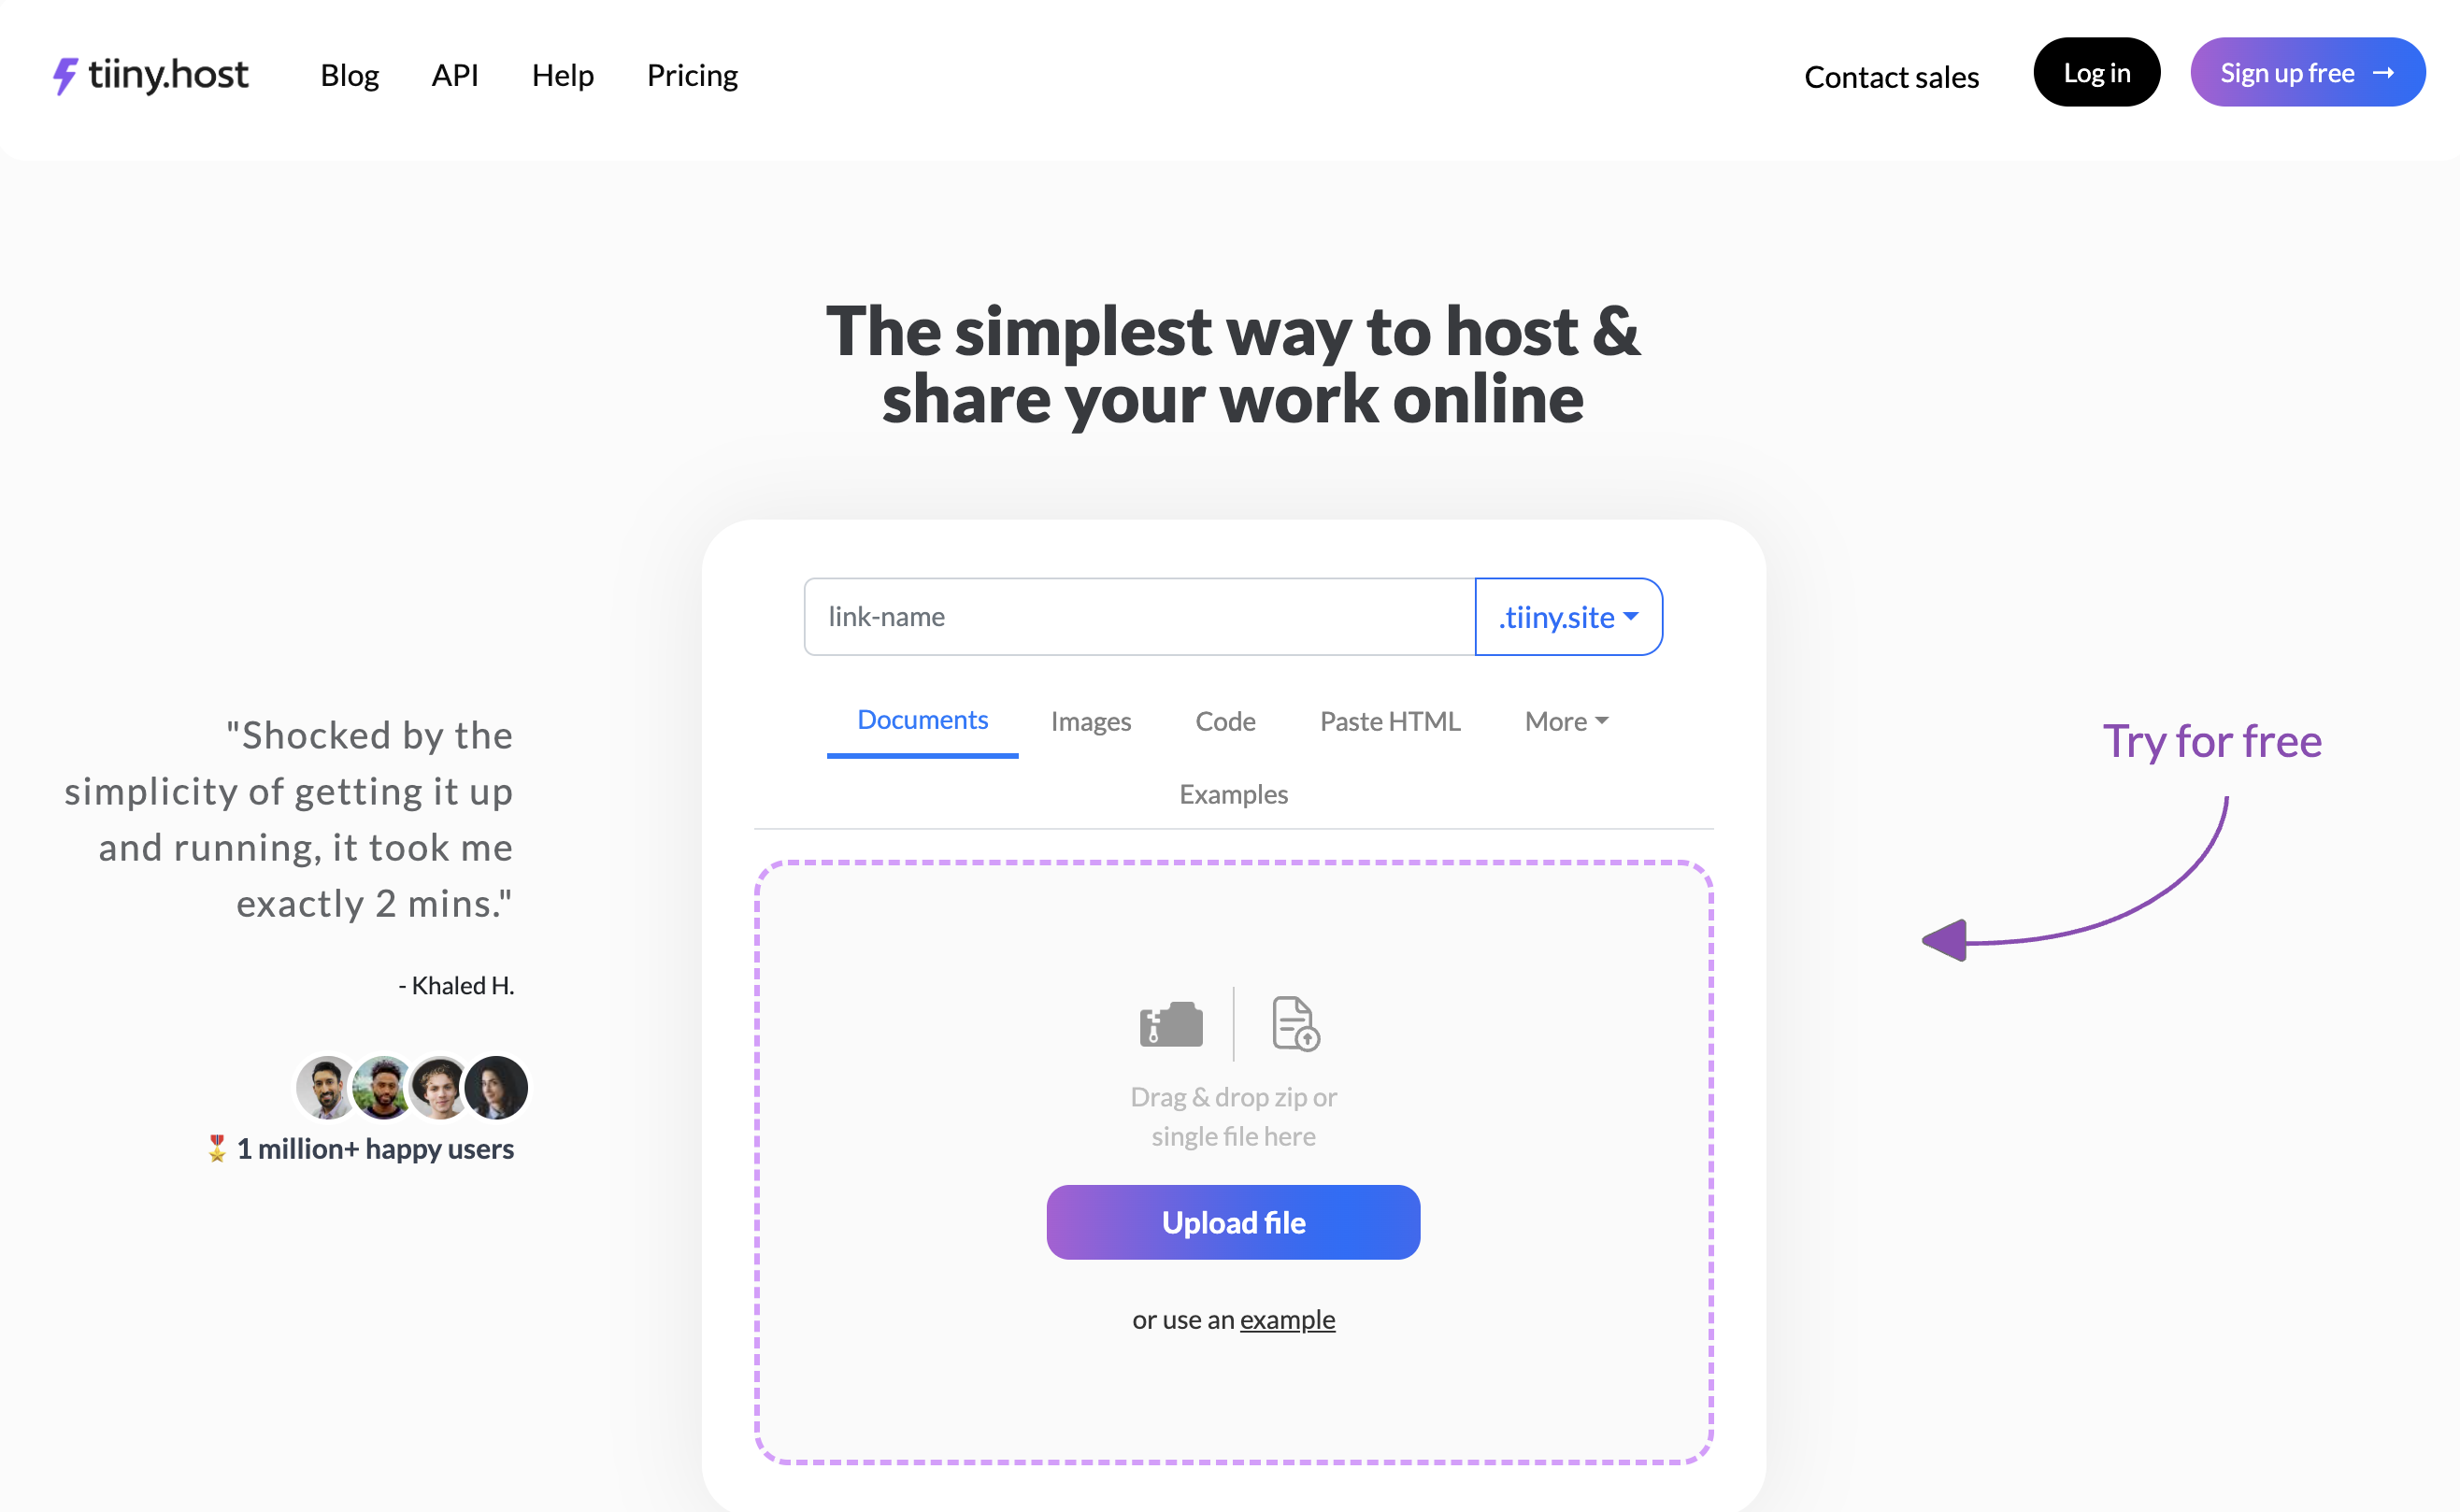
Now, drag and drop your .zip file onto the page.
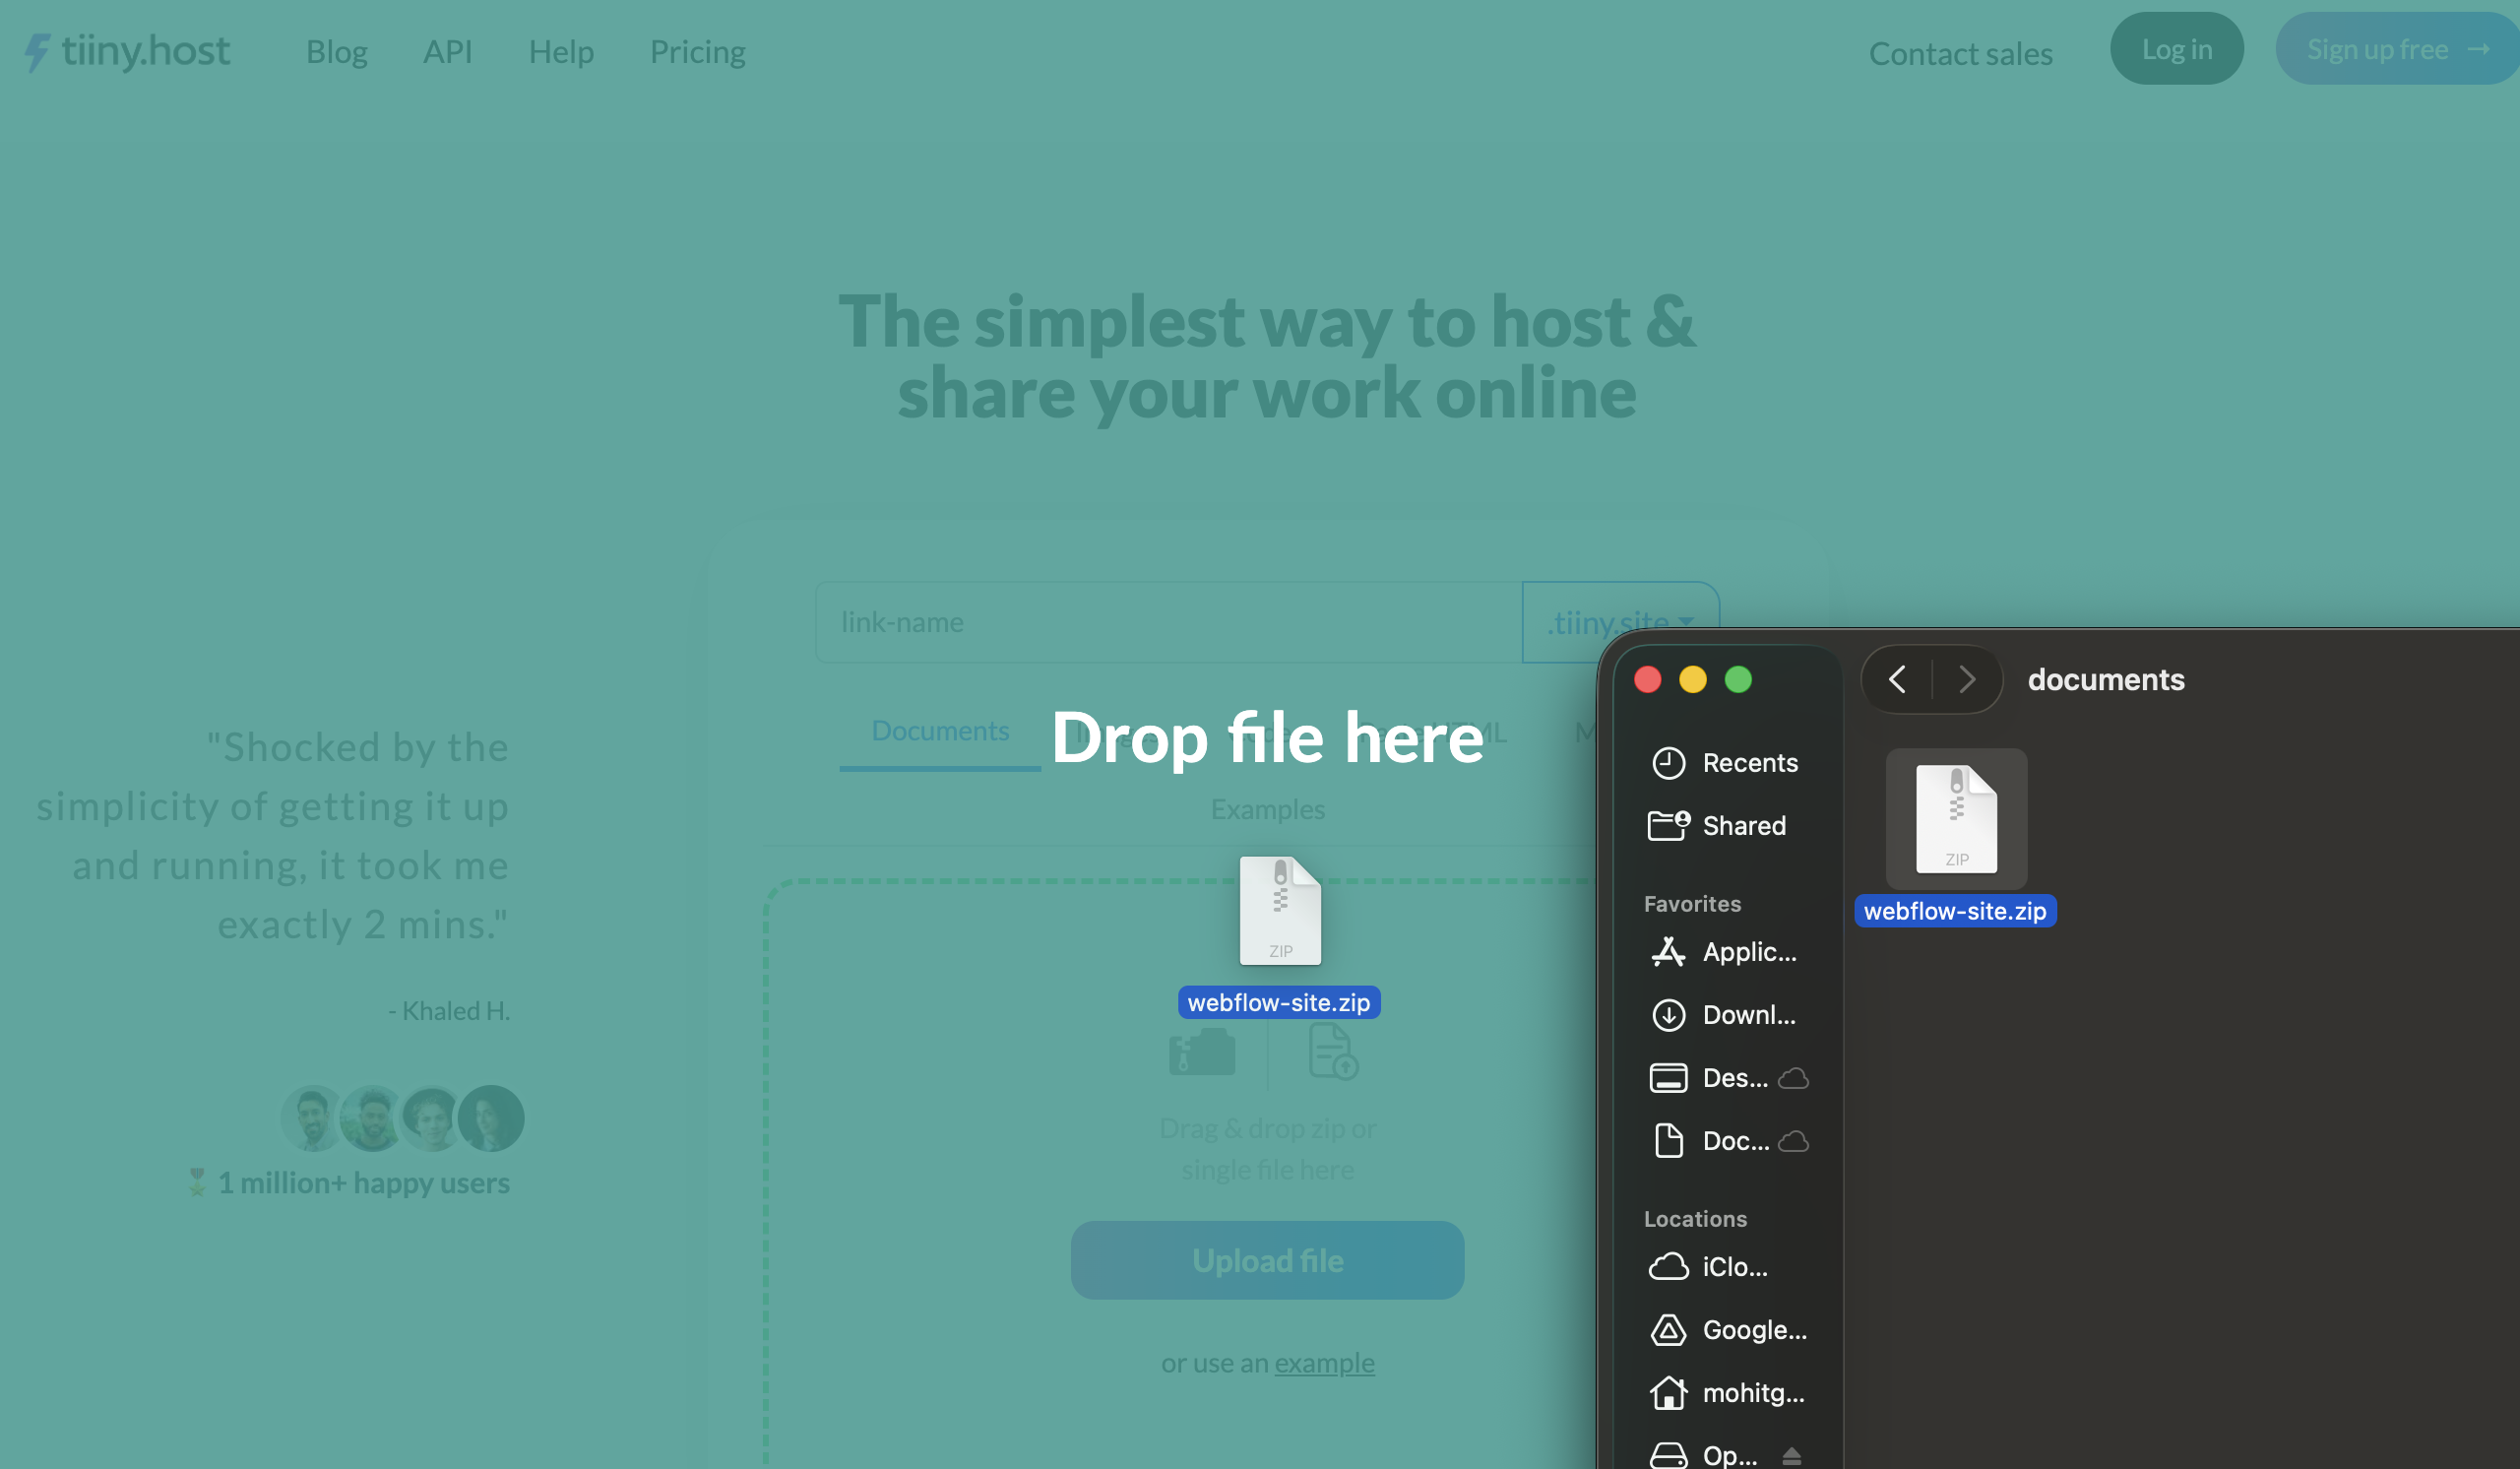
Tip: You can also click the Upload file button and select the .zip file using the file picker.
If your site has multiple .html files, you will be asked to select the file you want to use as your website’s homepage.
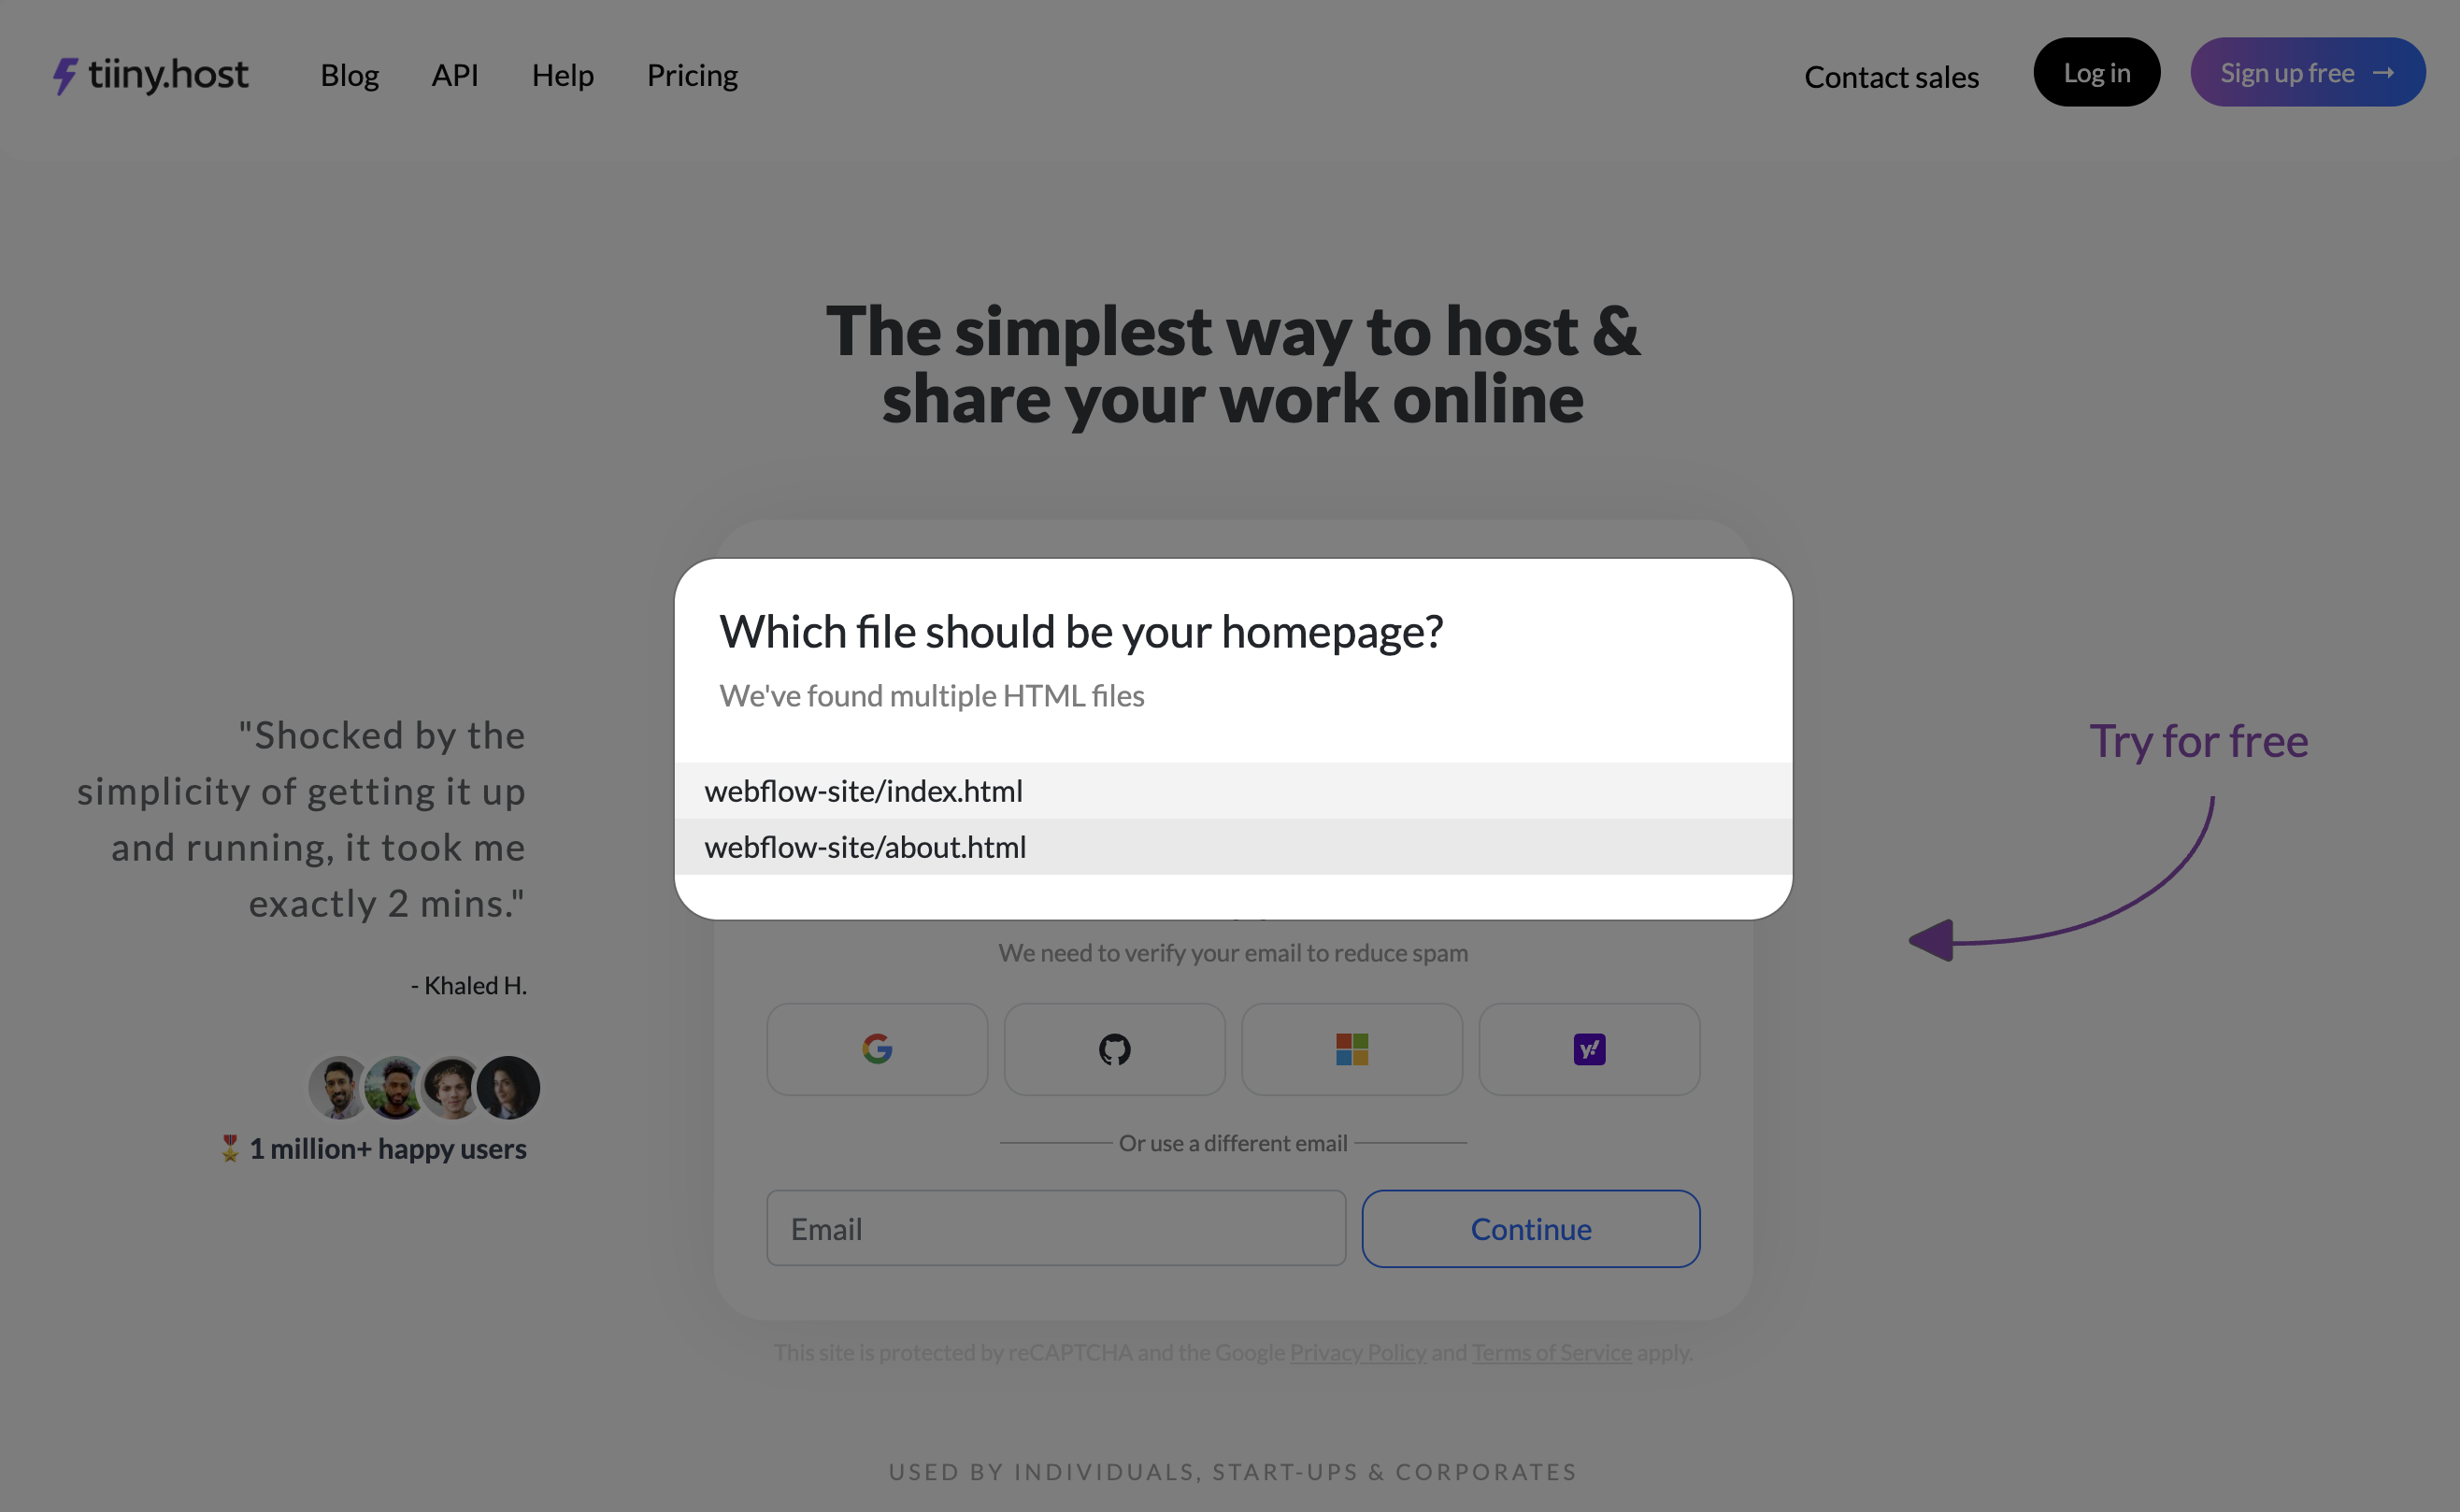
For most cases, this will be the index.html file. This file contains the contents of your webflow website’s homepage.
Enter a name for your website. This will become the shareable subdomain address for your website.
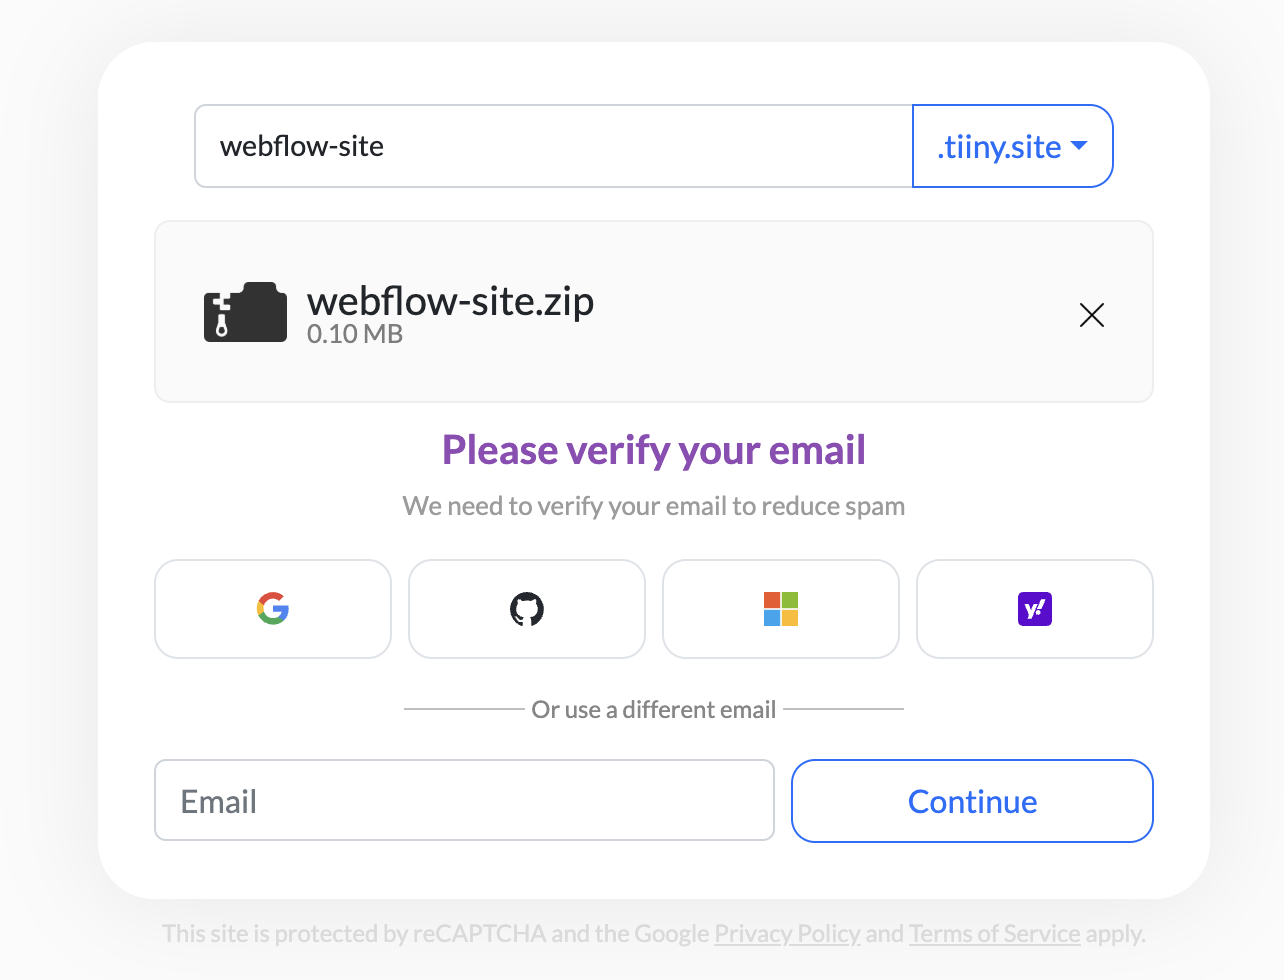
Next, you will need to create a user account by either logging in using your Google, GitHub, Microsoft or Yahoo account, or by entering your email address.
Once you create your account, your website will be live.
That’s it!
Your site is now live and you can share it with other people.
What’s not included in a Webflow export?
There are a number of things that aren’t included in the code exported from Webflow.
Webflow CMS content is one of the biggest things missing from the export. The CMS collection template pages will be exported but they will be blank and won’t show the CMS content. That means, you won’t find any of your collection items or collection lists in the export.
The export also doesn’t include password protection for your password protected pages. People will be able to visit these pages without needing a password.
Ecommerce functionality is another thing not included in the export. If you sell products through your Webflow site, you will find that functionality is gone from the exported website.
Form Submissions will also be missing. Your site will display forms but the forms won’t work anymore. If forms are important to your site, take a look at how to add a form to a static website.
Site search is another feature that will be gone. Your website’s search form will stop working.
If you have localized your website in multiple languages, you will find that only the primary locale’s pages are present in the exported code.
If you want to export your website’s CMS data, you can do so separately by using the export functionality on the CMS collections page. If you want explicit instructions, take a look at the FAQ below.
Frequently Asked Questions
Can I edit the code after exporting it?
Yes, you can edit the code after exporting it.
If you want to change the text of your website, that lives inside the .html files. These files contain the contents of your web pages. If you’re new to this, our guide on how to edit an HTML file is a great place to start.
If you want to change how your website looks, you will want to edit the .css files. These files tell the browser how to display your web pages.
You can also edit the .js files. These files are what add interactivity to your website. They control what happens when a button is clicked, when the page loads, or when a form is submitted.
What does Webflow export include?
When you export your site from Webflow, it includes all the HTML code, the CSS files, and JS files that are needed for your website. It also includes all the images you have uploaded using the Assets panel.
The export will include an HTML file for every page on your website.
It will also include three CSS files:
- Normalize CSS: This file normalizes/resets the CSS defaults for web browsers so your site appears the same way in all browsers.
- Webflow Framework: This CSS file includes all the CSS code needed for the Webflow framework. These are styles that tell the browser how to display basic page elements.
- Your Site’s CSS: This is the main file that includes all the CSS code needed for your website. This file customizes the look and feel of your website.
Another file you will find in the exported site code is the main JS file. This file adds gives life to the interactive elements on your website such as the forms.
Can I host Webflow on my own server?
While you cannot host Webflow, the platform, on your own servers, you can host your Webflow website on your own servers. All you need to do is export your project, and host the static files from the exported .zip file.
Is exporting Webflow site code free?
No, you will need a paid workspace plan in order to export your Webflow code. Even if you are on a site plan, you won’t be able to use the code export feature. Webflow’s workspace plans start at $16 per month when paid annually.
You can read more about this on Webflow’s documentation about exporting code.
Can I export my code without a paid plan?
If you aren’t on a paid workspace plan, you can still export your website from Webflow. You will need to use a tool called ExFlow.
ExFlow crawls your website’s pages and saves all the files including the CSS files, the image files, and the JS files. It also saves the HTML code of every web page.
The best part about ExFlow is that it converts your dynamic Webflow site into a static site you can host anywhere you want. When you export code from Webflow, it doesn’t export the CMS content and gives you blank template pages for the CMS content pages.
Why should I export my Webflow site?
There are a number of reasons why you might want to export your site’s code. One of the primary ones it that it gives you complete control over your website’s code.
You can host your code on any hosting provider, and you get to choose the hosting environment for your website.
Another reason is that it can be cheaper to host your Webflow code on a static web hosting service like TiinyHost. TiinyHost costs a fraction of what Webflow charges.
Can I export the CMS content from Webflow?
When exporting your website’s code, the downloaded zip file won’t include the CMS content. You will need to export the CMS content from the CMS section of Webflow.
First, select the CMS tab from the top of the Webflow editor.

Now, select the CMS collection you want to export from the sidebar on the left.
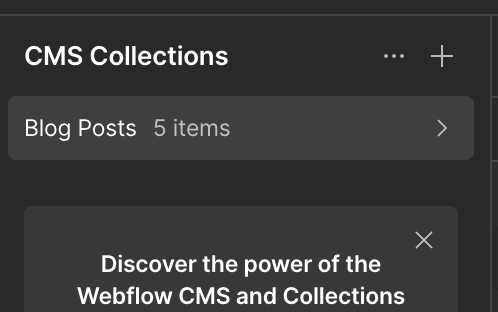
Click the Export button.

This will create an export of your CMS content in a CSV format. This will take some time depending on how many items your CMS collection contains.
Once the export process is finished, you will receive an email with a link to download the CSV file.
Conclusion
Exporting your Webflow site might sound technical. But as you’ve seen in this article, it takes no technical knowledge and only requires a few clicks.
If you’re exporting your site’s code to host it yourself, then we highly recommend going with TiinyHost. It’s the easiest and the fastest way to host your static site online. It doesn’t require learning how to use a CLI or Git.
Just upload your exported zip file and hit publish!
Just keep in mind that some of the dynamic functionality such as CMS features, eCommerce functionality, site search, and forms won’t work on your exported site.
But if you are working with a simple static website, exporting is one of the easiest ways to take full ownership of your site. It also allows you to host it for a lot less money.
