
- Let’s Understand Drag and Drop
- How Does Drag and Drop Work?
- Create a Simple Drag and Drop Application
- Hosting the Drag and Drop Application:
- FAQs: Drag and Drop Files, Images or Objects using PHP
Remember that game where you used to hold a block coming from top of screen, drag it to the place where it would fit and drop it there to gain points? If that interested you or let’s say simply if you want to know how your files get uploaded when you drag it from your computer and drop it on browser, this blog is for you.
In this blog, we will explore the drag and drop functionality of applications using PHP and Ajax. We will also build a very simple example to understand how it works.
Let’s Understand Drag and Drop
Drag and drop is a user interface interaction that allows users to “drag” an object (like a file or list item) and “drop” it into a new location. This functionality is highly interactive and can be used in various scenarios such as:
- File upload interfaces
- Reordering lists (e.g., tasks or items)
- Moving images or content blocks
- Organizing elements in a dashboard
The drag and drop functionality can be used in many areas. For example, it can be used in:
- Content management systems where admins can drag and drop images, files or text.
- File upload systems where users can drag files into web interface making uploads quick and simple.
- Project management tools where users can arrange fields and set layouts without writing code
- Website Builders to design pages without end user having to understand or write code
- Interactive pages for children where for example they can drag and drop objects according to alphabet showed
- Creating drag and drop games like puzzle games, makeover games or customization games.
How Does Drag and Drop Work?
PHP does not directly handle drag and drop functionality because it is a server-side scripting language. Drag-and-drop is primarily a client-side interaction, which means it’s handled by the browser using JavaScript. However, PHP can be used in conjunction with JavaScript to handle the back-end processing, such as saving the updated order of items after the drag-and-drop operation.
At its core, drag and drop involves three key components:
- Drag Source: The item you want to move (e.g., an image, file, or div).
- Drag Destination: The area where the item will be dropped (e.g., a folder or list).
- Drag Event Handling: JavaScript is often used to handle the events related to dragging and dropping, such as dragstart, dragover, drop, etc.
While JavaScript manages the front-end interactions, PHP can handle the back-end processes, such as saving the new arrangement or uploading files to the server.
After the drop event, JavaScript gathers the updated state or uploaded files and sends it to PHP through an AJAX request. PHP processes the request and returns the necessary response (success or error message), and JavaScript can use this response to update the UI.
Create a Simple Drag and Drop Application
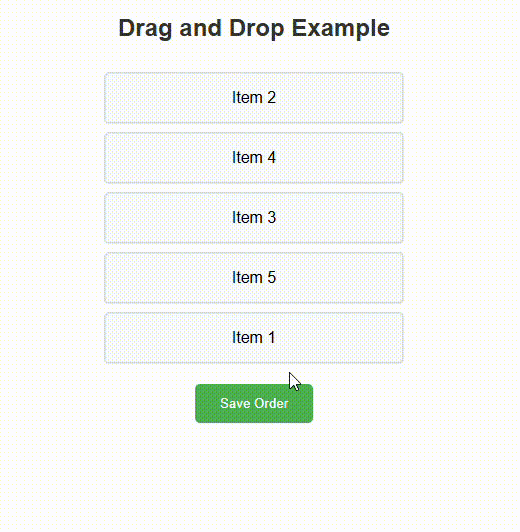
Let’s create a simple implementation of drag and drop, we will use Javascript and PHP for the implementation. We will have five items in the list which can be dragged and dropped in any order and when “Save Order” is clicked, you get a confirmation message with the changed order.
We are not using a database for this example and hence not using AJAX either. You can build further on the basic code to connect and implement database and server side. The whole code has been written in a single file and saved with the php extension.
PHP Script – Handling the State of Items
We will start our code with creating PHP Script which handles the state of the draggable objects. The PHP will check the request method when “Save Order” button will be clicked and respond with list of saved items.
<?php
if ($_SERVER['REQUEST_METHOD'] === 'POST') {
    $data = json_decode(file_get_contents('php://input'), true);
    echo isset($data['items']) ? json_encode(['success' => true, 'message' => 'Saved: ' . implode(', ', $data['items'])]) : '';
    exit;
}
?>
Front-End Application
Now we will create a simple front-end user interface which will have 5 items stacked which can be dragged along with an option to save the order.
HTML Structure
<!DOCTYPE html>
<html lang="en">
<head>
    <meta charset="UTF-8">
    <meta name="viewport" content="width=device-width, initial-scale=1.0">
    <title>Drag and Drop Demo</title>
    <style>

    </style>
</head>
<body>
    <div class="container">
        <h2>Drag and Drop Example</h2>
        <div id="successMessage" class="success-message"></div>
        <div class="draggable-list" id="draggableList">
            <div class="draggable-item" draggable="true">Item 1</div>
            <div class="draggable-item" draggable="true">Item 2</div>
            <div class="draggable-item" draggable="true">Item 3</div>
            <div class="draggable-item" draggable="true">Item 4</div>
            <div class="draggable-item" draggable="true">Item 5</div>
        </div>
        <button onclick="saveOrder()" class="save-button">Save Order</button>
    </div>
CSS Styling
We will style the page to center our items and style the items we created in HTML in a user-friendly way.
<style>
        .container { text-align: center; max-width: 600px; margin: 20px auto; }
        .draggable-list { width: 300px; margin: 20px auto; }
        .draggable-item {
            padding: 15px;
            margin: 8px 0;
            background: #f8f9fa;
            border: 2px solid #dee2e6;
            border-radius: 5px;
            cursor: move;
        }
        .draggable-item.dragging { opacity: 0.5; }
        .save-button {
            padding: 12px 25px;
            background: #4CAF50;
            color: white;
            border: none;
            border-radius: 5px;
            cursor: pointer;
        }
        .success-message {
            display: none;
            margin: 10px auto;
            padding: 15px;
            background: #d4edda;
            color: #155724;
            width: 300px;
        }
        h2 {
            color: #333;
            margin-bottom: 30px;
        }
    </style>
Javascript Implementation
Client Side
document.addEventListener('DOMContentLoaded', () => {
    const list = document.getElementById('draggableList');

    document.querySelectorAll('.draggable-item').forEach(item => {
        item.addEventListener('dragstart', e => {
            item.classList.add('dragging');
            e.dataTransfer.setData('text/plain', '');
        });
        item.addEventListener('dragend', () => item.classList.remove('dragging'));
    });

    list.addEventListener('dragover', e => {
        e.preventDefault();
        const draggingItem = document.querySelector('.dragging');
        const siblings = [...list.querySelectorAll('.draggable-item:not(.dragging)')];
        const nextSibling = siblings.find(sibling => {
            return e.clientY < sibling.getBoundingClientRect().top + sibling.offsetHeight / 2;
        });
        list.insertBefore(draggingItem, nextSibling);
    });
});
This side of JS will handle all the event listeners.
-
Drag Start: The
dragstartevent adds the .dragging class to the dragged item for styling. -
Drag End: The
dragendevent removes the .dragging class when the drag ends. -
Drag Over: The
dragoverevent allows the dragged item to be inserted into a new position. The next sibling element is calculated by checking the mouse position (e.clientY) and adjusting accordingly.
Save Order Function
The save order function collects the re-ordered list of items using `map` and then sends a POST request to the server with list of items as JSON. Further, it displays the success message.
function saveOrder() {
    const items = [...document.querySelectorAll('.draggable-item')].map(item => item.textContent);
    fetch(window.location.href, {
        method: 'POST',
        headers: { 'Content-Type': 'application/json' },
        body: JSON.stringify({ items })
    })
    .then(response => response.json())
    .then(data => {
        const msg = document.getElementById('successMessage');
        msg.textContent = data.message;
        msg.style.display = 'block';
        setTimeout(() => msg.style.display = 'none', 3000);
    })
    .catch(error => alert('Error saving the order'));
}
You can use the fetch() method of AJAX in the code above to send the data to the database if we had connected the same.
Hosting the Drag and Drop Application:
Now that the coding part is complete, let me show you what the application looks like. For my application here, I have used Tiiny.host to host myself easily. Tiiny.host allows you to host your static and single pagedynamic websites for free. Plus, they are very fast. It only takes a few seconds to host.
- Visit Tiiny.Host
- Upload your files or drag and drop from your computer
- Give a link-name or leave it blank
- Hit Publish!
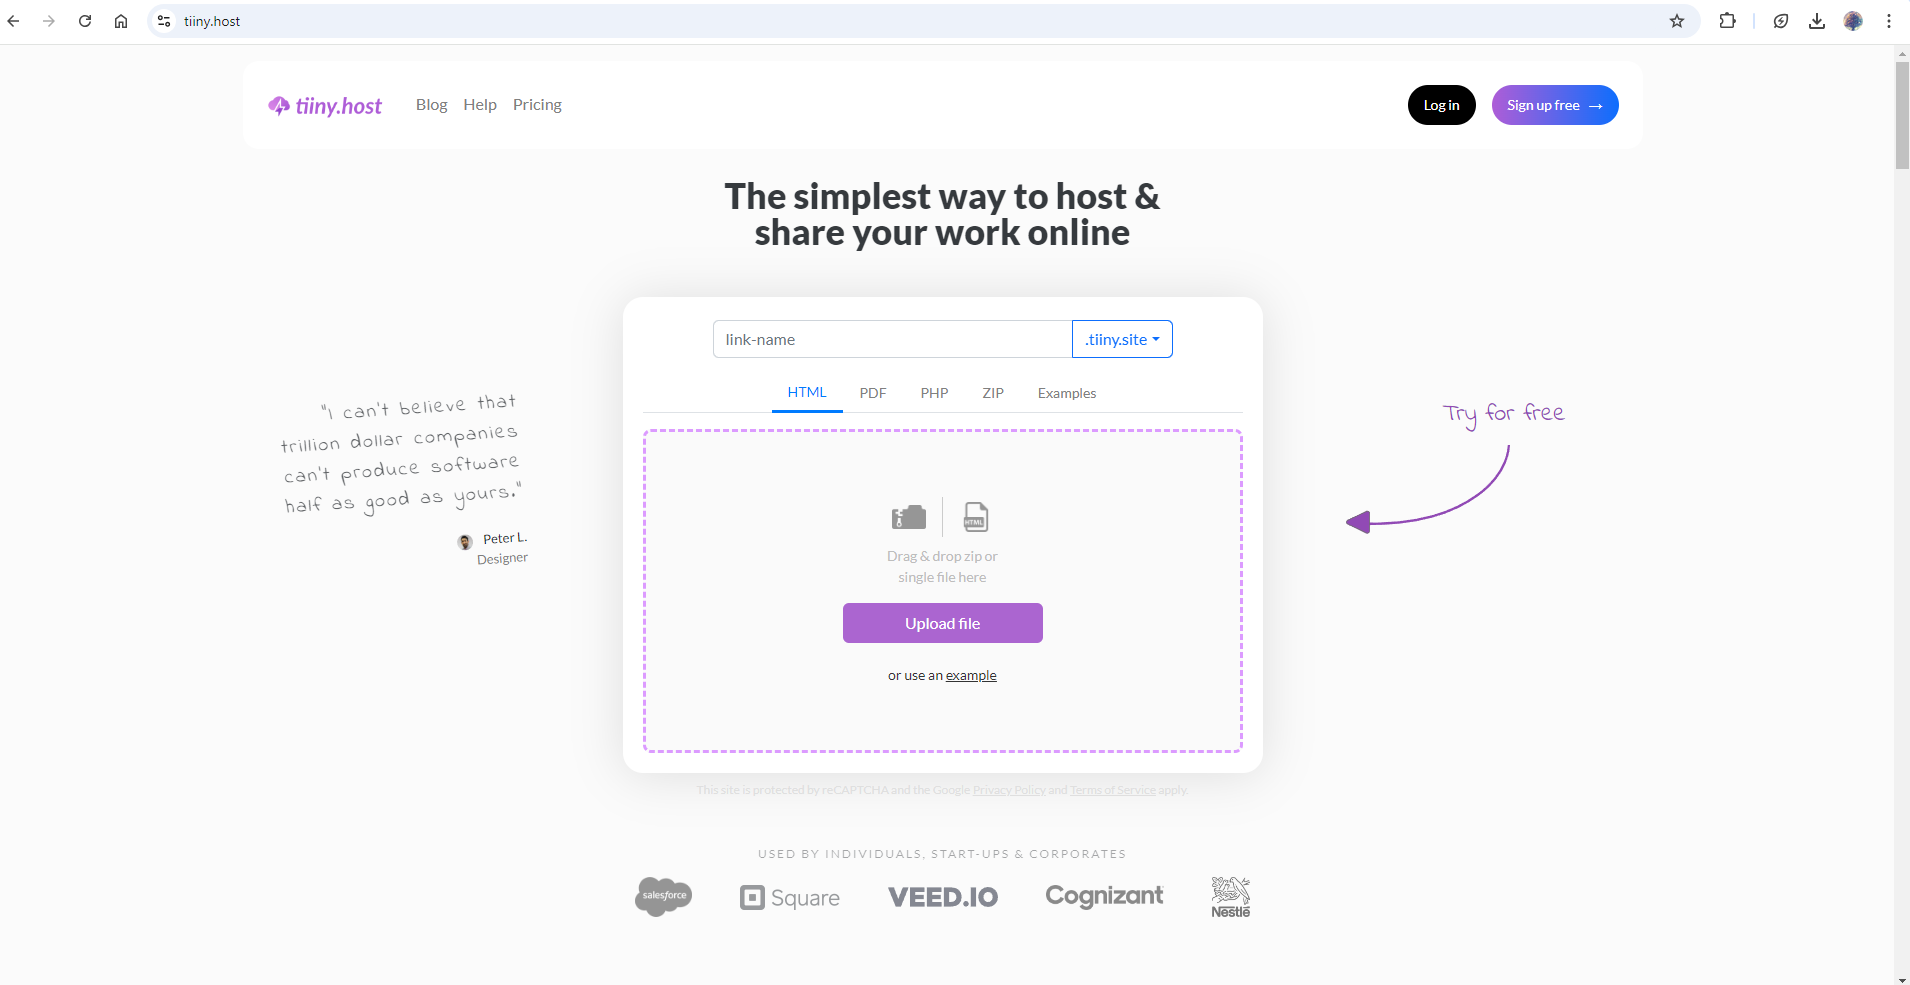
In four steps, your website will be live! Here’s how the application looked after hosting.
You do not have to stop here, you can host a lot of different files through Tiiny Host, you can share your presentations with a linkby hosting it online or you can create and host your professional portfolio and share it. From PDF hosting to all file extensions you can think of, they support it all!
If you need any assistance or have questions, you can reach out to them and they will be happy to guide you.
FAQs: Drag and Drop Files, Images or Objects using PHP
Can drag and drop be used to create interactive forms in PHP?
Yes, drag and drop can be used to enhance interactive forms in PHP. For example, you can allow users to reorder form fields or select options by dragging items into a form.
What are the security implications when implementing drag and drop with PHP?
When implementing drag-and-drop functionality with PHP, security is an important consideration, especially when handling file uploads or processing user-generated data. Some security measures include:
- Validate file types and sizes to prevent malicious files from being uploaded.
- Check the user inputs to prevent cross-site scripting (XSS) or SQL injection.
- Use proper authentication and authorization to ensure users can only interact with their own data.

