
- How to Create App using Cursor AI
- Step 1: Setting Up the Development Environment
- Step 2: Create a New Project
- Step 3: Prompt with AI
- Step 4: Run the App
- Step 5: Updating the App
- Step 6: Hosting the App
- Additional Step: Updating directly to Tiiny Host
- FAQs: A Beginner’s Guide to Building & Publishing an App in 5 Minutes With Cursor AI
AI has made it easier than ever to create your own apps without any prior coding experience. Even if you’re an experienced developer, AI tools like Cursor AI can simplify the process and give you more time to focus on customizations. For complete beginners, you don’t have to worry—AI will be your guide, helping you both learn to code and create apps effortlessly.
In this guide, we’ll walk through the steps of building a simple calculator app using Cursor AI and React, and publishing it using Tiiny Host, all in under 5 minutes. You can create anything your imagination allows by just writing in the natural language that you write in, and the tool will generate code for the app. This tutorial focuses on a calculator, but feel free to experiment with different app ideas!
For this tutorial, we are creating a calculator app in React but feel free to create and experiment with anything that runs through your imagination.
How to Create App using Cursor AI
Cursor AI does not just help users generate code for the desired app, which is one of the core functionalities, but the AI assistant also helps debug and fix old codebases. It can help you edit the code, find bugs in your code, and write test cases. Cursor AI allows developers and beginners alike, starting from programming, to make a fully working application with just a few clicks and prompts. In short, it is just:
- Give a code base or a blank canvas to the AI code editor
- Writing prompts as per your needs
- Clicking on the generate button and waiting for the AI agent to execute your requests
- Debug or request for new features
- Finish the setup and share the final product with everyone.
Step 1: Setting Up the Development Environment
To start using Cursor AI, you can install the software by visiting their website. You will also need to sign up for an account.
Follow the installation guide to set up Cursor AI as your code editor. Depending on the platform, it may require downloading a specific package or setting up an environment. Make sure to update Cursor AI to the latest version on your system to get the best experience.
Create a project folder and navigate to it in your terminal. Install React dependencies by running the following command:
npx create-react-app app-name
This will initialize a directory with a default React app structure and boilerplate code.
Step 2: Create a New Project
After signing in:
- Create a new project within Cursor AI’s interface.
- Name your app and select the type of app you want to build (web, mobile, etc.).
- Create a new folder from within the Cursor AI interface or open the folder you created for the app.
Step 3: Prompt with AI
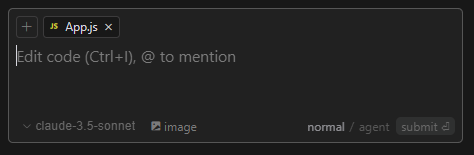
To open the AI composer, press Command + I for Mac and Control + I for Windows. You will see a chat open.
The customization for your app will happen according to your prompt. Here is the prompt that I used,
‘make this app into a calculator app.’
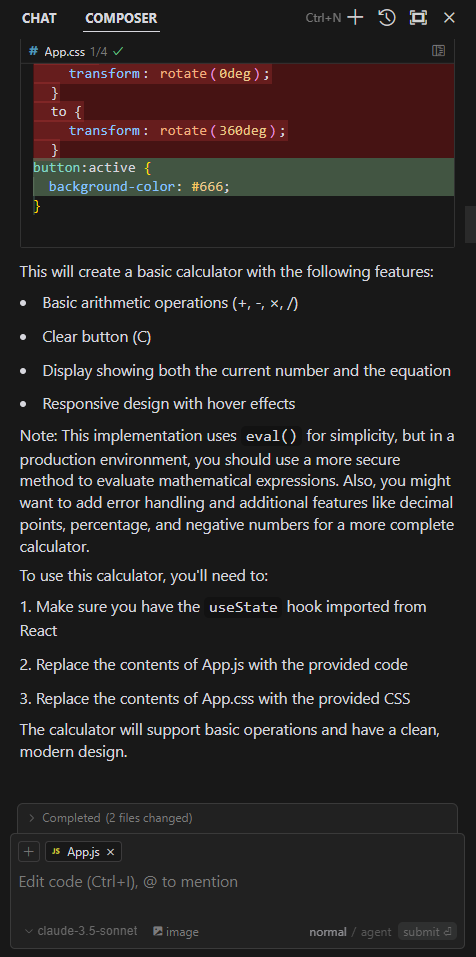
Along with the code, if you scroll below, Cursor AI also explains the code added or changed which can be helpful if you’re a beginner and learning alongside. You can write code using the cursor’s built-in code completion features.
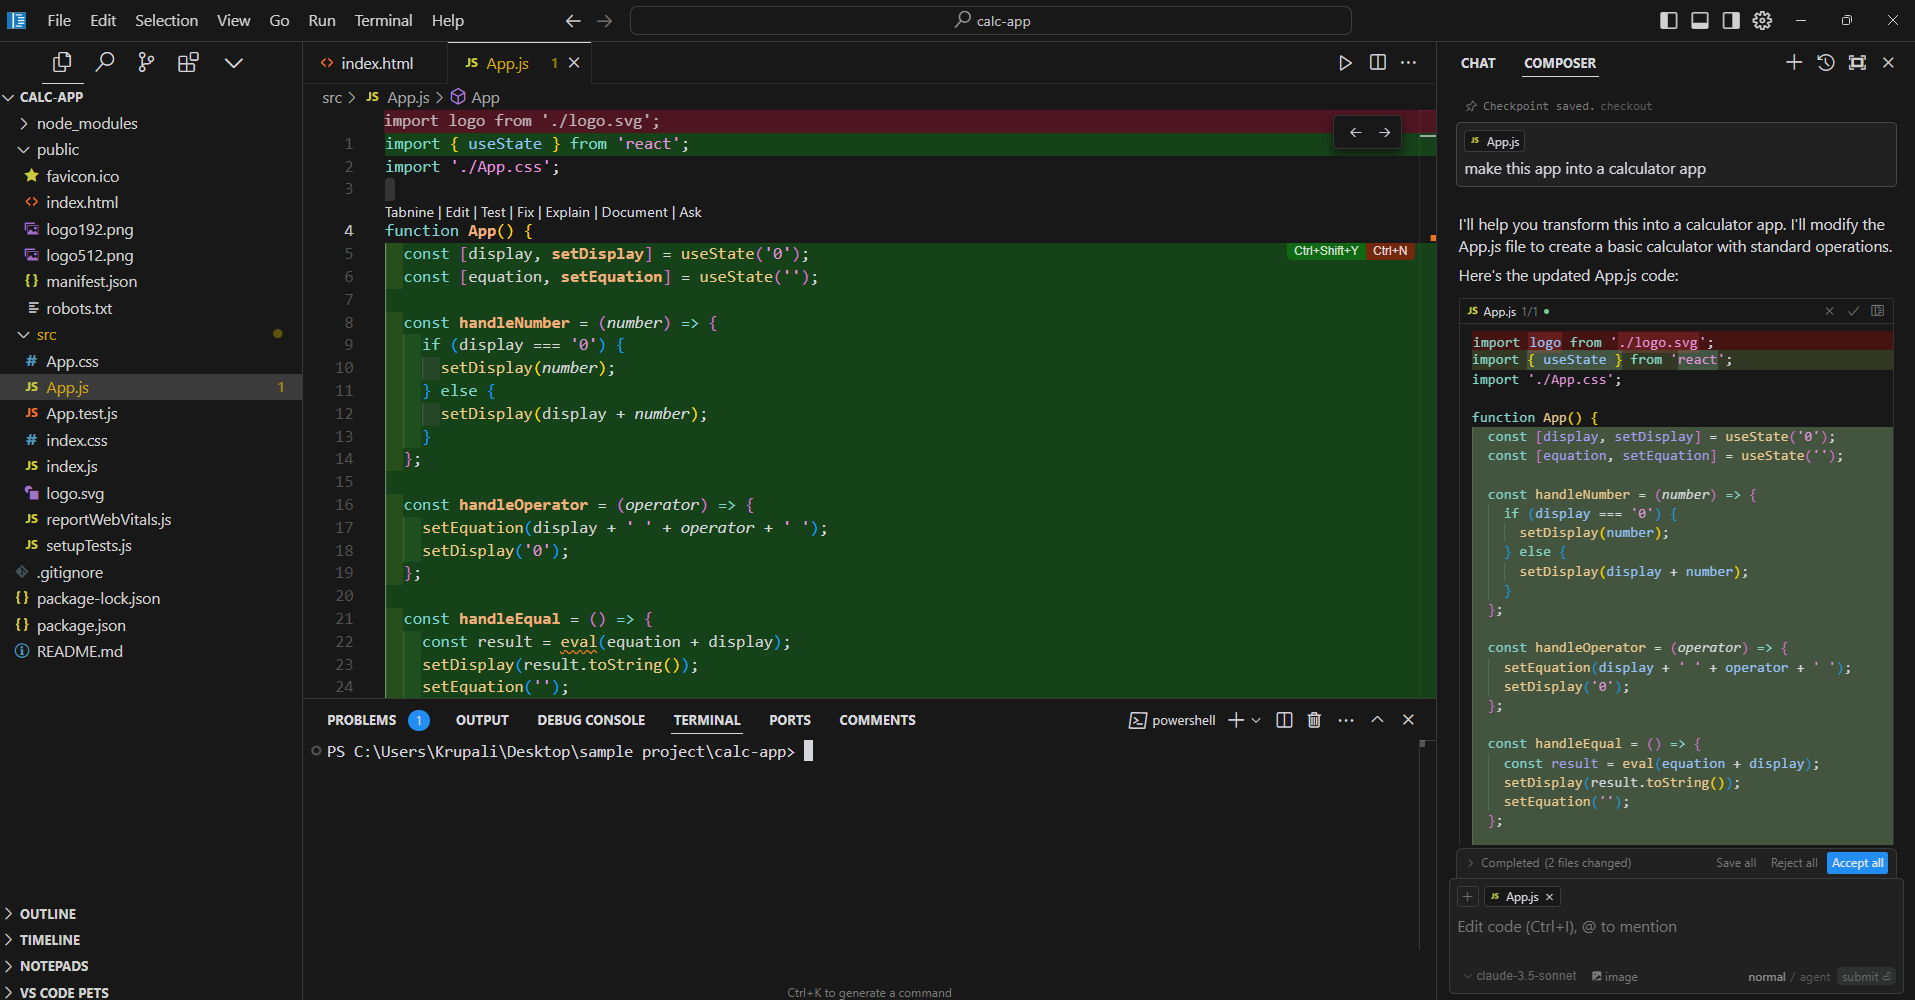
Along with the code, if you scroll below, Cursor AI also explains the code added or changed which can be helpful if you’re a beginner and learning alongside.
Step 4: Run the App
Now that the basic application is ready, we will run it so that we can see the output and make further changes accordingly.
To run a react app, you can use the following command in the command prompt or the terminal in the Cursor AI interface:
npm start
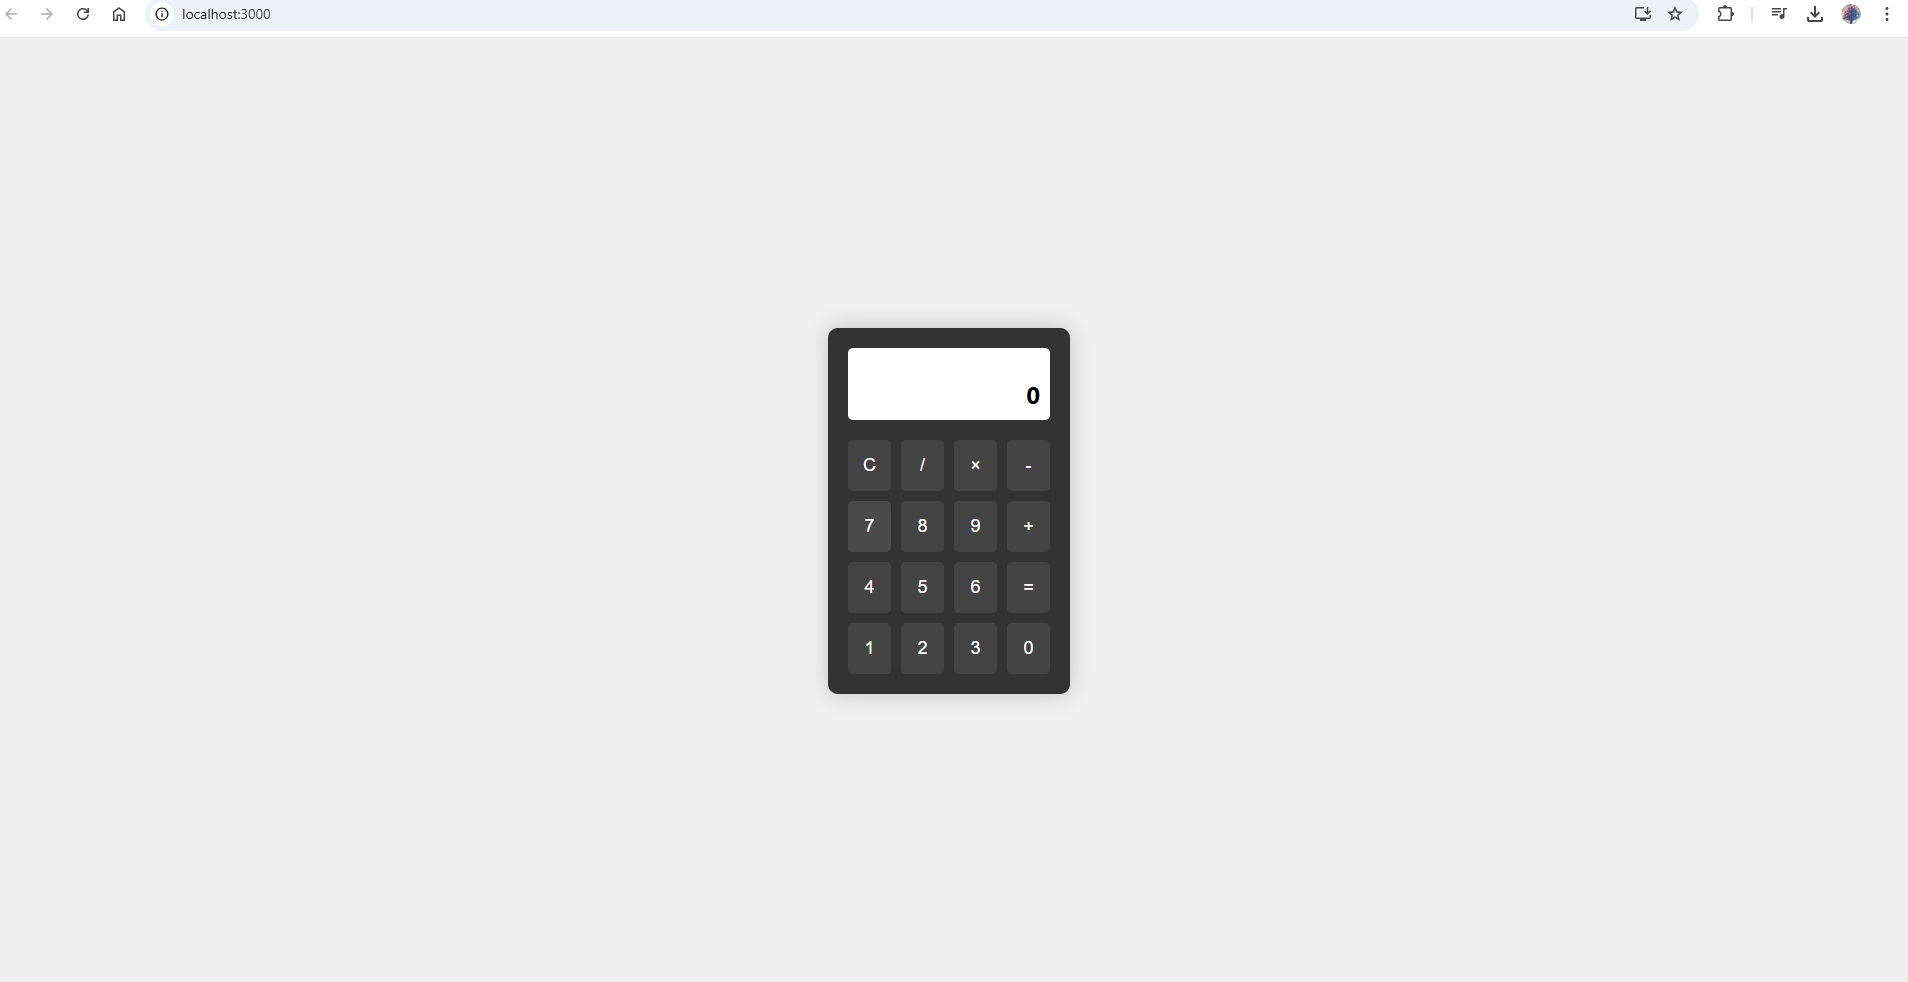
This will start the React development server, and your app will be available on the localhost. After running the above command, the browser should automatically open with your app.
If it doesn’t, you can manually open a browser and navigate to http://localhost:3000 to view your app.
Step 5: Updating the App
Just like you did the first time while creating the basic app, you can prompt the AI with a new task for making any changes or updates.
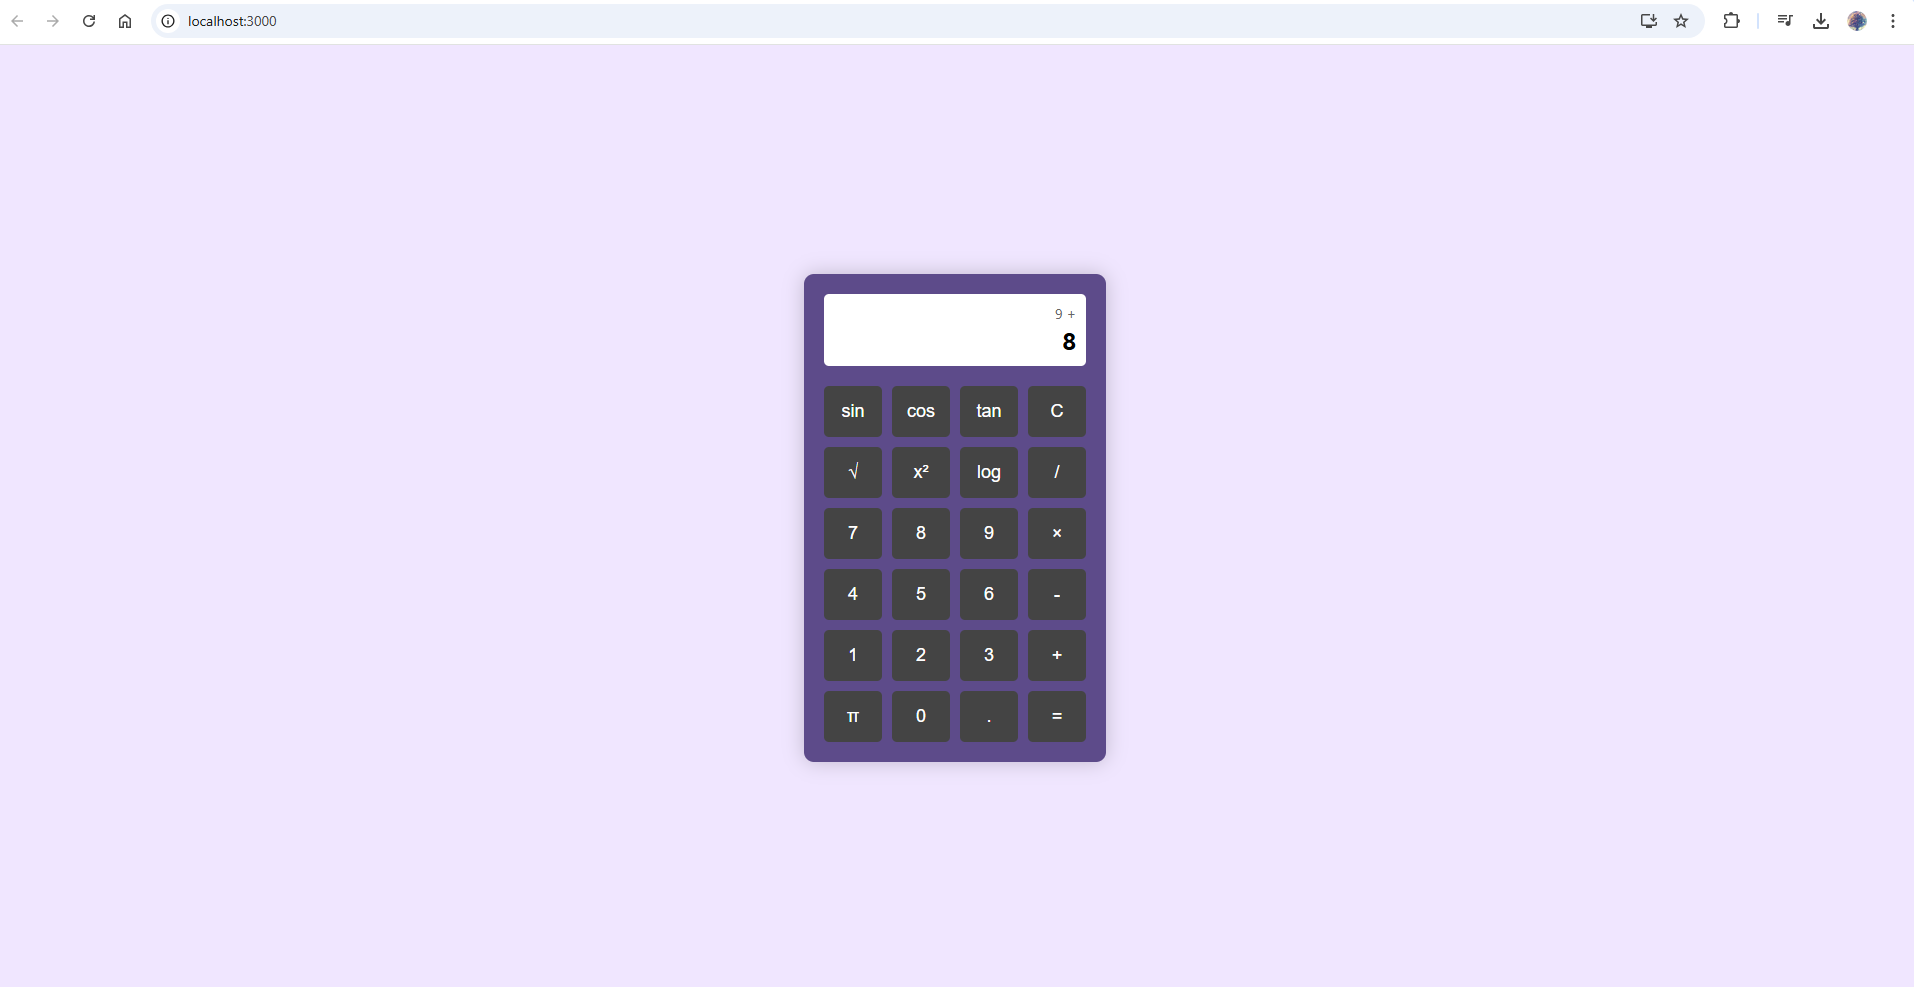
For my calculator app, I wanted to change the theme of it to a shade of purple and also wanted to update it to a scientific calculator, here’s the prompt I used to update.
“Can you turn the theme of the calculator into purple, turn the calculator into a scientific calculator and turn the webpage background into a color which contrasts yet suits well with the theme of the actual calculator?”
The result of the above prompt was:
Step 6: Hosting the App
Hosting the app is relatively easy if you’re using Tiiny Host. You can move the app from the local host to an actual link, which can be shared easily with people.
To host the app, follow these steps:
- Run the command
npm run buildin the command prompt. This will create abuildfolder in the directory containing optimized production files. - Compress the build folder into a zip file
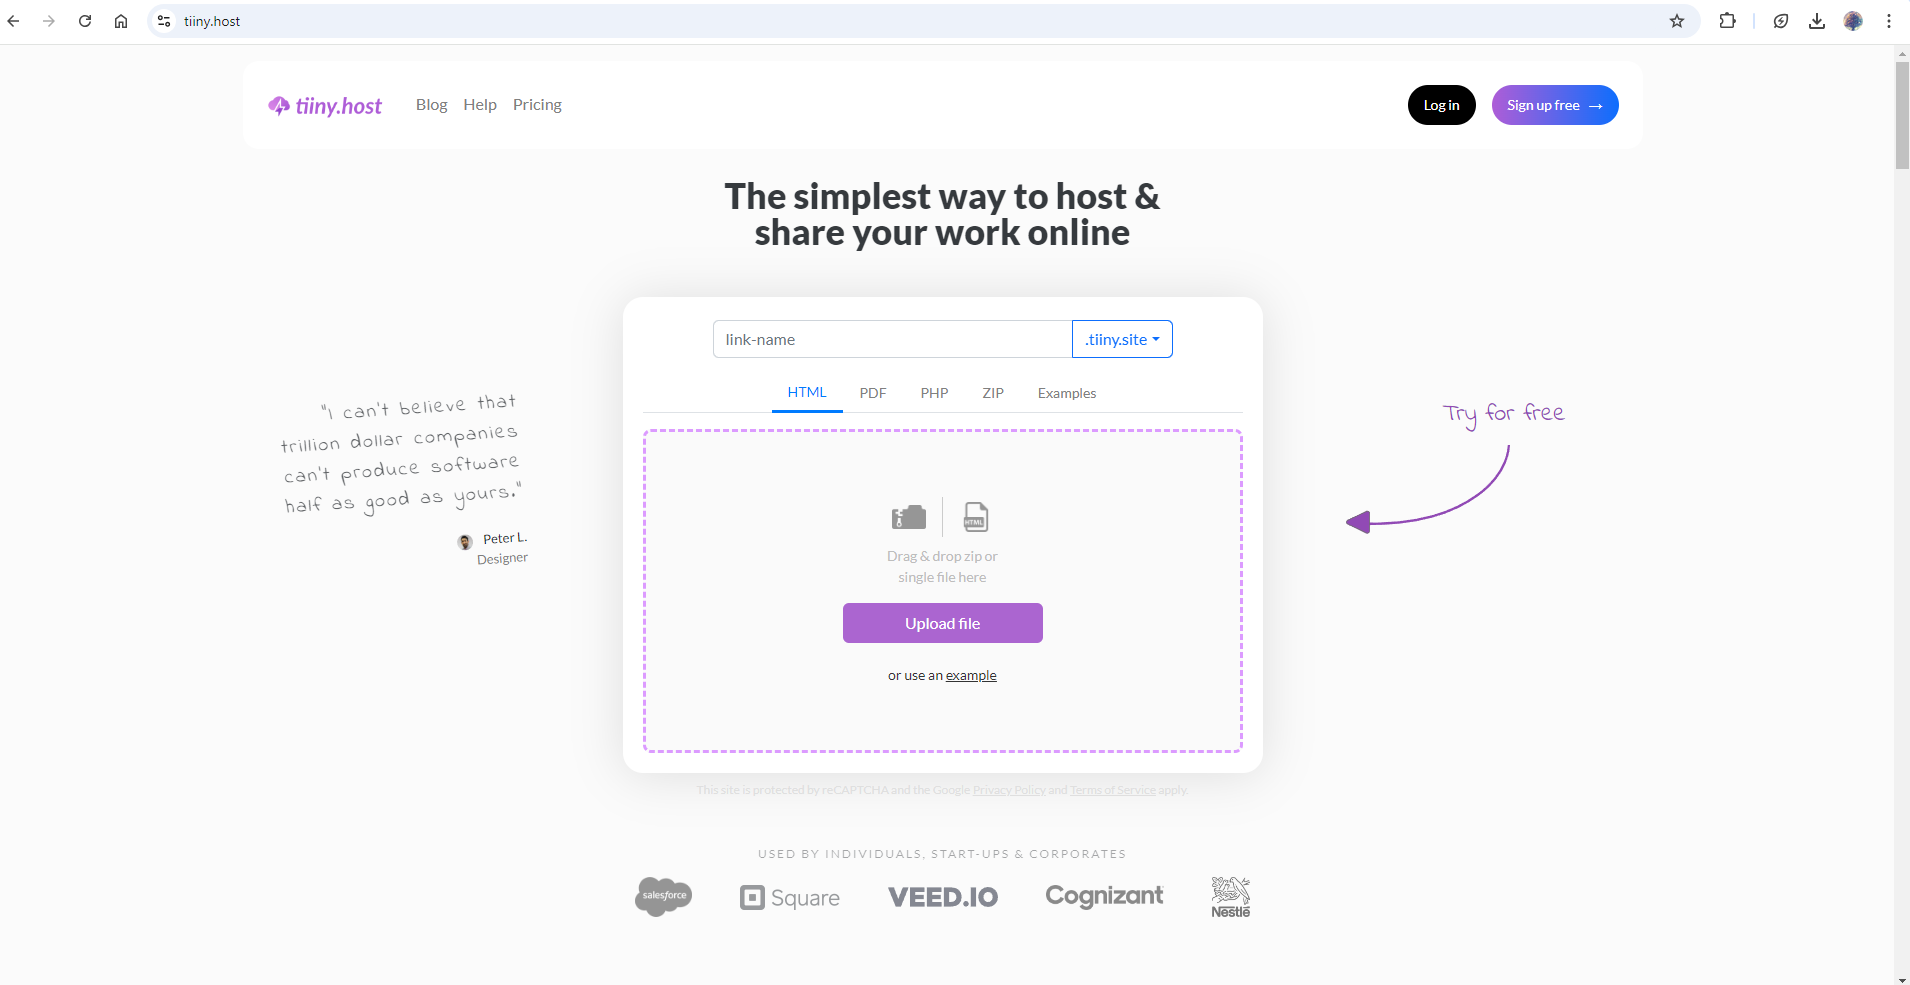
- Go to Tiiny host’s webpage
- Upload your zip file
- Give a custom name for the link, or leave the space empty
- Hit publish!
And your app is live! You can now share the link anywhere you want.
There are additional features available on Tiiny host that might be very useful to you like:
- Password Protection: Control who can access your app.
- Custom Domains & QR Codes: You can use your personal domain or create a QR code for easy sharing.
- Analytics: Track your app’s performance directly from Tiiny Host.
Additional Step: Updating directly to Tiiny Host
You might want to keep updating the app and push it to the hosted site. While you can do so by creating a zip every time and updating it manually, Tiiny host’s extension can help you do it quickly without much hassle.
You can search for the extension and install it on your Cursor AI environment.
Once installed, you can link your account by following the steps on the extension page. If you cannot find the extension, look for it in the drop-down menu represented by the up arrow and pin the extension.
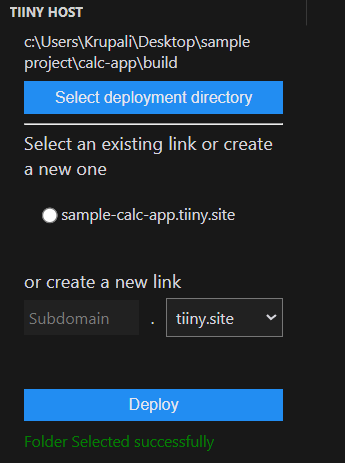
Once you are logged in, set up your ‘Deployment Directory’ as the build folder of your project.
Now, each time you update the app, you can update it to the existing file you’ve hosted, or you can choose to host it as a new website.
I hope we made it really easy for you to create and deploy a website! If you create any applications, do share them on social media and tag us so we can see what you’ve created!
You can check the calculator created during this tutorial hosted here. There have been changes made using Cursor AI itself and I love how it has turned out.

FAQs: A Beginner’s Guide to Building & Publishing an App in 5 Minutes With Cursor AI
What types of apps can I build with Cursor AI besides a calculator?
Cursor AI supports the creation of various types of apps, including web applications, mobile apps, and even more complex systems like e-commerce platforms or social media tools. Cursor offers features like scanning your entire codebase and generating code for any project based on your prompts, allowing you to experiment with different app ideas. You can also edit the code generated directly from the prompt bar.
Can I integrate external APIs into my app built with Cursor AI?
Yes, you can integrate external APIs into your app created with Cursor AI. You simply need to modify your project code by adding the necessary API calls. Cursor AI will help you generate the required code, and you can further customize it to fit your needs, such as handling responses or managing API keys securely.
Can I monitor my app’s performance with Tiiny Host?
Yes, Tiiny Host provides built-in analytics that lets you monitor the performance of your app, including insights into traffic and user engagement. You can access these analytics directly through the Tiiny Host interface without needing third-party tools.

